Tag Archives: stitch markers

Count on me! Stitch marker assist

It’s been quiet over here on PDXKnitterati, but that does’t mean there’s nothing happening! It’s been an absolute storm of knitting that I can’t show you. Life is like that sometimes.

Pretty yarn balls

I designed and finished a project that I can tell you about later this month. Woot!

I also designed 4 things for submission, and two of them were accepted. Double woot! But I really can’t show you those, either.

So what can I tell you? Stitch markers. They’re a life saver. Oh, sure, you know about putting them in your knitting to mark off pattern repeats. But do you use them for general counting? I do. Here are two ways.

Casting on: If you’re casting on a huge number of stitches, use stitch markers to mark off increments as you go. If you’re casting on 300 stitches, put a marker after every 20 that you cast on. Check your 20, place marker, continue. You won’t have to recount the whole thing when you’re done. (I actually mark every 50 if I’m using long tail cast on, because it’s so fast.) If you’re casting on something that has a pattern repeat, you can use that repeat number instead, and you’ll be all set for your knitting.

Working long rows: I’ve been knitting something that has about 300 stitches per row, with a simple 4 stitch repeat. It’s easy to zone out and go off track. If I wait until the end of the row to look for errors, it means a lot of tinking if I made an error at the beginning. (Ask me how I know.) So I’ve taken to working a bit, checking my work, putting in a stitch marker, working some more, checking again, putting in a stitch marker…you know the rest. Then I don’t have to re-check the whole row over and over again as I work that one row; I just check the work after the last stitch marker. I take the markers out on the next row.

I decided to start doing this when I found a mistake 8 rows later (the next patterning row), and had to rip out 8 rows of brioche. Ouch.

Lately, the plain round markers by Clover have been my favorite. Nothing dangling, just a little circle so I don’t have to fuss with flipping the marker out of the way.

Except for the beginning row marker, for which I like this barrel counter.

And those locking markers are great for noting a mistake so I can fix it later on the next row or two, without having to rip back the whole thing. Just drop down, fix, and ladder back up.

(Can you tell I’ve been multi-tasking? My knitting has gone off track a bit while my attention wandered. Good think I know how to fix things!)

Do you use stitch markers? What are your favorites?

Purling back backwards tutorial

Aloha edging

I’m working the knitted on border of my Aloha Shawlette for the Aloha knit-along. The border is 4 to 6 stitches wide, and it’s tedious to turn my work after every row. The solution? Purling back backwards. You can do it, too.

Edited to add: Some people call this knitting back backwards, or KBB. I’ve seen it referred to both ways. For me, what I think of as knitting back backwards would result in garter stitch. I’ve never done garter stitch with this non-turning technique, but it’s possible, too. I just haven’t needed it yet.

I’m almost done with the shawlette; this is a quick and easy knit! But it’s not to late to join the KAL. You can be part of the chat and prize drawings through my Ravelry group. I’ve just drawn the first prize winner; JBTCat will be getting these fishy stitch markers.

fish stitch markers

You can make stitch markers like these, too; check out my tutorial here.

There are a few more prizes in store, including yarn and a mystery fun thing. Come join the fun!

Garland Shawl cast on options

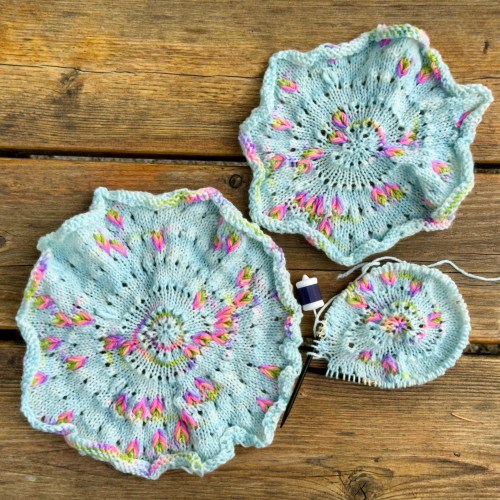
I’m planning my cast on for the Garland KAL. My prototype shawl is very wide and shallow. I’d like to make my next one deeper, like test knitter Rachel’s, but also as wide as it can be with the amount of yarn I have. I was conservative with Rachel’s test knit to make sure the deeper shawl would be wide enough with about 400 yards of yarn, even though the Cashy Lite was 495 yards.

How do you know if you should make the wider, shallower shawl, or the narrower, deeper shawl? Part of it depends on how you like to wear your shawl.

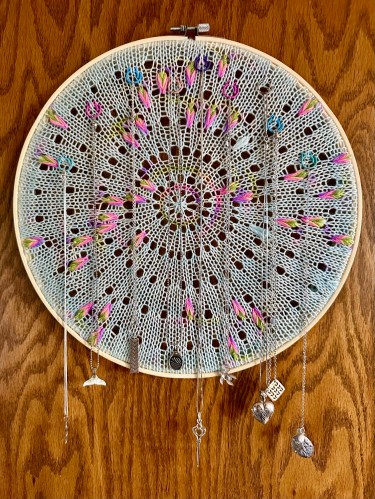
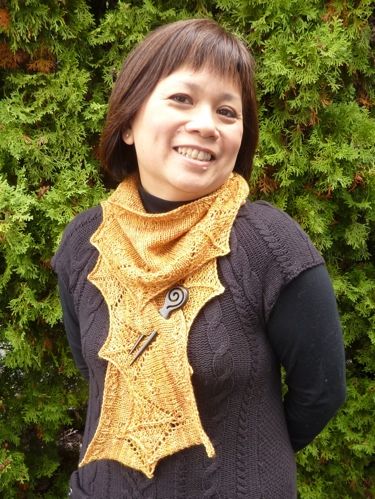
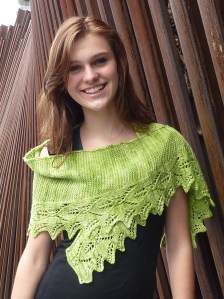
If you have about 400 yards of yarn, your deeper shawl will probably be most comfortable worn centered on your back. The ends don’t provide a lot of overlap for wearing this like a scarf. Rachel’s shawl took 390 yards at 6 st/inch.

Photo May 13, 3 47 06 PM

Photo May 13, 3 26 34 PM

If you use those 400 yards to make a shallower shawl, you’ll get more overlap at the ends.

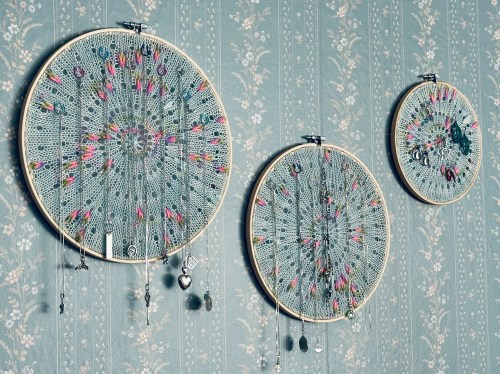
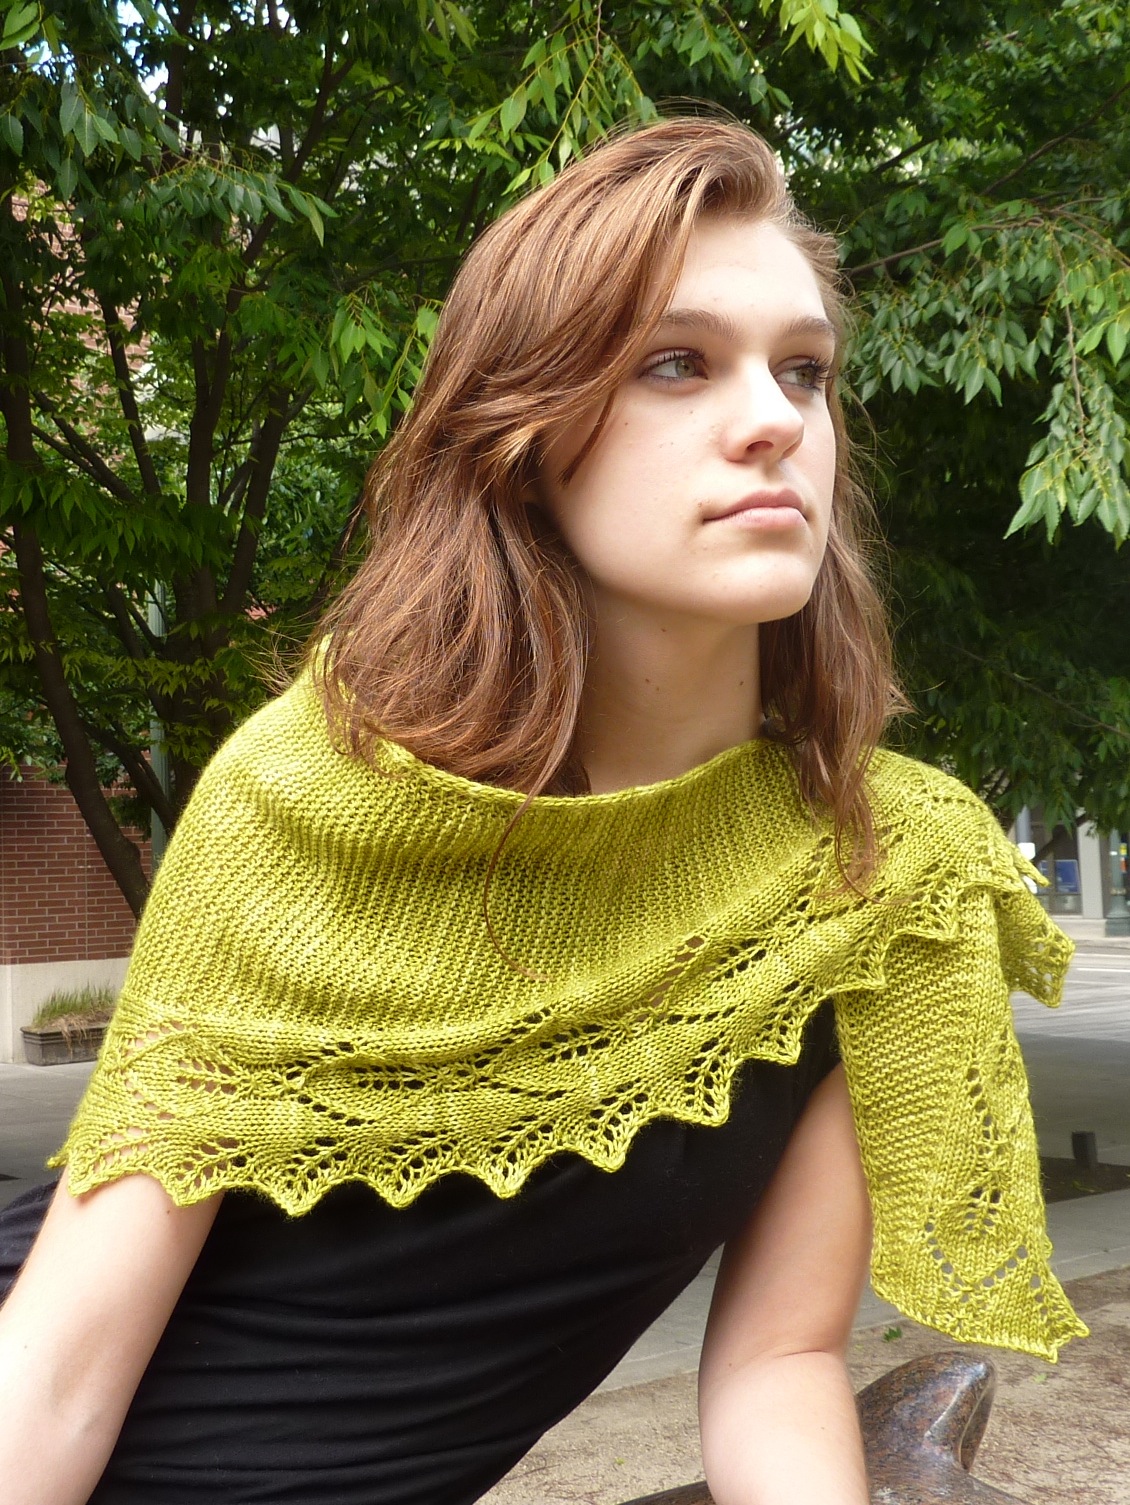
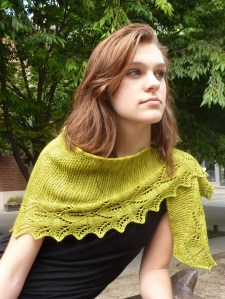
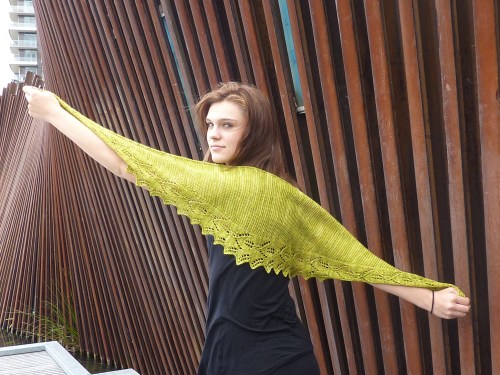
If you have 450 yards or more, the shallower shawl will be super wide like my prototype. This one took 455 yards at 5 st/inch. (I’m planning to aim for 5.5 or 6 st/inch next time, for a slightly firmer fabric.)

Photo May 13, 3 27 36 PM

Photo May 13, 3 29 09 PM

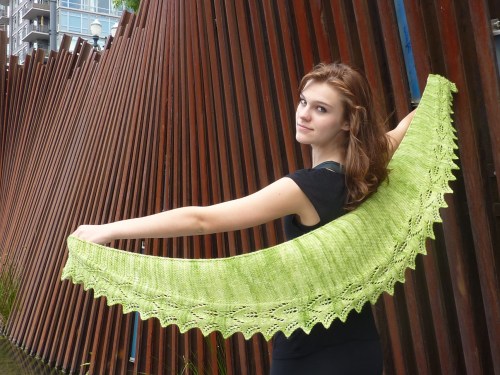
It’s luxuriously wrappable, but I don’t know that I’d wear it centered on my back. Maybe if I were taller…

I’m planning to split the difference this time and go deep *and* wide. How?

The pattern instructions tell you how many repeats wide to make your shawl, but you can easily customize this for the amount of yarn you have. This is because the shawl is knit from side to side. You start at the right end, increase towards the center back, and then decrease to the left end. With a little math, you can easily adjust the size of your shawl without fear of running out of yarn.

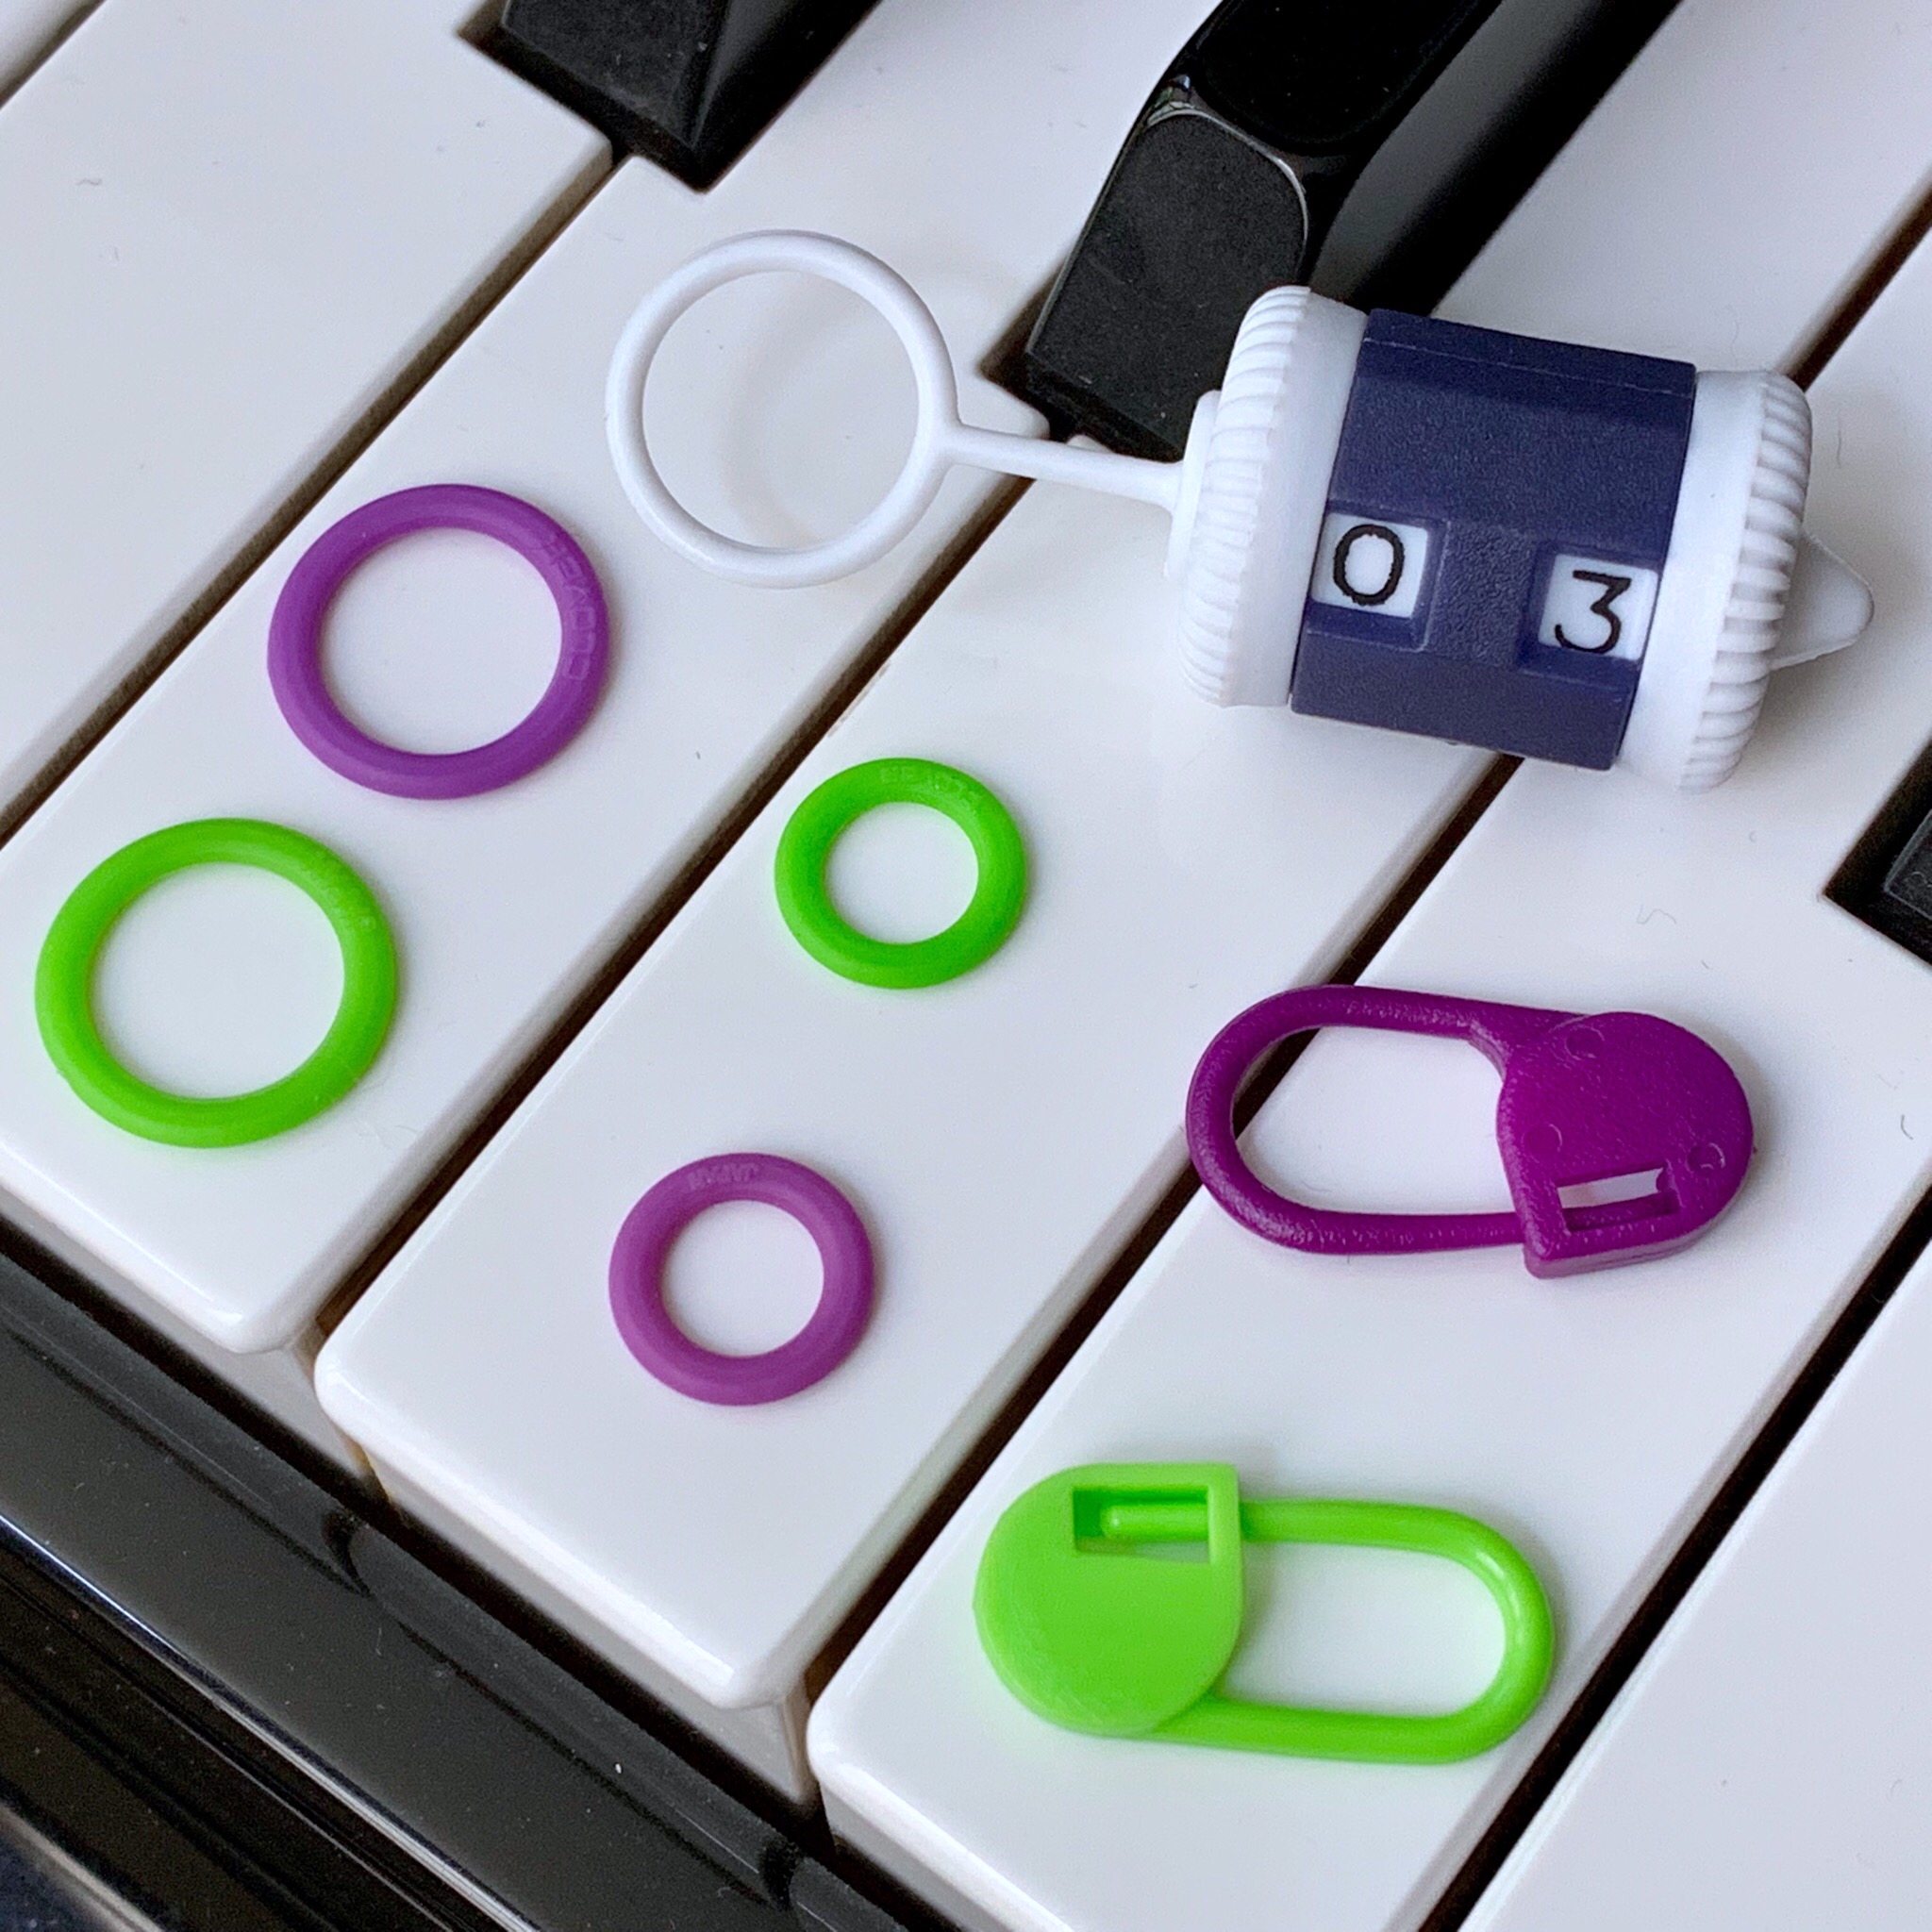
You’ll need a kitchen scale, one of my favorite knitting tools. Weigh your yarn before you begin. Half of this yarn will go to the increase section of your shawl, and half will go to the decrease section. Weigh your yarn after every 24 row repeat. (Weigh your yarn in grams, because it’s a more precise measure on the scale.) This will show you how much yarn each repeat takes. The amount increases gradually with each repeat, because you’re increasing the number of stitches with each repeat. You’ll need to figure in enough yarn for the center repeat, which has no increases or decreases, but the center repeat will weigh about as much as the repeat before and after it. When you are halfway through that center repeat, you need to have at least half your yarn left for the decreases! (You don’t really need to start weighing your yarn until the 7th repeat, but it doesn’t hurt to know the numbers.)

If you don’t want to do any figuring or customizing, go ahead and knit according to the pattern directions.

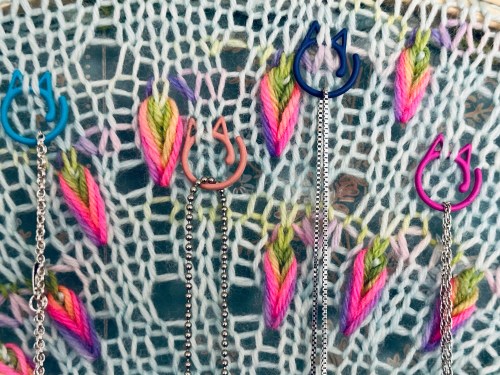
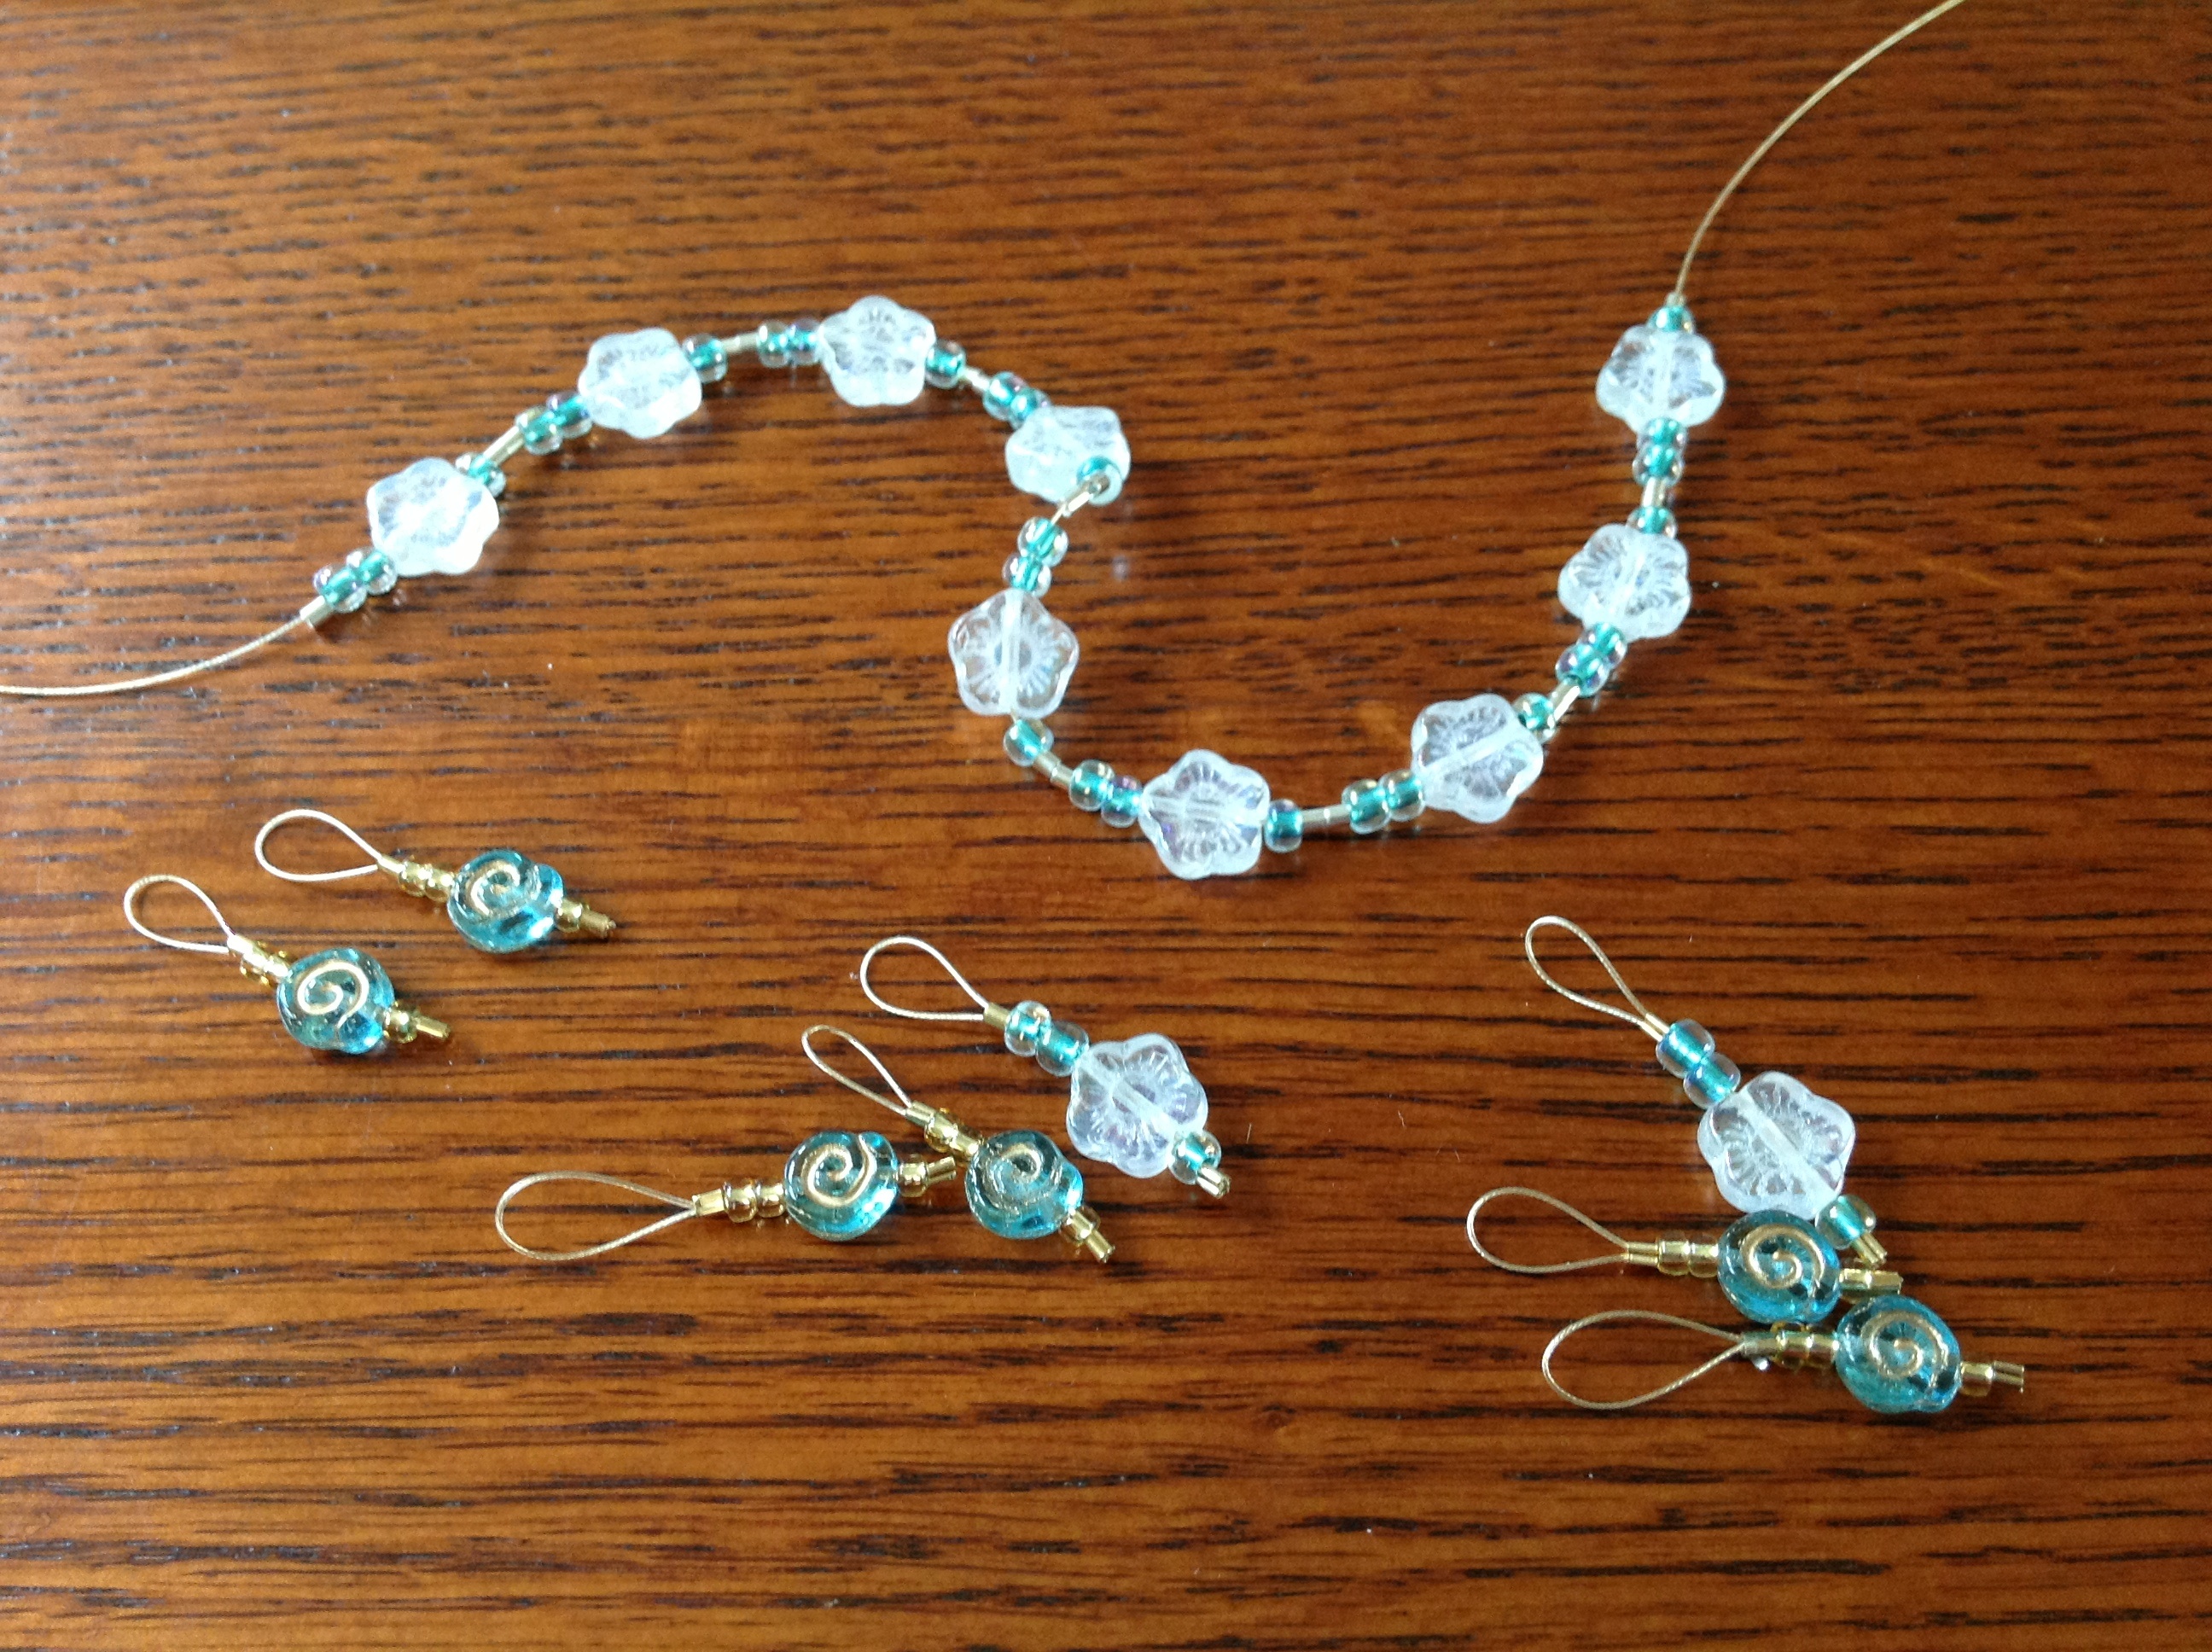
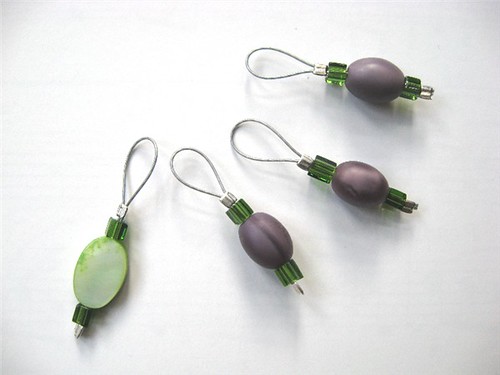
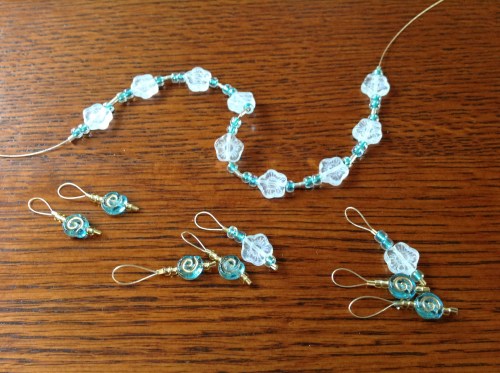
So, deep or shallow? What’s your Garland going to be? Beads? No beads? I’m going for beads! I like the bling, and the little bit of extra heft and drape they give the fabric.

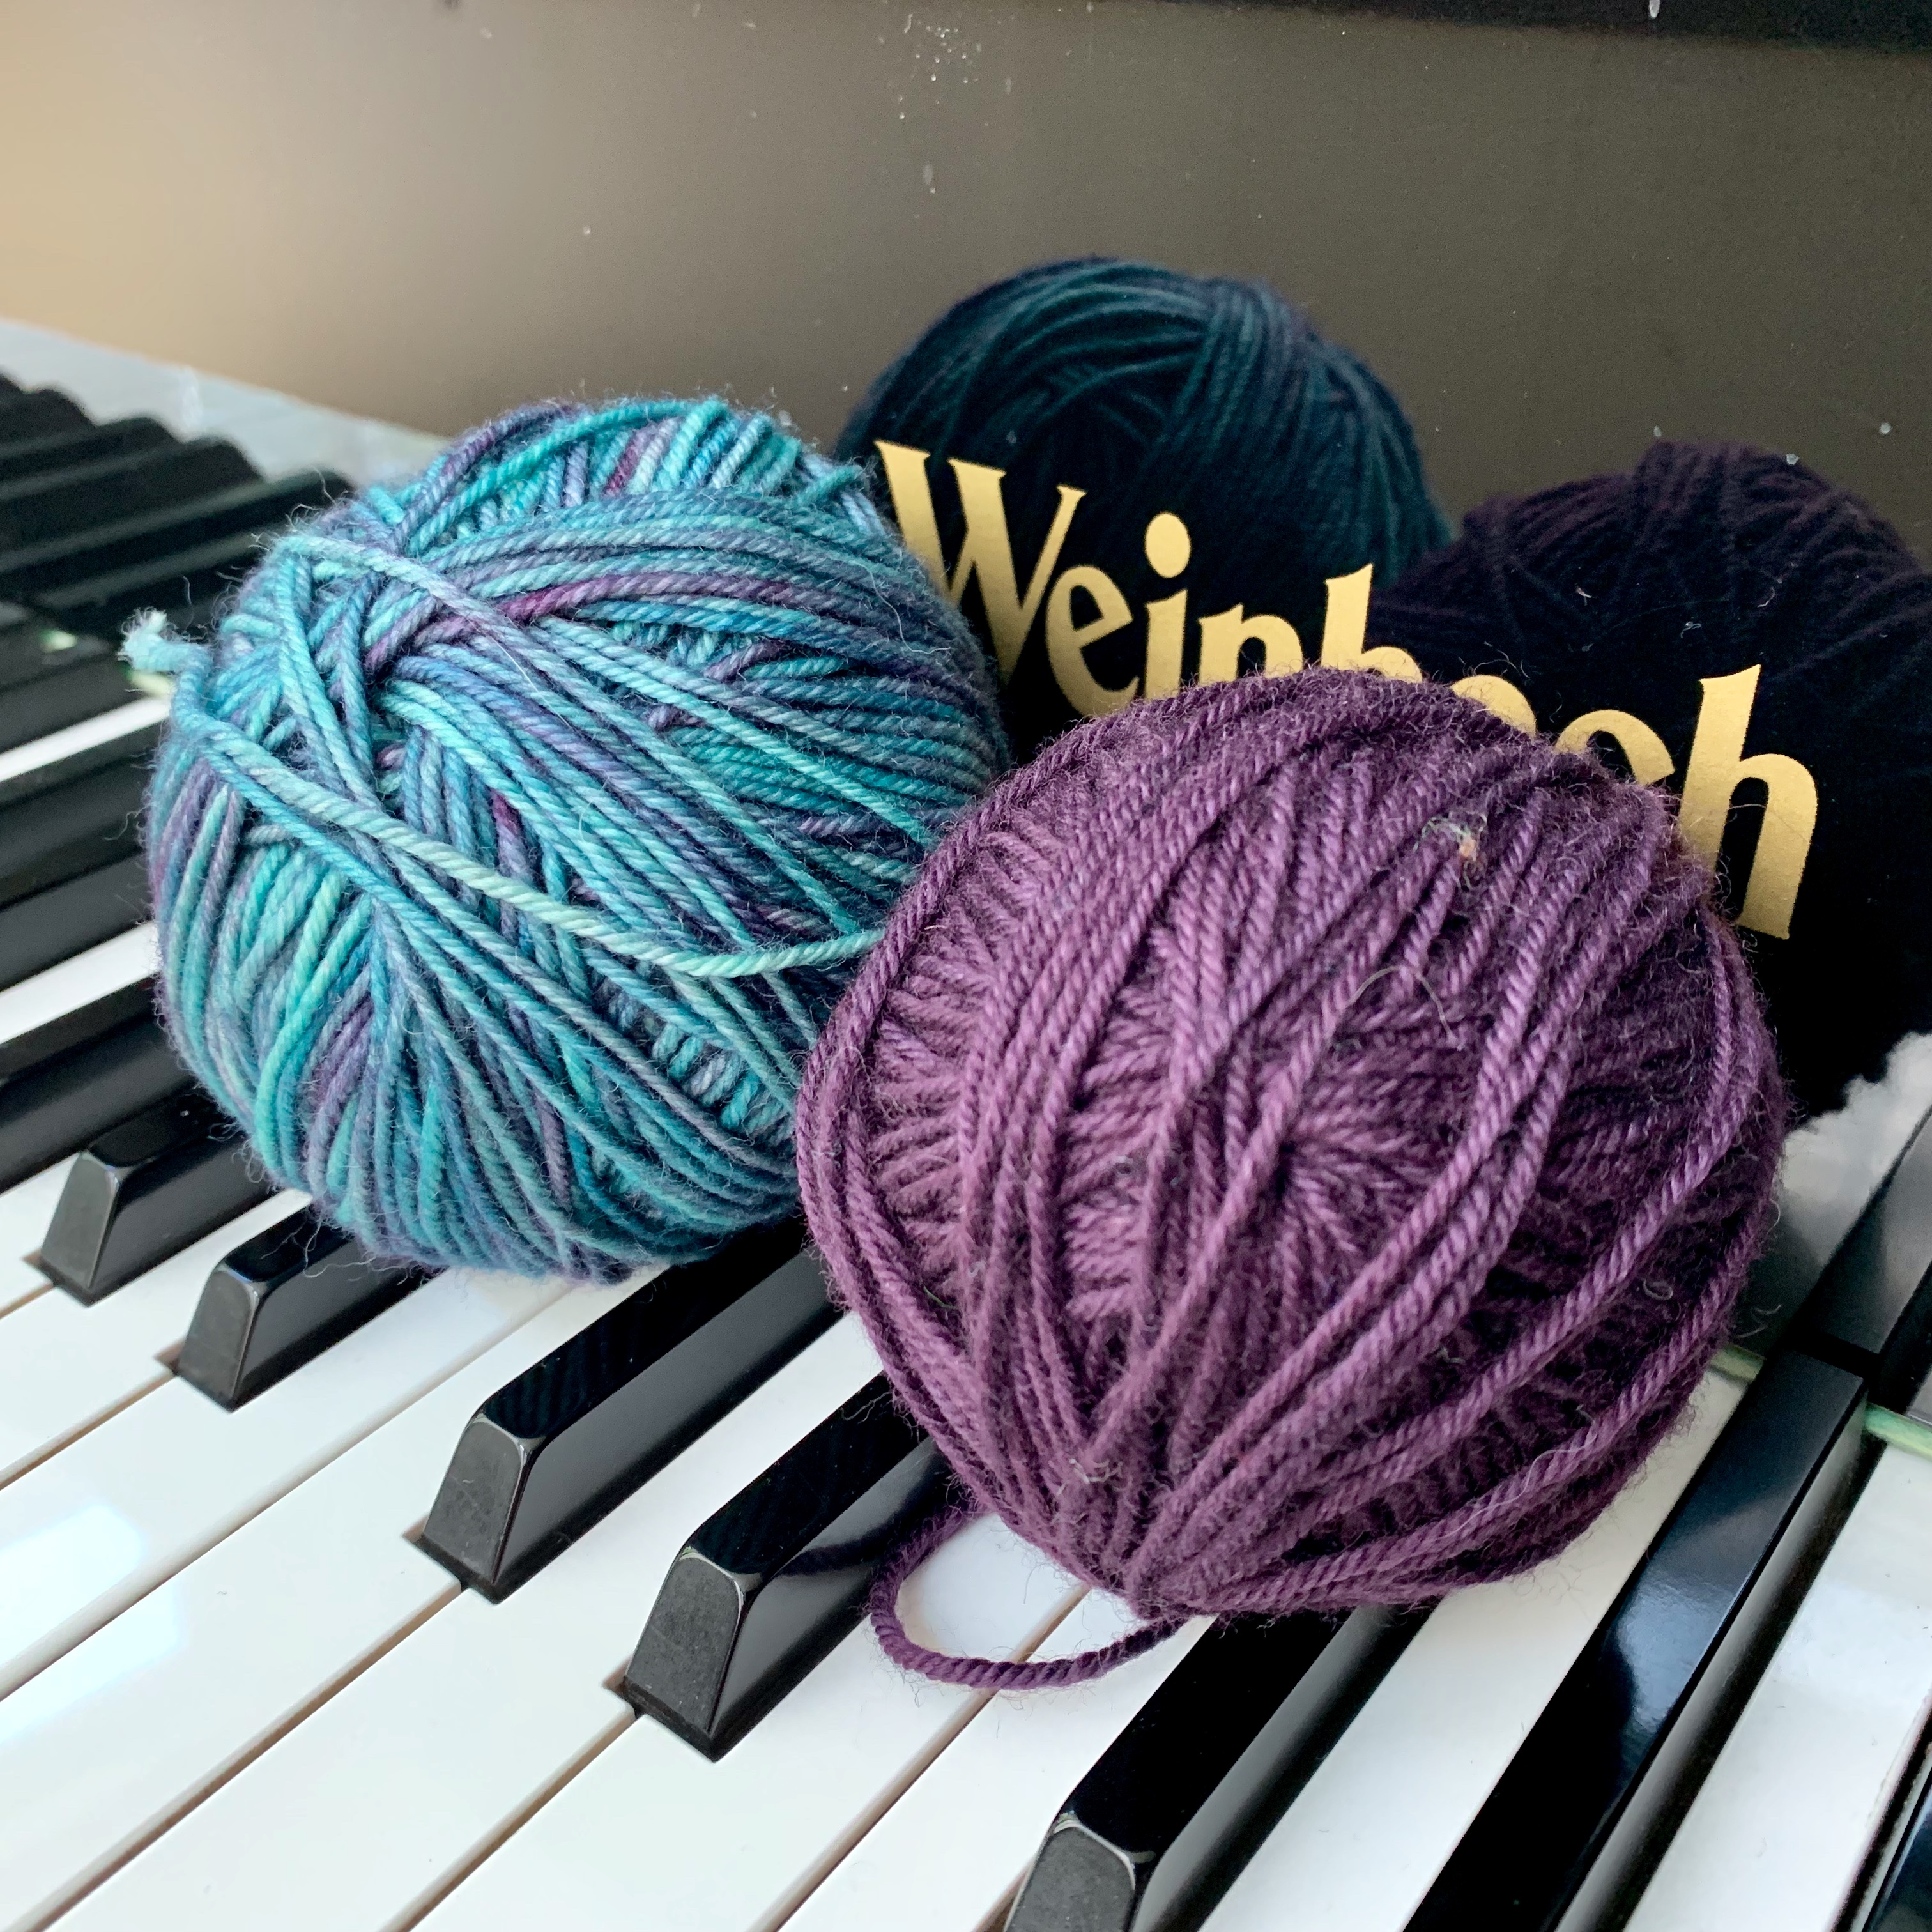
I’m looking forward to getting my yarn, Knitted Wit’s Cashy Lite in Peacock. She’s dyeing today! Did you order yarn from Knitted Wit, or are you using your own? If you ordered from Lorajean, I’m tucking in a little goodie for you with your yarn.

KAL stitch markers

Looking forward to casting on, June 10!

New knits, stitch marker giveaway

I’ve been knitting like mad these past few weeks. I’ve been swamped with new ideas, and I want to KNIT ALL THE THINGS. And why not?

The most recent knits are two versions from one idea. Remember the lovely Hazel Knits Artisan Sock in Hoppy Blonde?

20121021-231532.jpg

Knit. Blocked. I wore it yesterday, even though I’ve never worn this color before. It’s so enticing that I’m willing to go out of my color comfort zone!

20121021-231220.jpg

The second version has a lacier border, and is 6 rows from completion in Hazel Knits Artisan Sock Jam Session (the red), just 819 stitches away. No picture yet, but soon. The pattern is written and charted and needs proofing and test knitting.

hazel3

(And what shall I do with the skein of Splish Splash?)

I love stitch markers for keeping things orderly. Leticia at Starlight Knitting sent me samples of her square stitch markers last month, and they have served me well. She sent along some extras to share. I did share with some of my knit night peeps, but I have enough extra that I think we should have a giveaway here on the blog.

This is a set of Color Play stitch markers that she designed for Sincere Sheep, a favorite indie dyer.

Untitled

And this set is inspired by Downton Abbey. Can you tell which colors are for Lady Mary, Lady Edith, and Lady Sybil?

Untitled

I’m giving away both of these sets. Leave a comment below and I’ll do a random drawing for two winners. Because we could all use a little bling for our knitting!

Be the boss of your knitting

Does your knitting know who’s boss? Are you a fearless knitter? Not yet? Here’s your chance. I’m teaching Tink Drop Frog (how to fix your mistakes) at Stash in Corvallis this Saturday morning, October 6. If you’re local, come learn to whip your knitting into shape in this two hour workshop.

stocking christmas stocking

I’m also teaching a Christmas stocking class in the afternoon. You’ll learn stranded color knitting, and turning a heel. A Christmas stocking is a perfect first sock because it’s knit with big yarn and needles, and you only have to knit one! No second sock syndrome. It’s not too early to get your holiday knitting going. Call Stash to register for either of these classes.

I am definitely the boss of my knitting. I knit a shawl while I was traveling in Europe earlier this month, on trains from Amsterdam to Bruges, Bruges to Paris, Paris to Reims and back. Here’s what it looks like now:

frogged

Yep. Frogged it. I didn’t love the finished object, and this lovely HazelKnits yarn deserves better. I know exactly what I want to change. (What, me swatch? The whole garment is a swatch!) I’m knitting on bigger needles, and I changed the motif of the pattern. I’m already much happier with it. I don’t mind frogging; I enjoyed knitting on the trains and I’m enjoying knitting now.

markers

While I was gone, Leticia (Starlight Knitting) sent me these stitch markers to sample.

marker

They’re square! And also snag free. They fit up to a size 7 needle (although I cast on with an 8 and it was fine), and are light and unobtrusive. I love them! Leticia has teamed up with several independent dyers (Sincere Sheep, Knitted Wit, Canon Hand Dyes) to make stitch markers that coordinate with their color palettes. Canon Hand Dyes (Amy Lee) and Starlight Knitting even debuted a Downton Abbey inspired yarn and stitch marker collection. How fun is that? The blue-green markers above are Lady Sybil. Remember her modern pant suit?

Do you use stitch markers? I like using them when casting on a lot of stitches, to mark off groups of 50 so I don’t have to re-count them, and to mark off pattern repeats when knitting, or just to tell my fingers that it’s time to pay attention to something. I’ve made some of my own before, but I don’t think you can ever have too many. I’ve even made them from a cut up drinking straw, in a pinch, but pretty is better. It’s like jewelry for your knitting. How about you?

Stitch markers, redux

I made some new stitch markers this week. I needed some markers with smaller loops for smaller needles. The round ones that I made before are great for knitting with worsted weight yarn on 7’s or 8’s, but they really stick out on a size 2. Rather than trying to make smaller loops with wire, I opted to use flex cord this time. Here are the new ones.

blue markers

purple green markers

Do you want to make some, too? They’re a bit easier than the round ones I made here because you don’t have to finesse the round loop and twisted end. You’ll need some flex-cord (fine weight), some beads, and some crimp tubes in a size appropriate for your cord. You’ll also need something to cut the cord, and either a crimp tool or pliers. Ready?

Cut flex cord in 4 inch (10 cm) lengths, one for each stitch marker.

wire

Put both ends of the cord into the crimp tube, and slide the tube until your loop is the size you want. Then crimp the tube with your crimp tool or pliers.

crimp

Add the beads, again putting both ends of the cord into each bead.

beads

Add another crimp tube, make it snug up to the beads, and crimp. Trim the cord as close to the bead as possible.

stitch markers

That’s it! You may want to add crimp covers over the crimp tubes, but I think these look fine. (And I fail at getting the crimp covers on without either dropping them or destroying them.) One marker is different; I like to make one out each set different so I can use it to denote the beginning of a round, or the beginning of a right side row, or whatever.

While I had the beads out, I made this necklace.

bw necklace

Time to get back to knitting!

Knit? Knot!

Not knitting, knotting. I learned to string pearls! Pretty cool. I had a choker length necklace that broke, and it’s been waiting for about a year for me to fix it. I finally decided to give it a try. New silk cord (comes with needle attached), an awl, really pointy tweezers. Check.

pearls

It looks as good as new! There is a knot on either side of each pearl, and about 1/2 inch of silk cord between each pearl. Here’s how it goes: Start with a length of cord twice as long as you want the necklace. Too much is better than too little! Tie the non-needle end of the cord around a seed bead. I can’t tell if I have a square knot, or not! It’s too small for my eyes. So I tied 3 or 4 times. Then add the bead tip (the clamshell shaped thing that the bead sits in; this will also attach to the clasp). You don’t have to tighten it at this point; just let it hang there.

*Make a simple overhand knot about 1/2 inch away. I used the awl to slide the knot close to where I wanted it, and then just my fingers to tighten the knot in place. Add a pearl. For the knots after each pearl, I used the awl to place the knot, and then used the tweezers to slide the knot against the pearl. The tweezers were really helpful in getting the knots snugly against the pearls. Repeat from * until the strand is the desired length.

knots

Add another bead tip, and then tie cord around another seed bead about 1/2″ away. Dab some glue (Elmer’s is fine, according the the helpful woman at the bead store, but superglue is not; it cracks) on the end knots (the ones on the beads). Let dry, clip the excess cord. Close the clamshell bead tips around the beads. Attach clasp to the hook on the bead tip; pinch closed. Voila!

toggle

I did have to do this twice. The first time I got to the end, I put the end bead on before the bead tip that it sits in. The end beads should always be LAST. They’re the ENDS. Oops. I couldn’t get the knot out to fix it. And of course this happened 15 minutes after the store closed last night. I had to wait for morning to buy more cord and re-string the whole thing. Practice makes perfect.

I think I could actually do this without a little bead in those end thingies, if I tied a triple or quadruple knot to go inside the bead tip. That would make it easier to close the clamshell completely. My original necklace didn’t have bead tips at all; the cord was just tied around the jump rings. I don’t trust my knots enough to do that, yet.

I completely winged this, so if there’s a “right way” that’s different, I don’t know. But I liked it so much that I made a necklace for my sister’s birthday, too!

pink

I also made these stitch markers with goodies from my trip to the bead store. Cat Bordhi suggests stitch markers labeled by letter for some of the socks in her New Pathways for Sock Knitters book. I plan to use these soon!

markers

Beadazzled

I spent some time on Friday putting some things together.

markers

These are the stitch markers for the January event at Twisted. I made 16 of each kind; they’re in school colors. I ended up not using the beads that I bought for the project, because they just didn’t look that good! So these are freshwater pearls on the top row, and blue crystals on the bottom row, plus some miscellaneous beads.

I also made a bracelet for a holiday gift (no names! no hints!).

copper2

I love this bead; the whole piece was built around it.

nautilus

And one more gift. The shell in the middle is from our trip this summer.

beach

You can see the sand inside!

detail

That should be a nice souvenir.

Turkey in the oven. I’m using my Dad’s oyster/Chinese sausage/water chestnut fried rice stuffing. He’s been gone since 2001, but I remember him in little ways, always. Baba’s Bed Socks were designed for him, way back when. Mom’s coming for dinner. It’s Thanksgiving preview; she’s going to LA for Thanksgiving!

Knit haiku

I wrote a haiku the other day. I’m not really in the habit of doing so, but Dee at Cooking with Dee is having a haiku event, and I wanted to send her something.

Knitting in sunshine
Pink yarn on smooth black needles
Poetry in lace

I made some more stitch markers yesterday. They’re pretty, but not as fun as the first batch. I think the difference is that it’s just the one bead, and that wasn’t as much fun as picking several beads for a marker. It was more of a job than a creative activity. But here they are, anyway:

markers2

Pianists, note that this picture is on the back of a Schirmer book. The previous markers were on Henle blue; I thought I’d continue the theme! Henle is my favorite urtext edition.

I’m going to a piano party on Sunday, so I’ve started playing again. Nothing like a deadline to get me on the bench. At this point in my piano life, I’m not practicing enough to learn something new, so I thought I’d try to resurrect some old repertoire. I have several pieces that are easily revived, but I’m reaching further back and trying to re-learn some other things, notably the andante from Mozart’s G major Sonata K. 283 (I used to play the allegro, too, but that’s an ambitions resurrection right now), and Beethoven’s G major Sonata Op. 49. No. 2. Neither one will be ready for Sunday. I’m enjoying it, anyway.

Josephine in her finery

The Josephine Top is coming along. I’m at 8 inches on the back; it’s time for the second set of decreases in the ribbing section. The pattern is easier to remember than I initially thought, so I’m cruising along with only an occasional glance at the chart.

jo 06.09.08

Here’s a closeup of Jo with her new stitch markers between each ribbing and lace section. See the bright lime green rubber one on the end? I need one more new marker!

jo markers

And I think this looks like a tiara, which is fitting for the Empress.

jo tiara

My pattern writing is stalled for now; I’m pretty focused on making progress on this project. All things in their time.