I was just finishing another cowl knit in the round, and I realized that I haven’t shown you how I like to finish my bind off. It’s very neat and tidy.
Easy peasy. Now I’ve shown you my favorite ways to begin *and* end your project in the round. If you missed my post about joining to work in the round, here it is again:
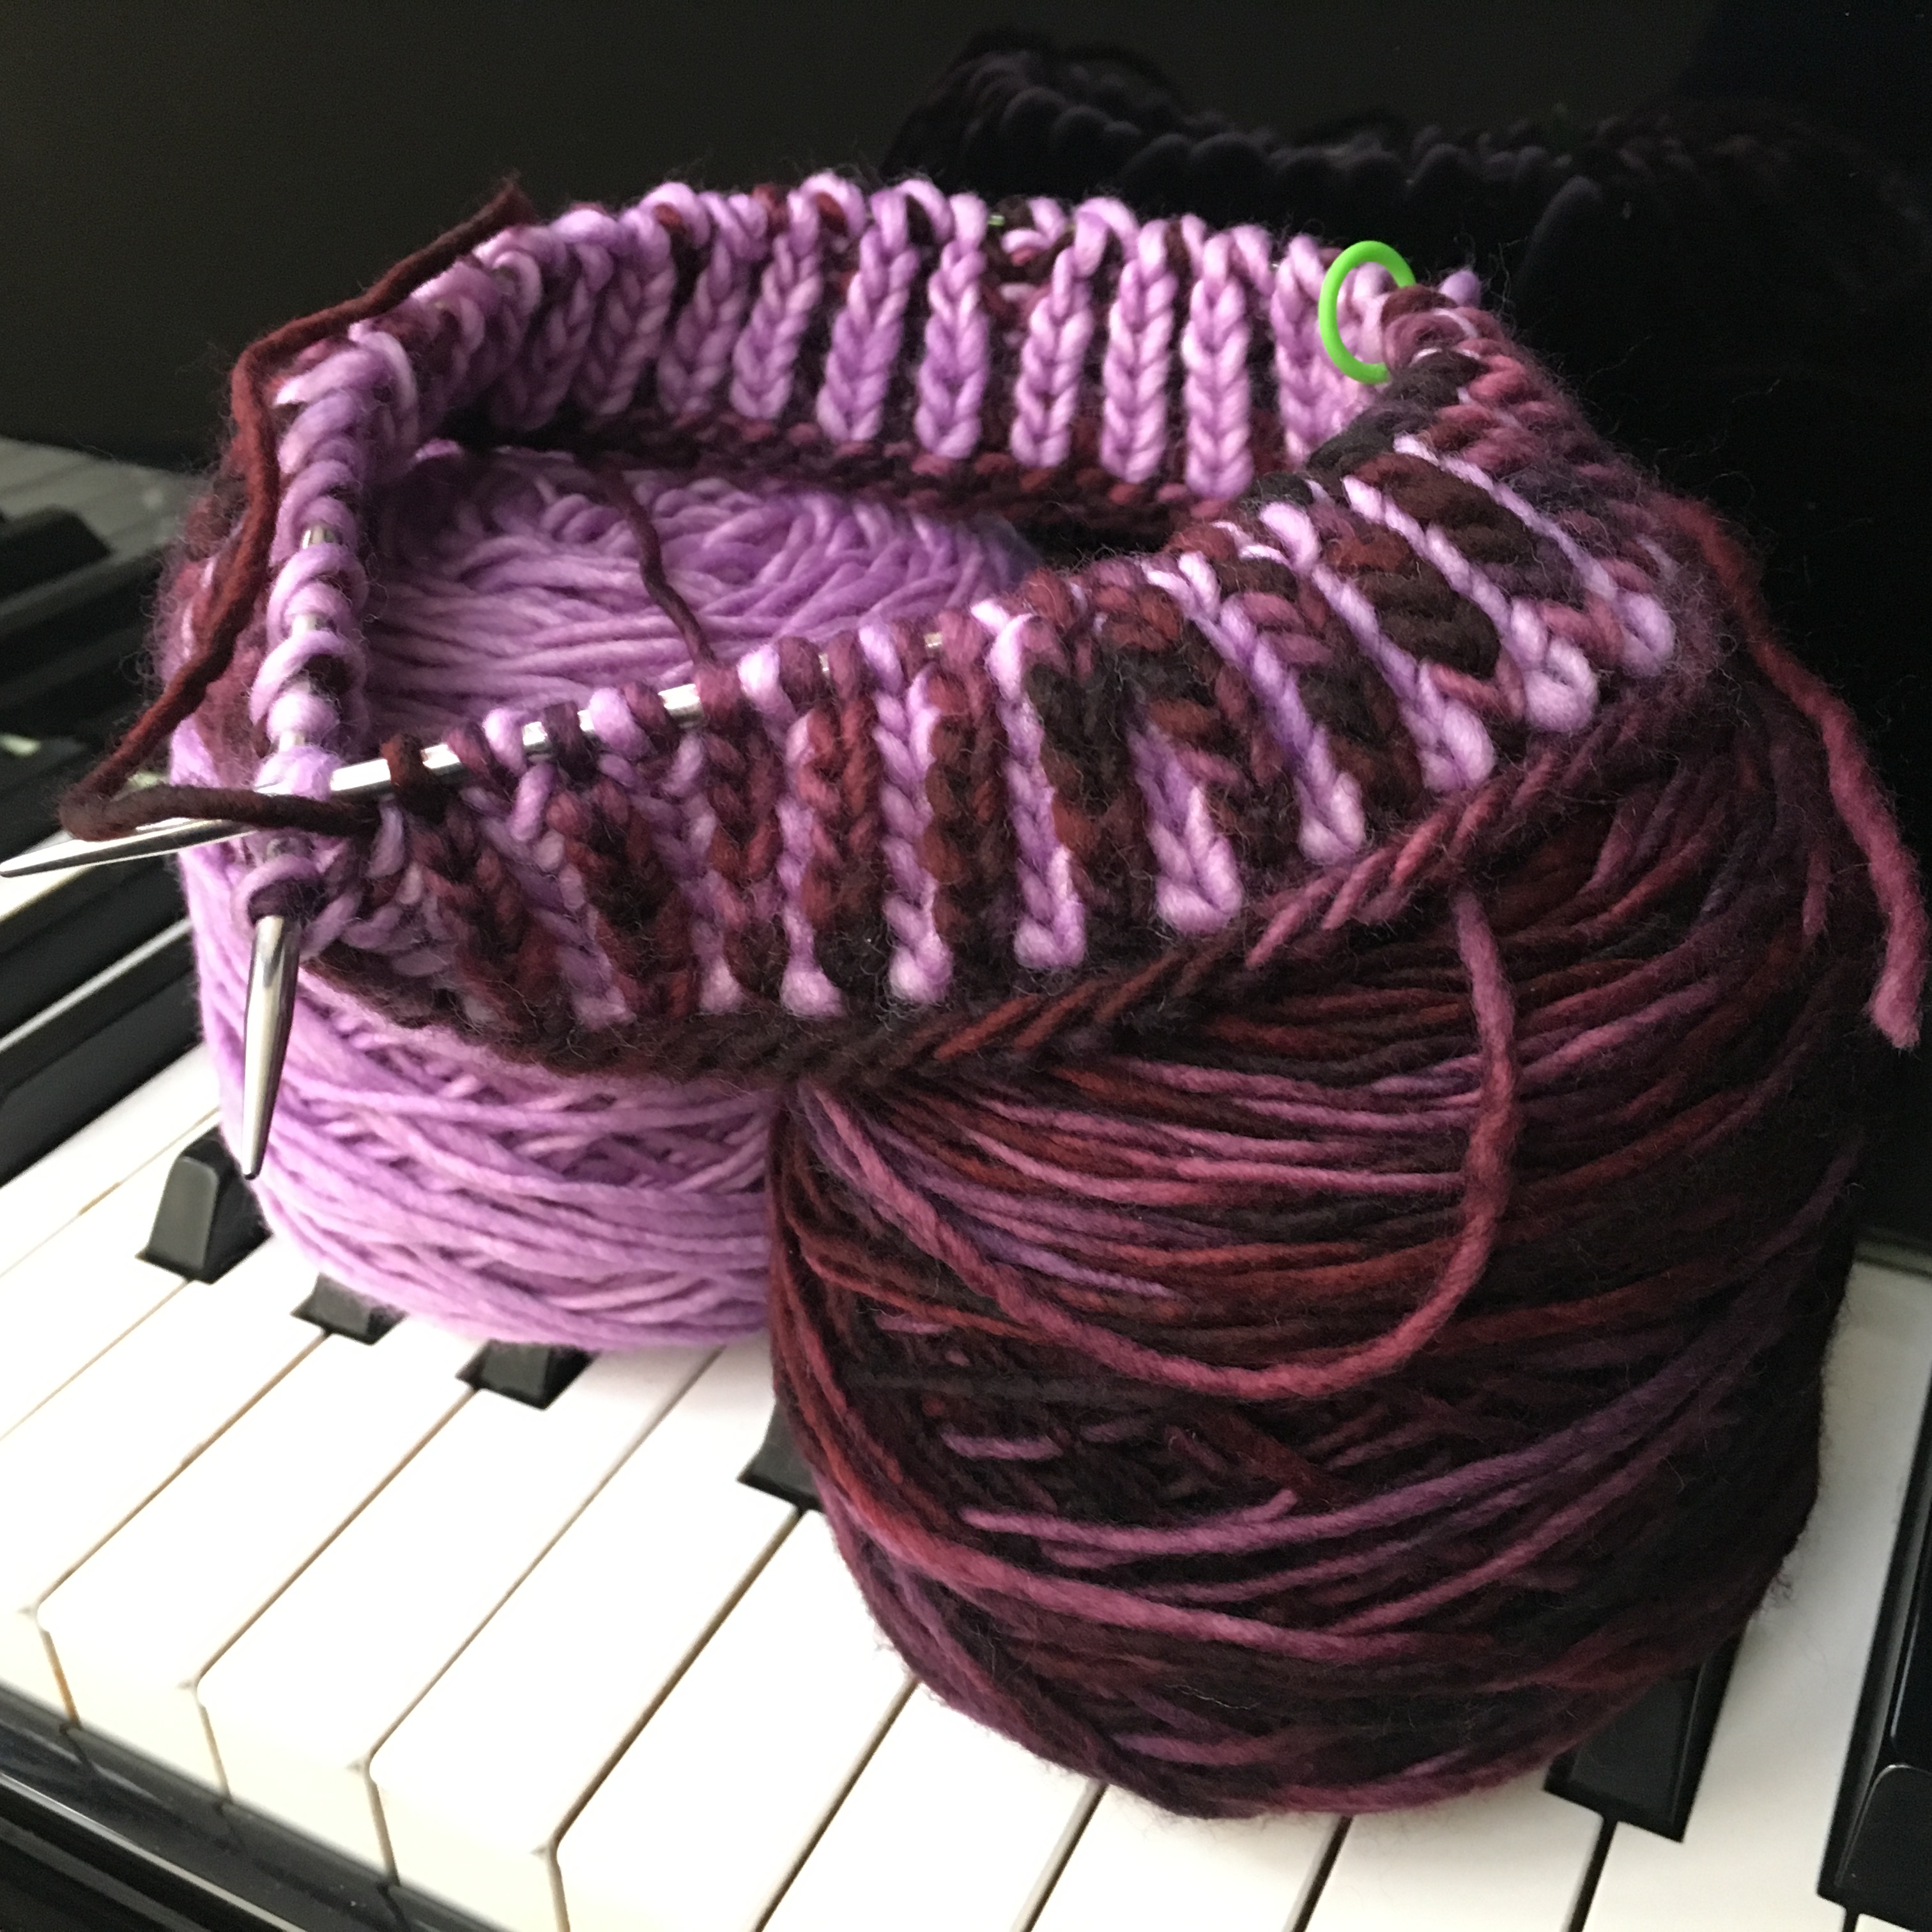
And yes, the new project is yet another brioche cowl. Going on a deep dive here. I just can’t get enough! Sneak peek coming soon.
You may have a knitting circle of your own; i certainly miss my knit nite crew! But the Knitting Circle I want to tell you about is something completely different.
During this pandemic summer, I had the opportunity to make video tutorials for a new venture, The Knitting Circle. It’s a place to learn about knitting, online. The website just launched last week. Now I keep seeing my face chatting away in their Facebook ads. Startling!
The site has blog posts and instructional videos. Due to the pandemic, the teachers made videos in our home studios. I learned a lot about lighting, recording, and editing! They turned out well. Some of the videos are free, and some are premium pieces that require a subscription to watch. The subscription is $49/year, but there’s a special offer for $2 USD for the first year. For that price, I’d subscribe! I think if you sign up for their newsletter, you’d get the offer, or you can claim it through their Facebook ad. I’ve posted their ad on my Facebook page to make it easier for you to find.
Use the link below to get to the site; this is just a picture!
Here’s a link to my blog posts there; they are free content but link to free or premium videos. These are all complete blog posts, no subscription needed to read them.
So why would you want to subscribe to The Knitting Circle, when there are a million videos on YouTube? Curation. The teachers on the site are carefully chosen; we’re experts! My teacher cohort includes Jen Lucas, Corinna Ferguson, Mary Beth Temple, and Jill Wright.
The Knitting Circle is a venture from TN Marketing; they also have sites for sewing, quilting, photography, RV restoration, bowling, and more. They are also the new owners of Craftsy.
I’ve enjoyed working with them, and I learned lots of new skills this summer. Having a knitting studio at home is coming in handy! All of my Zoom classes are there, and my own videos are getting better and better, too.
I’ve been knitting in circles so much lately, so many hats and cowls. One benefit? I’ve perfected my circular join. I used to cast on one extra stitch, and then knit the first and last stitches together. This snugged up the join, and it still will.
But I’ve started using that extra stitch in a different way, and it’s just a bit tidier. I really like the way it looks. I take the last stitch cast on, and pass it over the first stitch that I cast on. I made a video for you!
You do still have to remember not to knit with the tail…
Is it possible? Can you frog brioche? Of course. It’s getting it back on the needle that’s tricky. I’m here to help! I’ve had a lot of experience frogging…(for newbies: frogging means rip-it, rip-it, rip-it).
You can rip one row/round at a time, alternating colors, but it’s just as easy to rip them simultaneously. The trick is to rip until you’re close to where you want to end up, and then tink (un-knit, knit spelled backwards) the last row or round, one stitch at a time, picking up each stitch as it’s freed from the yarn. This is also how I frog regular knitting.
After I made this video, I frogged this project completely, because it’s a little too big. But I wanted to show you how it worked, before completely undoing it. It turned out to be just a big swatch!
I’ve just updated my Petite Brioche pattern. I’ve been teaching this class a lot lately. The beginning/end of the round is always the most confusing spot for new brioche knitters, so I wanted to make it easier. I think this does. Also, it makes teaching easier for me, too!
Of course, the pattern links to video tutorials, so I had to make new tutorials! The new pattern has new links, my tutorials page has new links, and my handouts are getting new links. A lot of work for a free pattern, but it’s a labor of love for this brioche evangelist.
English/throwing
Continental/picking (I’m a very awkward continental knitter, but you’ll get the idea)
The older videos are still linked on the tutorials page; they still work. You can pick whichever makes sense with the way you think and knit. The Brioche Hat Trick patterns aren’t being updated; you can choose which way you want to work your beginning/end of rounds.
I promised a video tutorial to 3 of my classes at the last Virtual VKLive, and I made one and sent it along. But I just re-made it with more descriptive detail. Here’s the link on YouTube.
I learned this technique from a video by Nancy Marchant, and then expanded on it as I learned how and why it works. Just another tool in the brioche toolbox!
I put a link to this video on my tutorials page, so you don’t even have to remember where to find it. And if you didn’t know I have a tutorials page, go check it out. I have lots of tips over there, and I’m getting better and better at making videos.
My brioche classes are sold out at VKLive, but you can take brioche classes from me at the Peacetree Fiber Adventures online retreat on July 24 and 25. Register here.
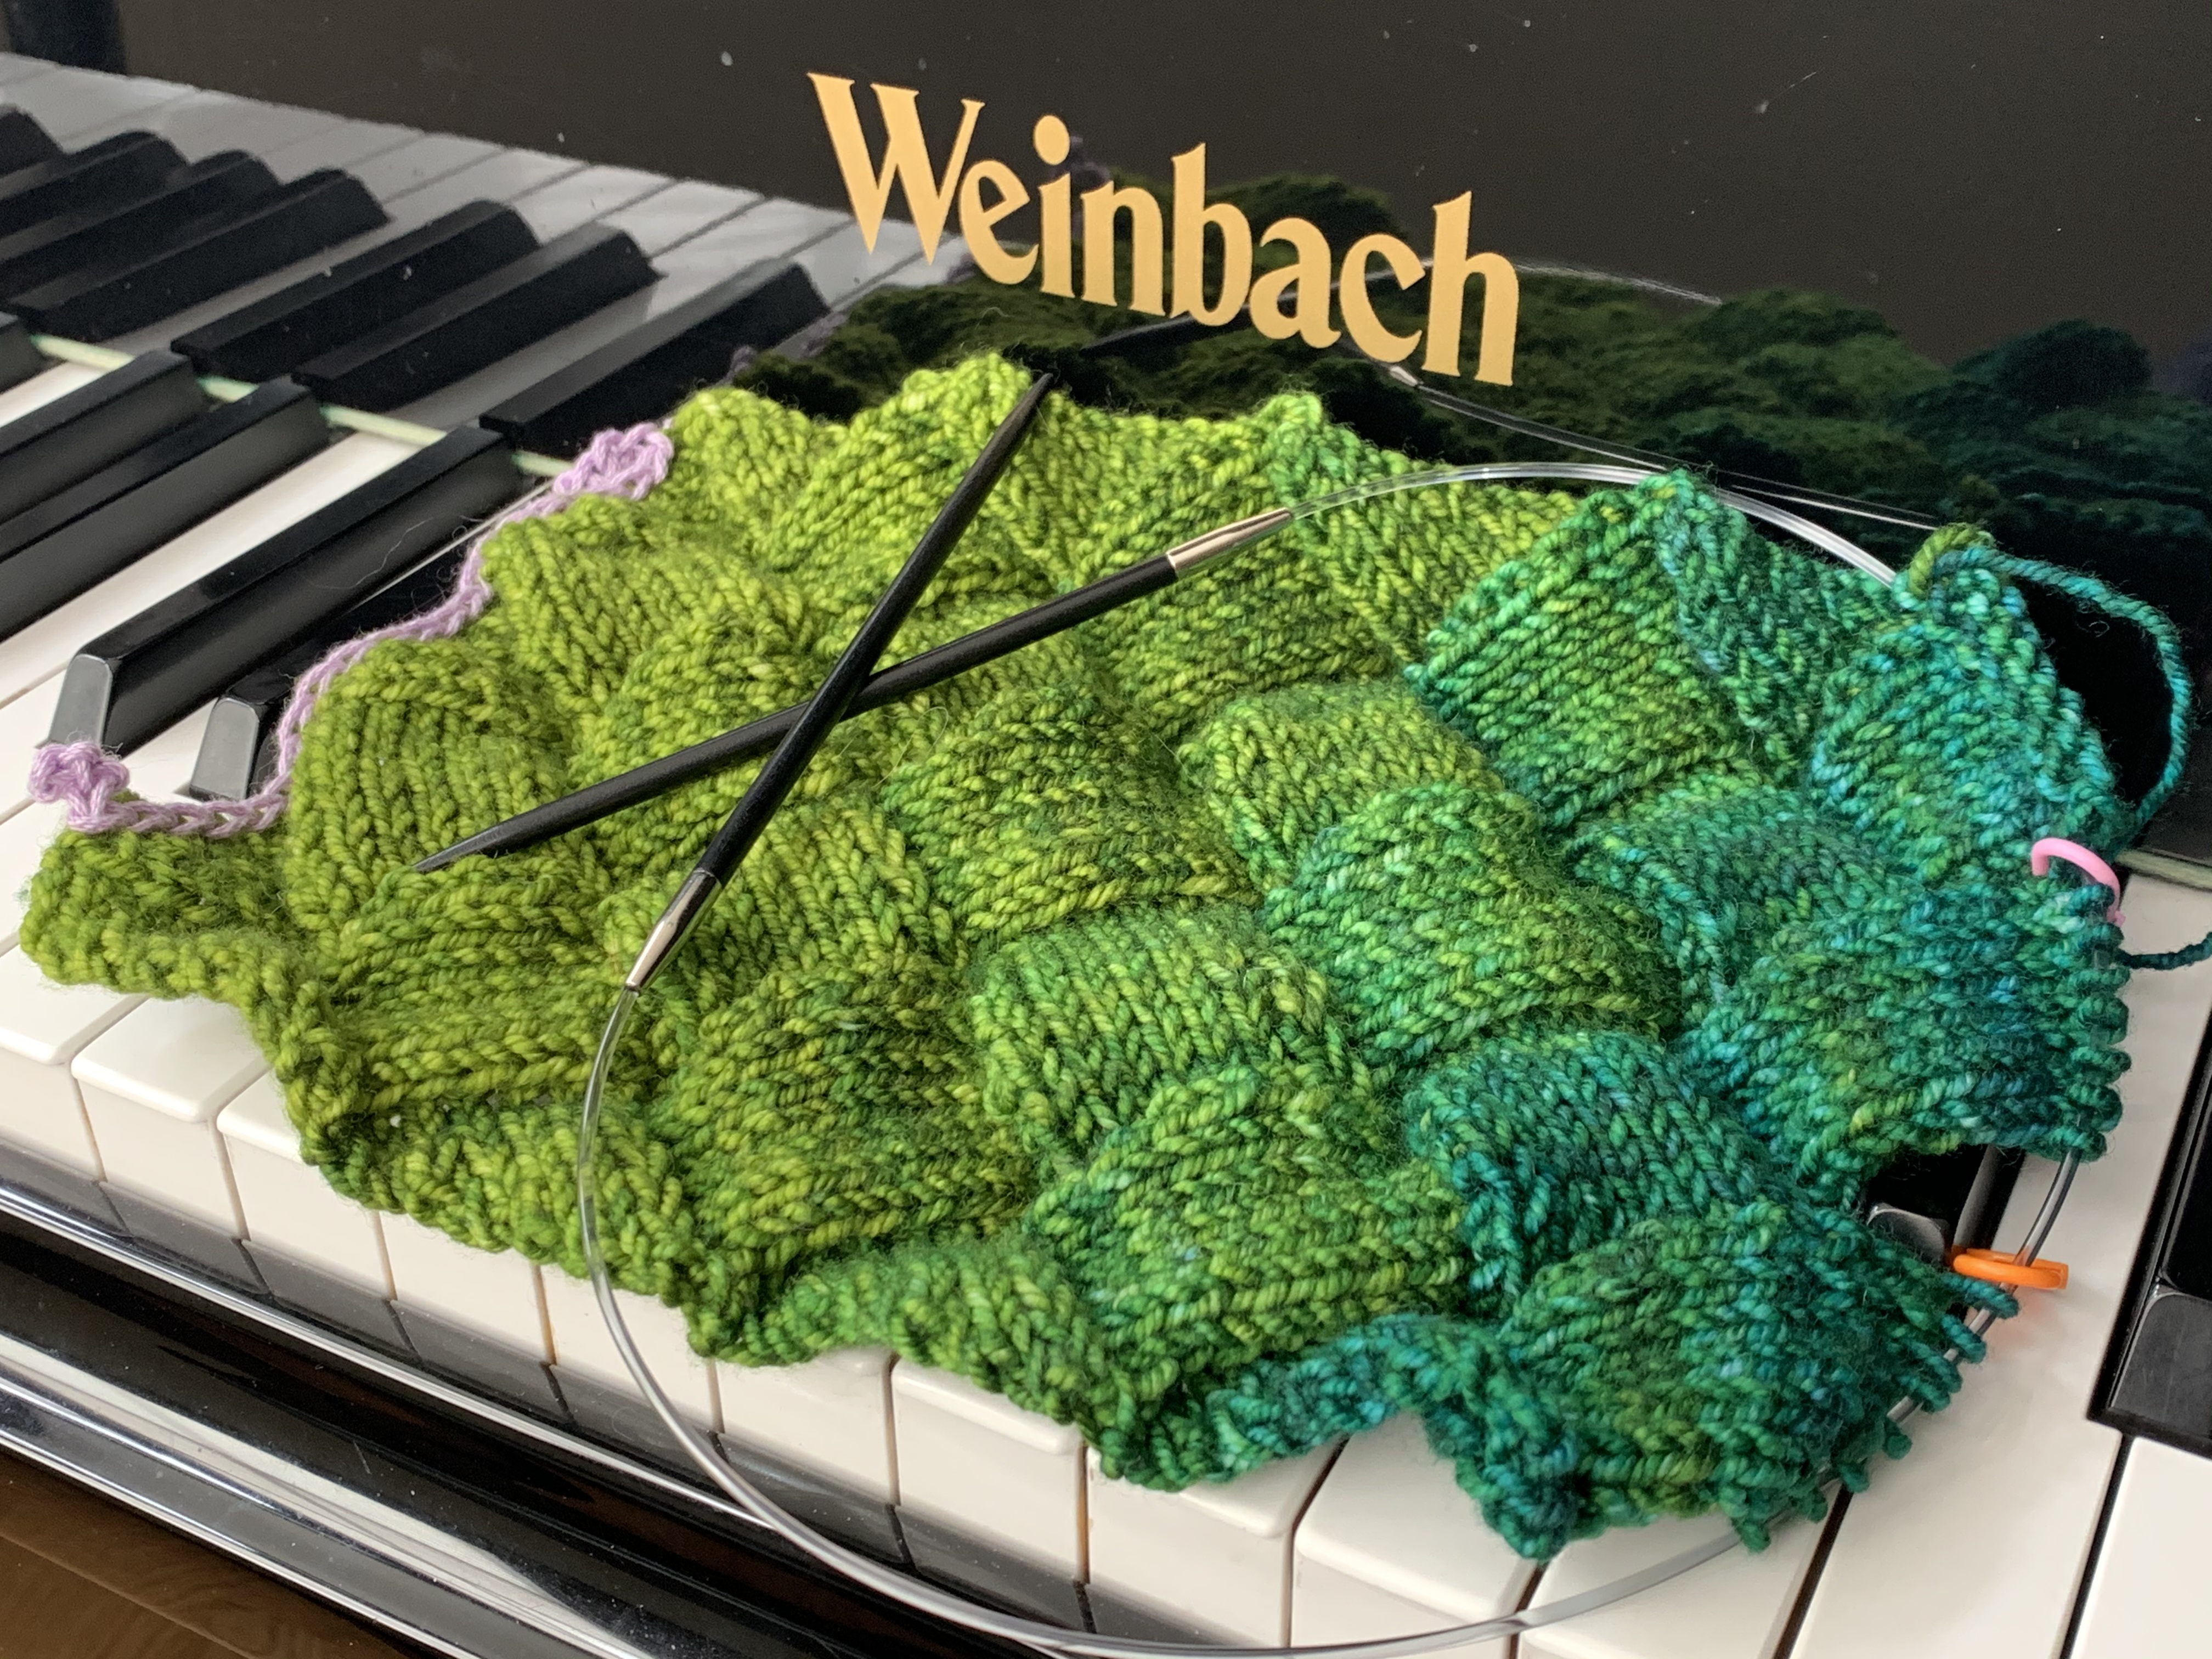
There’s still room in my Minerva Entrelac scarf/cowl class at Virtual VKLive. Register here!
Oh, that last bit, the right edge triangle. It sounds a little tricksy at the end, but it’s not hard. Just keep following the directions, to the end, which is a slightly tricky part. Here’s a video for you:
Then it’s on to Tier 3, which is a piece of cake! 🍰
When you’re finishing Tier 4, with another right edge triangle, picking up the last stitch can be a little tricky. I like to pick up here, in the outside of the first V on the outside edge, so the corner of the triangle doesn’t stick out as a bump on the lovely straight edge.
Now it’s just a matter of knitting away and watching your colors change. Have fun!
If you’re on Ravelry, please make a project page for your Minerva; I’d love to see them there. Ravelry makes it so easy to find them all together. And post on Instagram using #minervakal2020 and #pdxknitterati too. I love seeing your progress.
How are your base triangles looking? Not really triangles, are they? But they’re close enough, and they’ll look good as we go on.
I forgot to ask: If you’re on Ravelry, please make a project page for your Minerva; I’d love to see them there. Ravelry makes it so easy to find them all together. And please post your progress on Instagram using #minervakal2020 and #pdxknitterati so I can see them there, too.
Here’s a short video on how to start the left edge triangle.
And here’s a video on picking up stitches for the first right leaning rectangle.
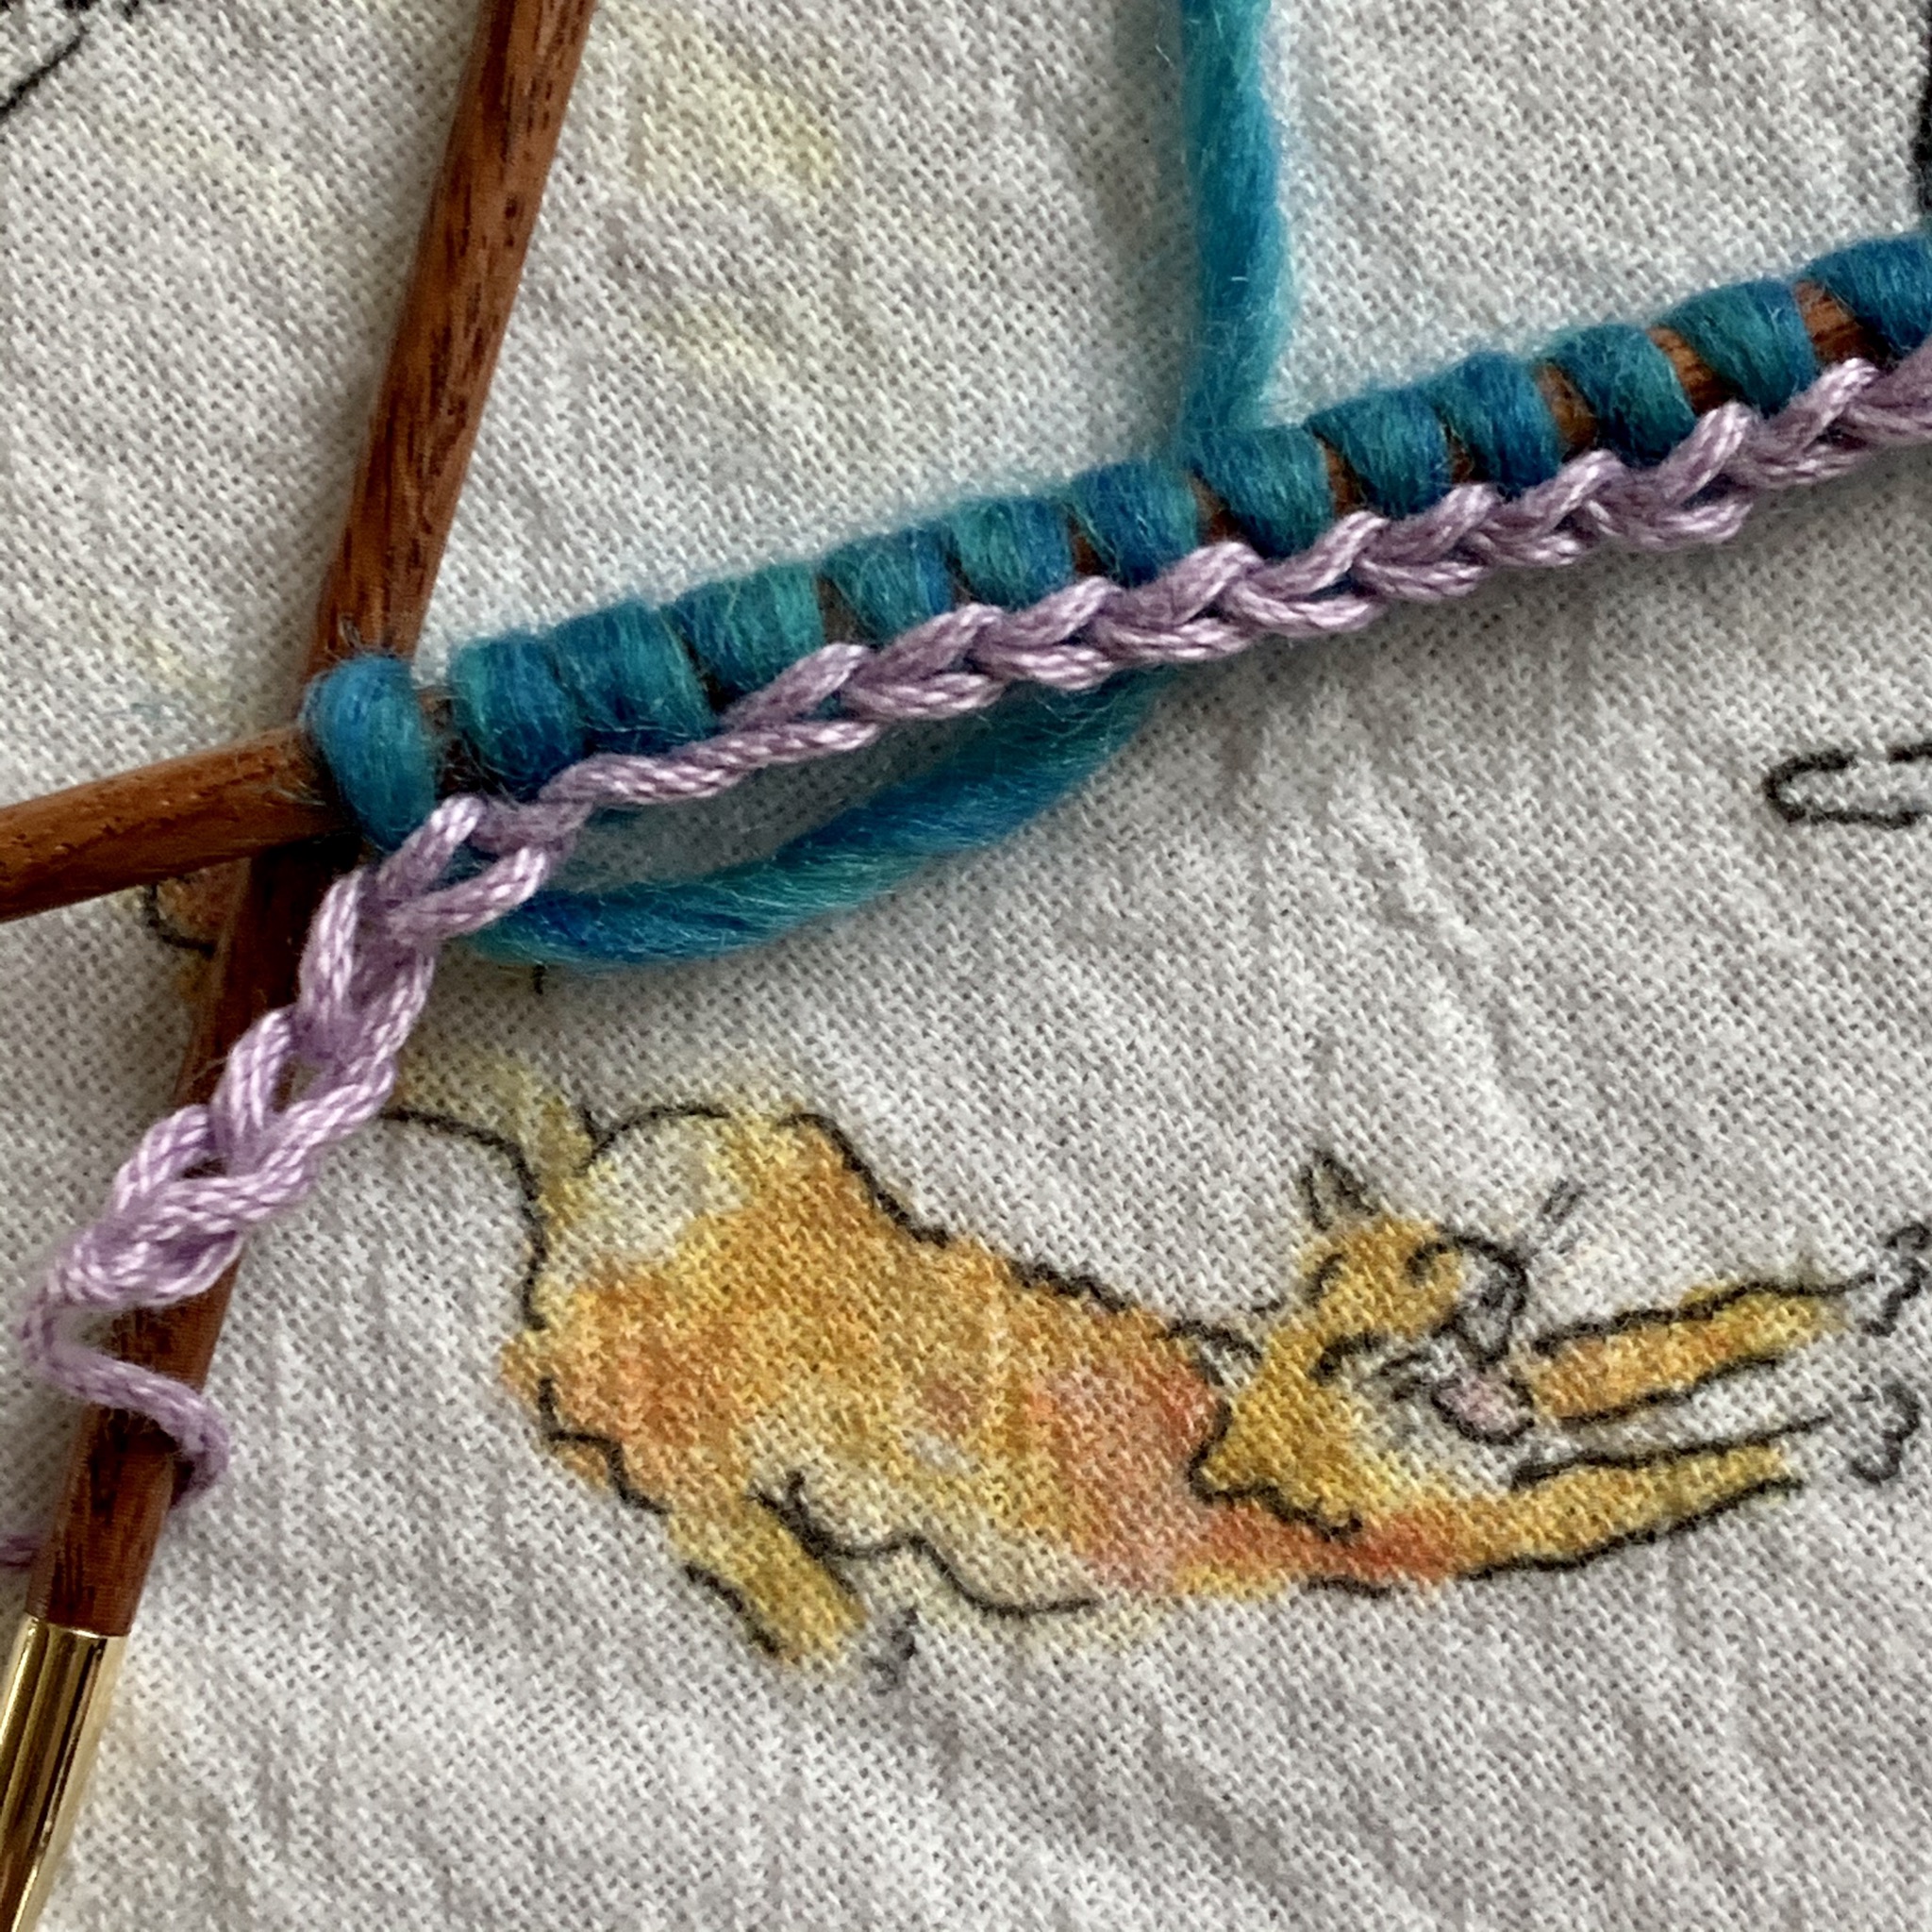
I used a crochet chain provisional cast on. If you’re doing it right, you’ll see the chain. See on the last 3 stitches, I did it wrong? Don’t do that!
Here’s a short video to walk you through the beginning of the first row.
And a video of the transition between the first and next triangle.
Let me know how you’re doing with your project; post on Instagram and use #minervakal2020 and #pdxknitterati so I can see them. And please make a Ravelry page for your project if you’re a Raveler; I love being able to check in on your projects. And post on your blog if you’re a blogger and let me know!
I’m using a bit of Knit Picks Chroma Worsted, I think in Pegasus, to show you this beginning, because I already used my Huckleberry Knits Gradient to do a little knitting last night. I had a Zoom meeting with the knitters who were going to come to my Minerva class that I had to cancel, so it’s a bit ahead of where we are right now.
Biscuit helped me set up my workspace. She was ready for her closeup, under the warm Ott light!
We had a good meeting, but it sure is a lot harder to have a knitting class when you can’t touch the other people’s knitting! And one on one is easier than a large group. So in a pinch, Zoom for sure. But I’d always choose in-person over virtual meeting, if possible.
Find my patterns on Ravelry: Michele Bernstein Designs
Here are some of my favorites, and the newest. Many of my designs are also available through my Payhip store.











 PDXKnitterati