Virtual knitting summer camp? Sign me up! Mitered square dishcloth class with Lorilee Beltman via Modern Daily Knitting was too tempting to pass up.

I completely forgot about the Zoom until midnight the night before, so Bisquee supervised my homework this morning. Knitting in bed with cats is the best.
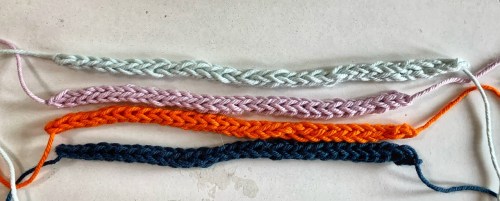
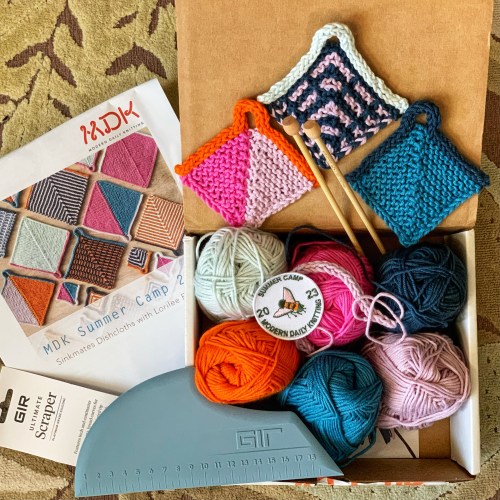
The box came with yarn, needles, yarn needle, pattern, camp patch, and a cool kitchen tool. I knit the first homework i-cord with the enclosed needles (US 7 Clover straights). While I love the needles, I don’t like straight needles for i-cord because you have to keep moving the knitting back to the left needle. That was cumbersome, and the sliding back to the left needle made my knitting much looser and messier than just sliding to the other end of a dpn. I pulled out some Brittany birch dpns for the other three i-cords, and whoa! You know what they say about swatching on the needles you’re planning to use for your project? Check out the difference between the first i-cord and the other three. Seeing is believing! I eventually frogged that first i-cord so it would match the rest.
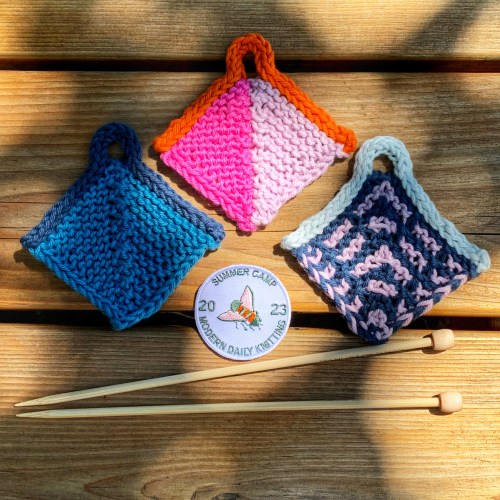
Here are the three mini dishcloths I knit during camp/class this morning. Mitered square, 2 color intarsia, and a slip stitch pattern. All the dishcloths are started by picking up in an i-cord, so we had lots of practice with that. And they all have knit in i-cord edges, like the ones I used on my Thrumbelina slippers.
I really liked the i-cord edges on the 2 color slip stitch pattern. It was hard to see the edge pattern emerging until the 6th row…kind of like brioche! Just keep knitting, trust, and believe. Now that I see it, I may have to try it on my Slip Away Cowl pattern. If I like it better than my garter stitch edges, you may see a pattern update!
I also enjoyed the intarsia dishcloth. Intarsia is fun when it’s geometric shapes. I don’t love picture intarsia that keeps you tied to a chart, but straight lines are my happy place. I knit 2 Vogue Knitting Grumpy Cat sweaters for my kids a very long time ago. I started a third one for me, and I never finished it. That was the end of my intarsia knitting, until now.
All in all, this was a very fun way to spend a morning in the company of other knitters. Lorilee Beltman is an excellent teacher, very organized and well prepared.
If you have a hankering to knit mitered dishcloths with hanging loops, you can purchase the Sinkmates Dishcloth pattern (full size dishcloths with lots of skill building variations) on Ravelry. Use code FRIEND for $3 off; I think the coupon is valid through the end of July. And if you want to knit with this dreamy Rowan Handknit Cotton, you can find it on the Modern Daily Knitting site in a ton of beautiful colors. There’s a coupon for 10% off in the pattern, and that one is definitely good through July.
Now it’s back to the neverending bind off on my assigned pooling shawl. Not even halfway there yet…