Whoa, 21 days since my last post? Inconceivable! I’ve been knitting up a storm, and paring down a to-do list that grew to anxiety-provoking length. It’s better now. On the to-do list were three video tutorials for the project on the needles. No, the project isn’t hard. But sometimes having an extra visual can make things more clear.
Adding beads to your knitting
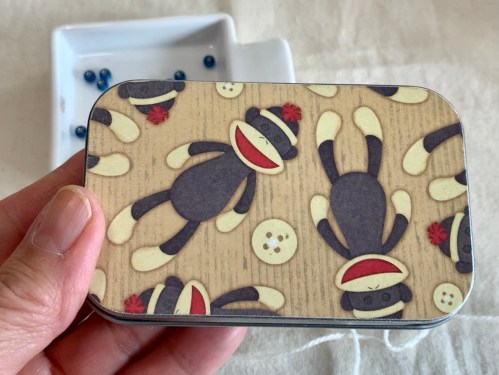
One of the videos shows how to add beads to your knitting using the crochet hook method, and also using a BeadAid, which is my favorite beading tool. You can click the link above to watch it.
The video also features my bead tin setup. I hope you enjoy it!
Looking south to the Burnside Bridge
This past week the cherry blossoms have come into their full glory down at the Willamette River waterfront. This is the river that goes through the center of Portland.
Looking north to the Steel Bridge
Gorgeous! I went for a walk with friends last Thursday.
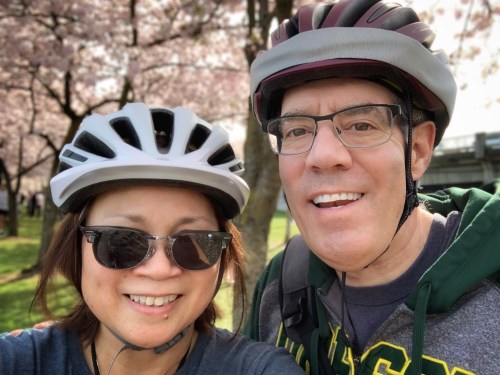
And then DH and I rode our bikes down there on Sunday. It’s a nice 10 mile loop from our house.
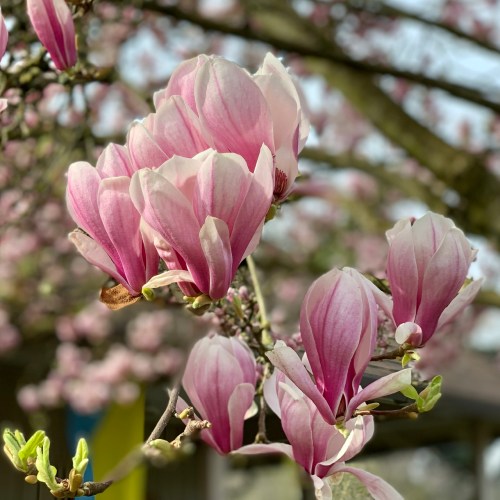
The magnolia trees are in full bloom, too.
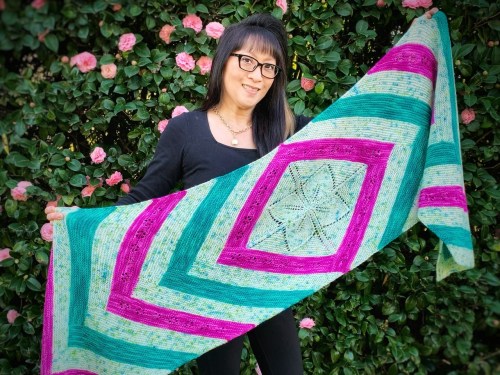
Camellia Wrap
My favorite camellia hedge is also blooming, even more than in this updated Camellia Wrap picture from 3 weeks ago. It’s definitely Think Pink season around here.
It looks like we’re in for a rainy weekend. Perfect timing. I’ll be teaching two zoom classes this weekend: Deep End Brioche Increases and Decreases on Saturday and Sheepy Steeky Coasters on Sunday. It’s not too late to sign up for either one, but the steeks class has homework so you’d definitely need to address that now.
Happy spring! Or fall, depending where you live. Happy change of seasons, anyway…
We’ve cast on for the RCYC MKAL, but it’s not too late to join the fun! You can find the pattern on Ravelry, here.
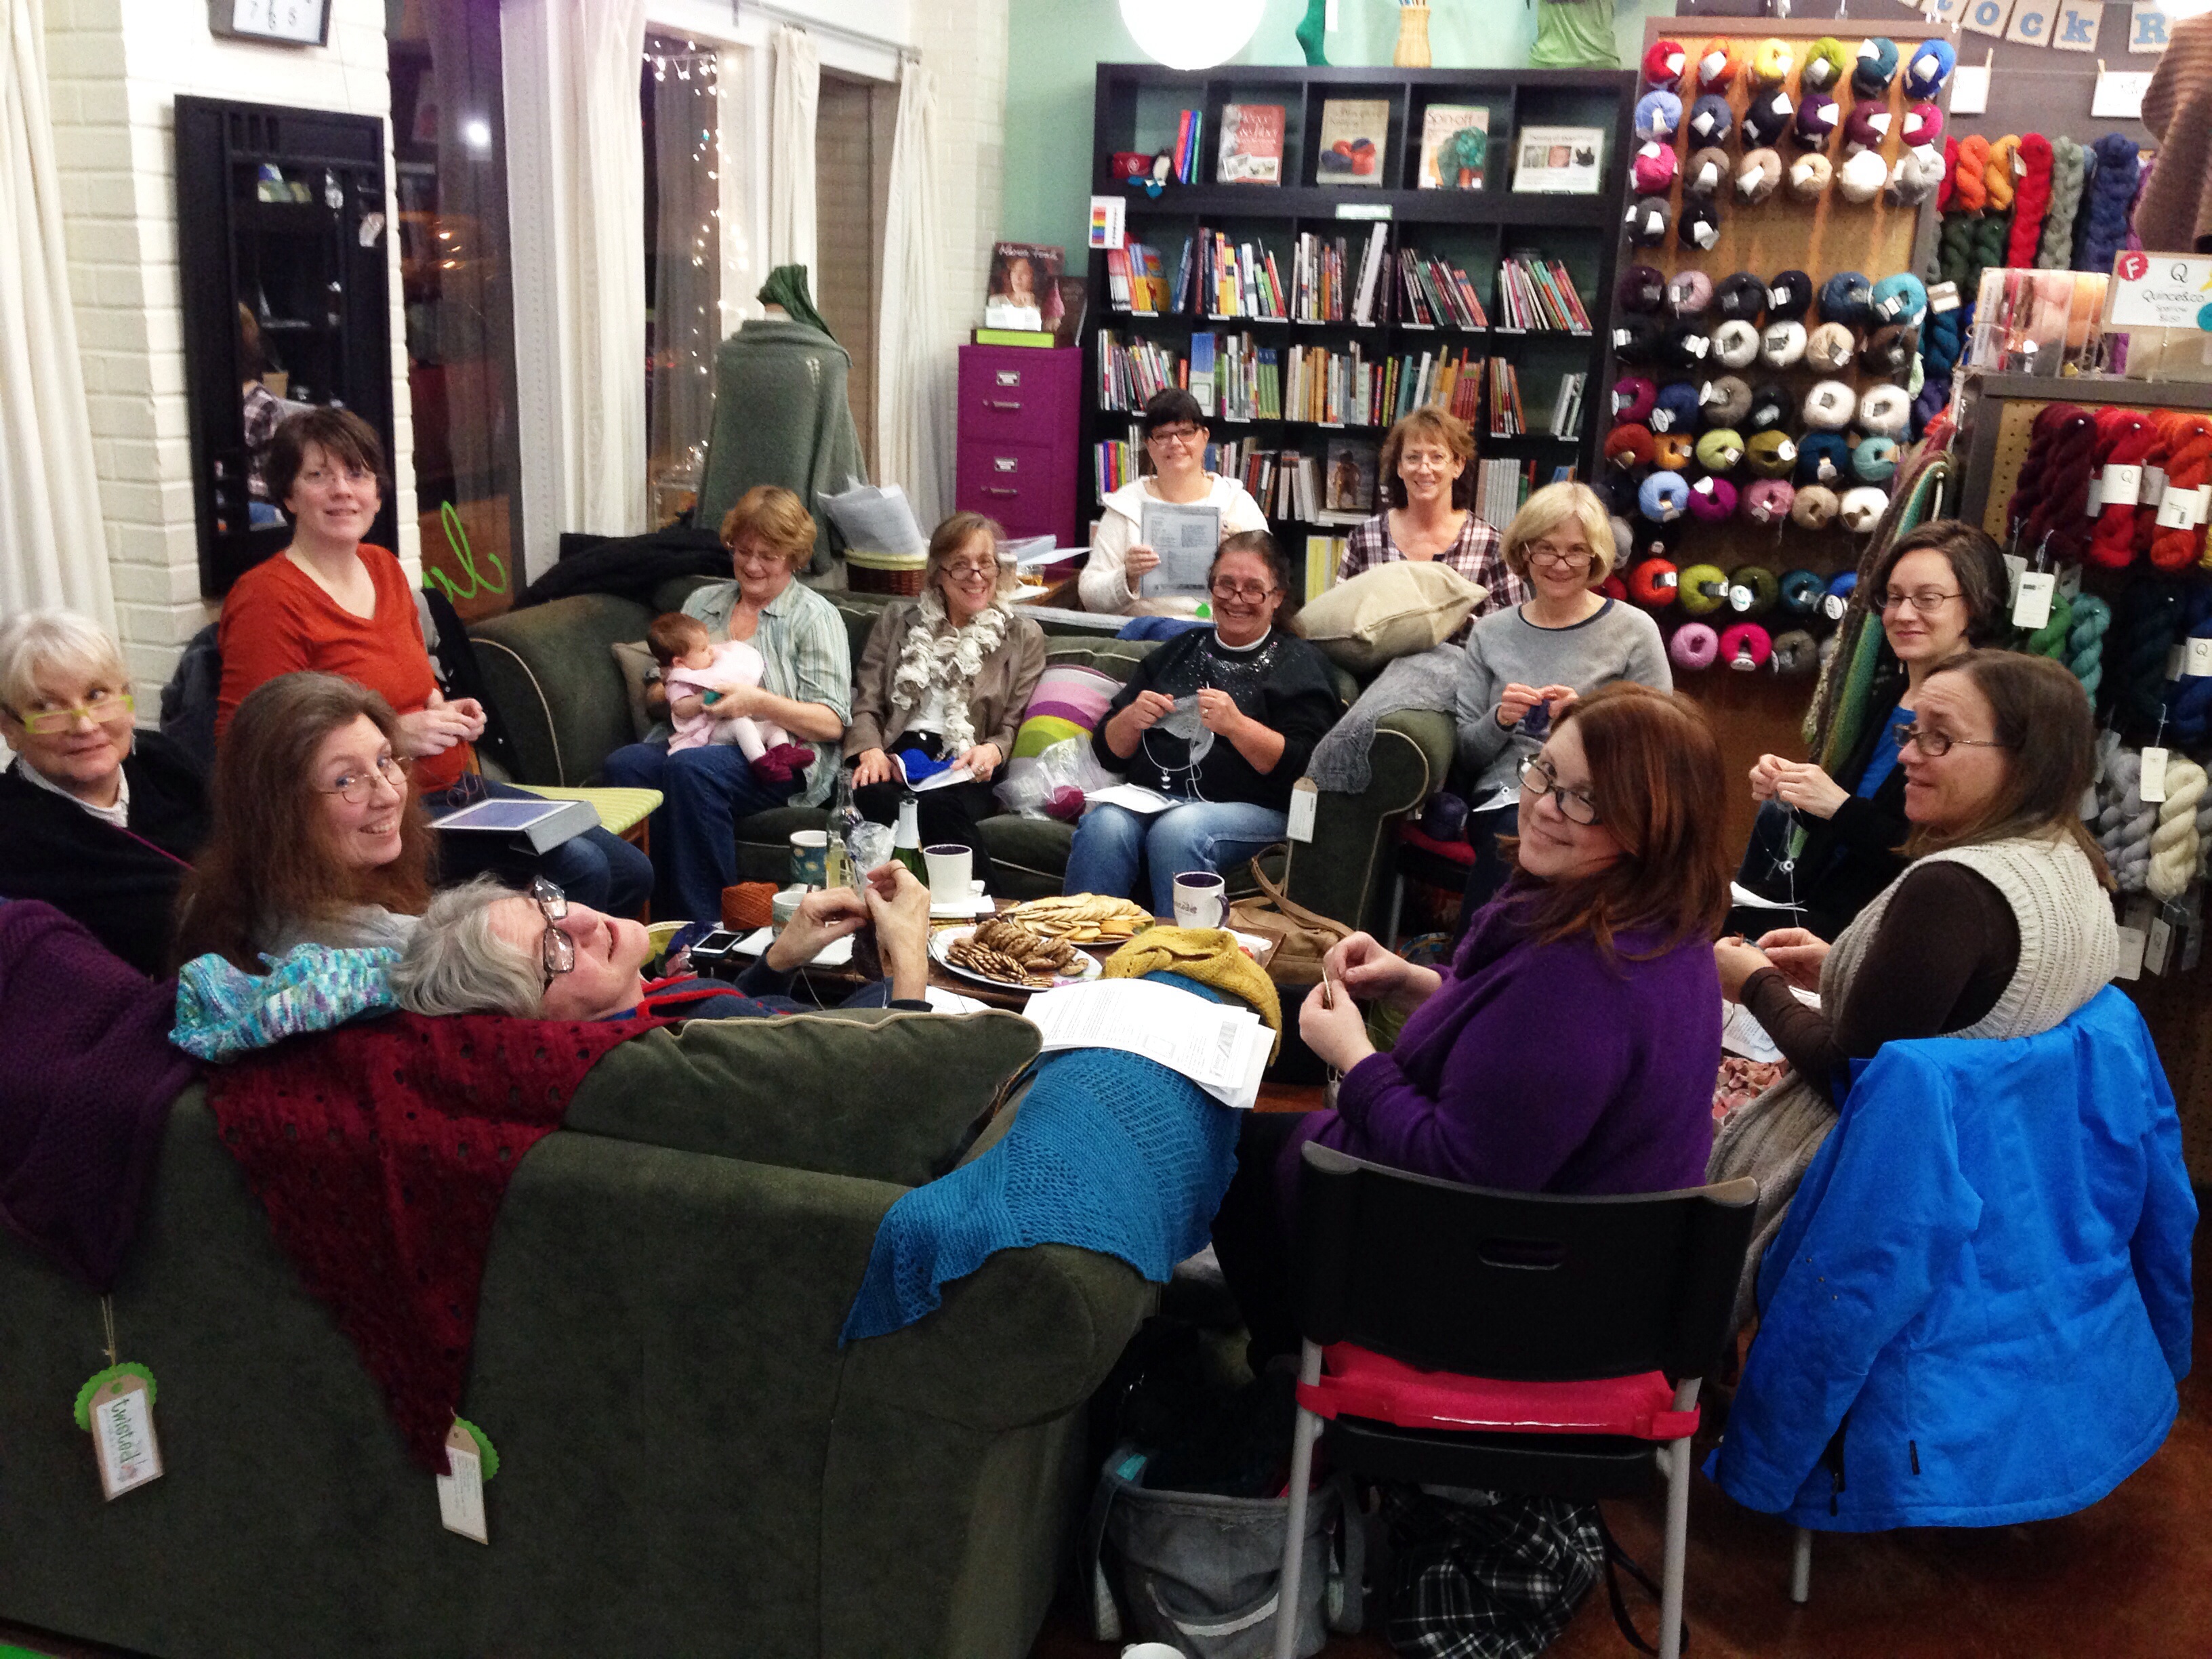
We had a cast on party at Twisted last night.
Such fun to meet MKALers in real life!
And here’s my garter tab cast on tutorial, in case you need a little help.
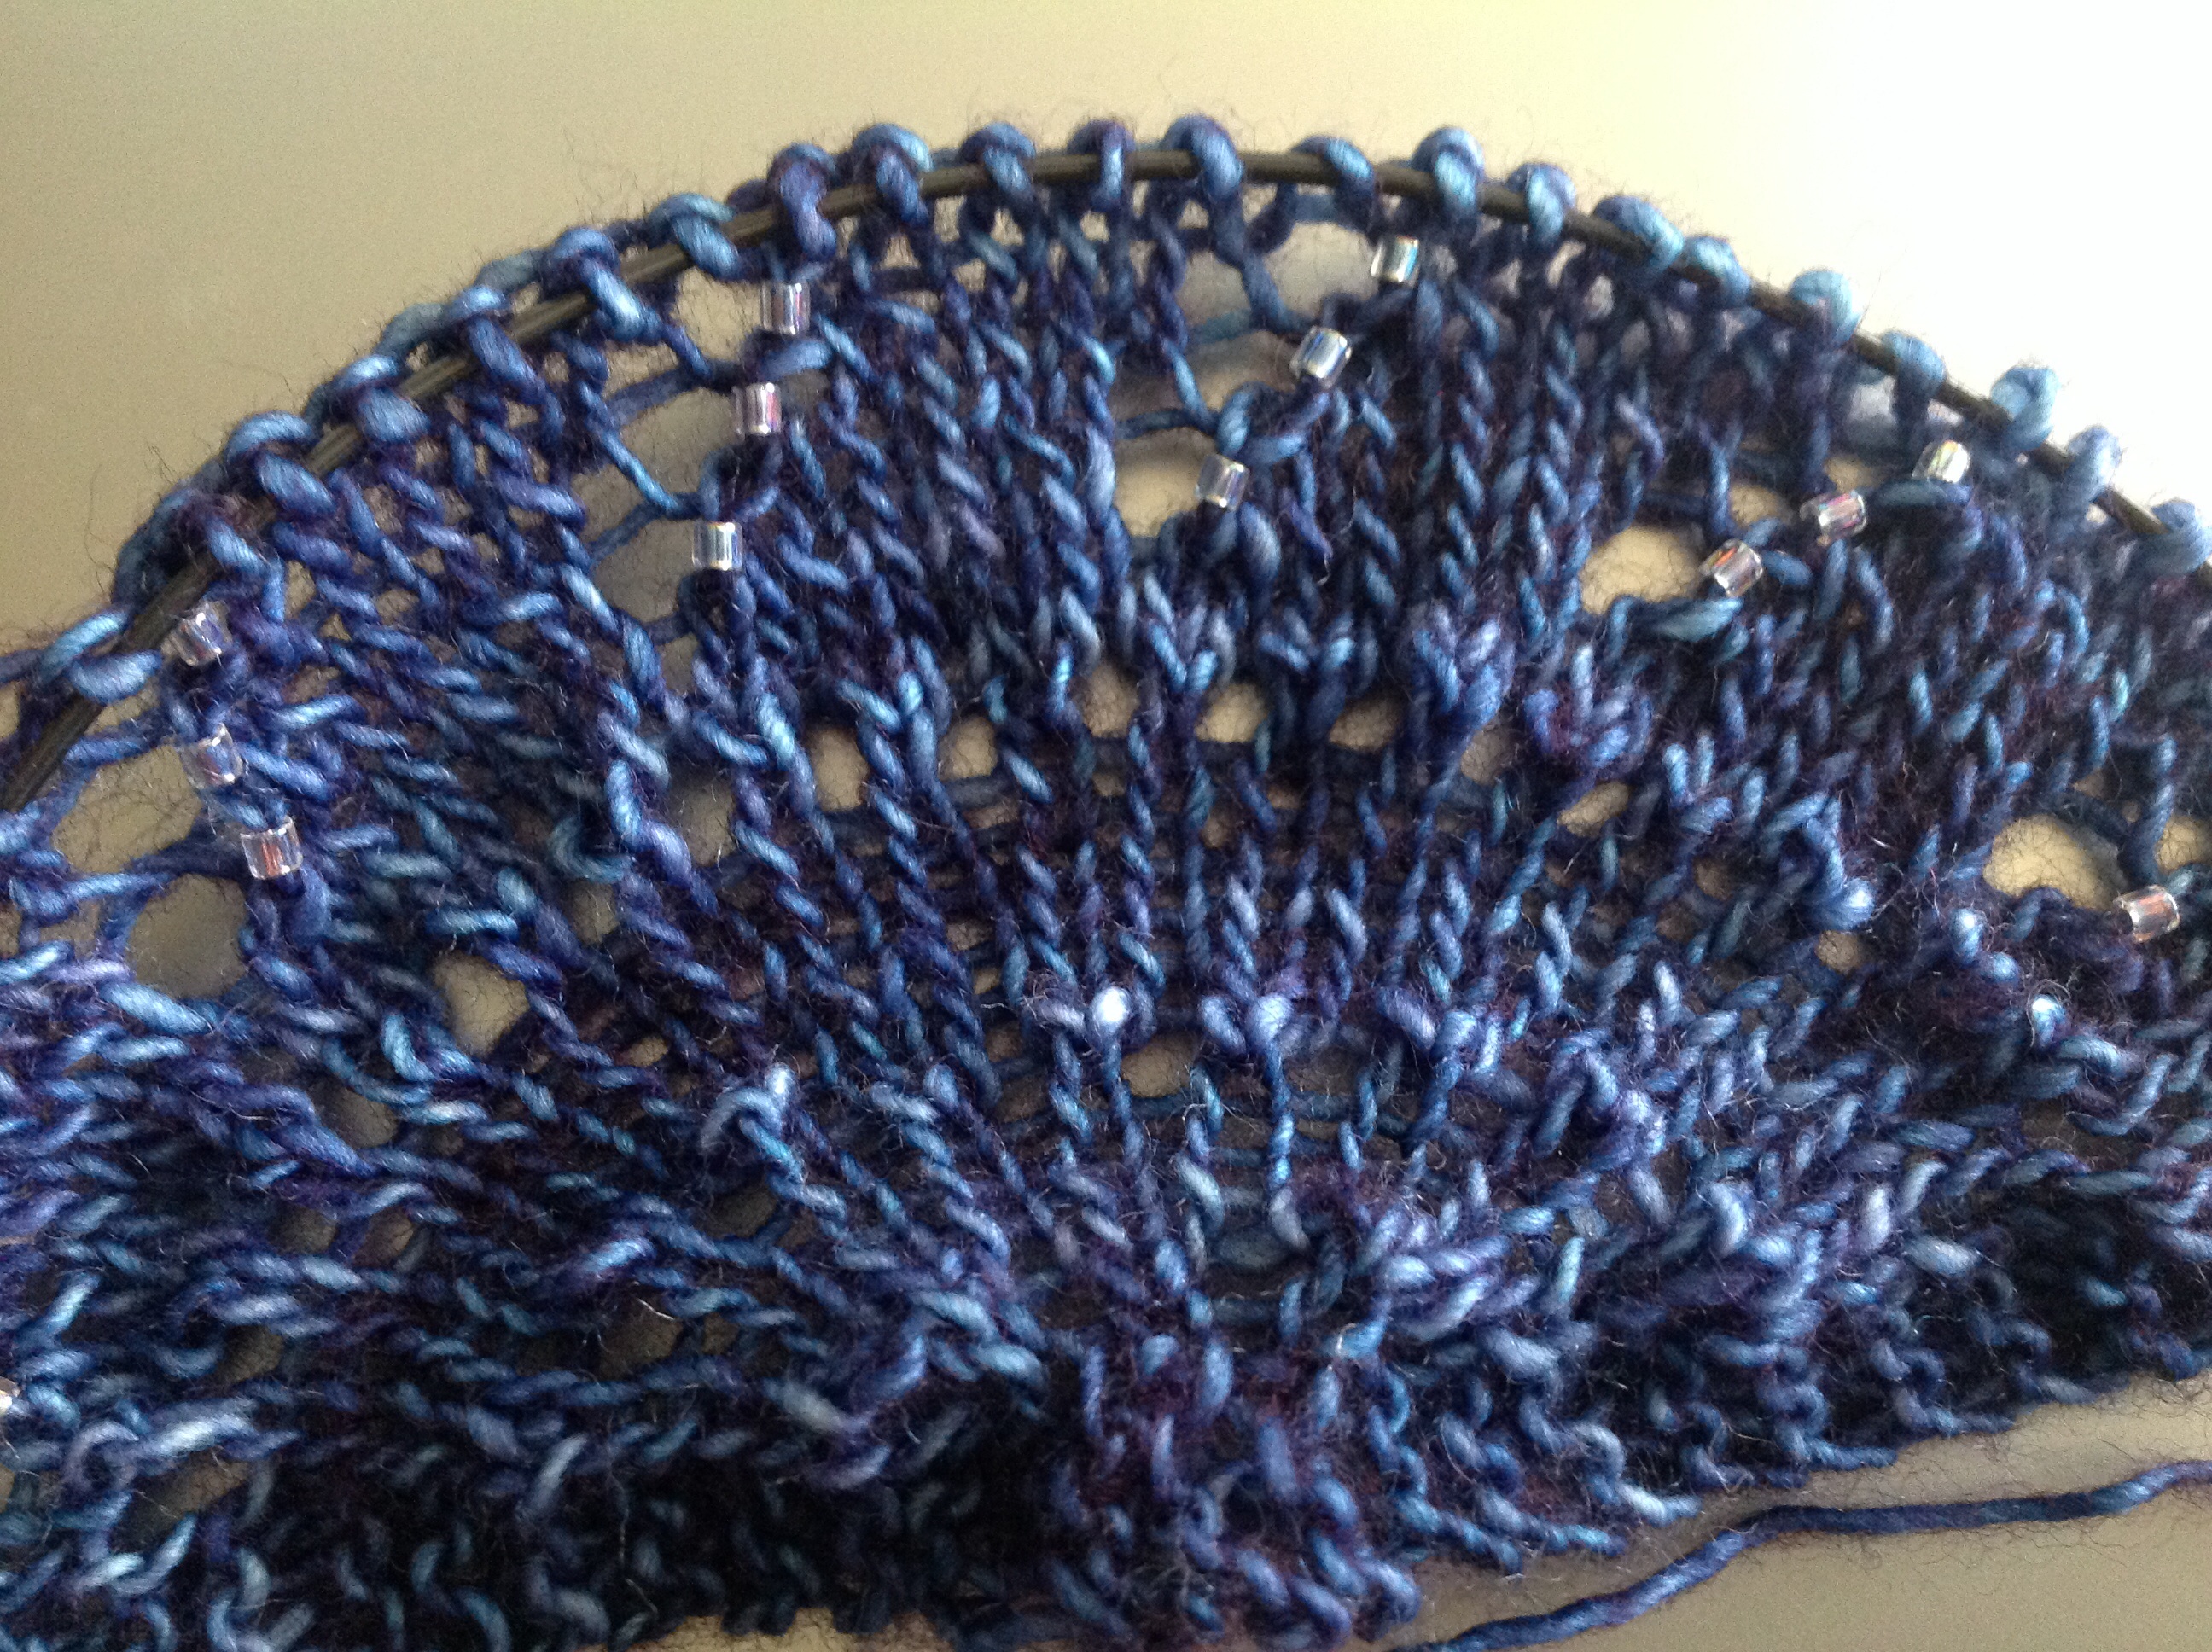
I actually cast on at home so I could be available to chat and help at the party, and I got a little inspired. There’s an option to add beads in clue 4 of the pattern, but I had extra beads, and so I decided to add some here. I’ll post a picture at the end of this post, in case you don’t want to see a spoiler. For now, I want to share several different ways of adding beads to your knitting. These methods are all for beading as you go, rather than pre-stringing.
My favorite method involves a simple tool called the Bead Aid. It’s a bit of jewelry wire, bent in the middle and polished at the ends, so it won’t snag your yarn. You can see mine in my beading tin.
Simple and elegant! You can find it in a few local yarn shops (I know Pearl Fiber Arts has them), and online here (video on how to use it is here, too).
It’s the same principle as this tutorial from Romi Hill. (She used it in her Ice Queen pattern in Knitty Winter 2007, and I remembered!) You can DIY, but I’m happy with getting mine pre-made and polished. Whatever works for you, works.
You can also use the crochet hook method. This involves a very tiny crochet hook; mine is size 13/14, 0.90 mm. That’s a hook head less than a millimeter in diameter! I tend to split the yarn when I use this method, so it’s not my preferred method.
Laura Nelkin demonstrates the hook method, and also a clever way to use pre-threaded dental floss, in this video.
I tried the dental floss method, too, but I didn’t love it. It’s a great way to corral your beads, but I didn’t like having them hanging on the end of the floss; I had a hard time manipulating the wire and at the same time getting the beads where I wanted them to go. Your mileage may vary!
OK, here’s the info on where I put my beads. The first clue is rain, and I wanted raindrops on the k2tog decreases, but didn’t want to fiddle with two stitches *and* a bead, so I put them on the next row on the purl stitch that was the back side of the k2tog, just before working the stitch. I’d never placed beads on the wrong side row before, but guess what? The bead shows up where it belongs on the right side anyway. Win!
And now that I think about it, you can get the same result by placing the bead on the k2tog on the right side row *after* working the k2tog, so that it gets purled on the next row. Whatever is easier for you to work. Knitter’s choice! I’m used to taking the stitch from the left needle to add the bead before working the stitch. If you add the bead after working the stitch, you’ll have to take it (and replace it) to the right needle, which might be easier if you’re a lefty, but not for me, a righty.
I’m using size 8/0 Miyuki Delica beads. They’re tube shaped rather than round. My local bead store only had size 11/0 (too tiny), so I found these at Twisted. I should have looked there first, but I thought beads came from a bead store. Go figure. These are exactly what I wanted.
Find my patterns on Ravelry: Michele Bernstein Designs
Here are some of my favorites, and the newest. Many of my designs are also available through my Payhip store.