In the kitchen for Christmas gifts

I’m back from vacation, so I’m in the kitchen today, making some quick gifts. I last posted this recipe in 2017, but it’s still just as quick, easy, and delicious.

DIY Irish Cream, adapted from Smitten Kitchen. This comes together in 5 minutes, and makes three of these cute 8 ounce bottles. (You get 30 oz of liquid, but I barely filled three of these 1/4 liter (8 oz) bottles the first time I made this. No worries; just adjust your expectations accordingly.)

1 teaspoon unsweetened cocoa powder
1 cup (235 ml) heavy cream
1 (14-ounce or 415 ml) can sweetened condensed milk
1/2 teaspoon vanilla extract
9 oz Jameson’s Irish whiskey (original recipe calls for a cup, but 9 oz fills the bottles just a little better, and yum)

In a small bowl, whisk cocoa powder and a spoonful of cream into a paste. Add more cream a splash at a time until the paste is liquid enough that you can whisk in the rest of the cream. Transfer to a pitcher, and whisk in condensed milk, whiskey and vanilla. Bottle for gifts. Keep refrigerated for up to two weeks. Seriously, how long do you think this will last? Give it a good shake before using; the cocoa wants to sink, and the cream wants to rise to the top. Of course!

A little more work, but I’m also making Pear Vanilla Caramel Sauce, from Marisa at Food in Jars. I made some last year, and it was fabulous. I’ll add a bit of bourbon to give it some warmth and depth. I like this recipe because it’s canned, so I can ship some back to my aunt and uncle! They send me a box of beautiful pears every Christmas, and I love finding new things to do with them. Previously, I’ve done cranberry pear jam, and lots of pear tarts with puff pastry.

I got brave and put up our tiny tree and menorah, but I hedged my bets with Calvin. I wasn’t sure if he could be trusted with decorations.

Apparently not. So the truly fragile ornaments will stay in their boxes!

Our Christmas stockings are up and waiting to be filled.

Merry Christmas and Happy Hanukkah to you!

New class: Syncopation

I’ve been having a lot of fun with my 2 color in-the-round brioche classes, Petite Brioche (free pattern) and Brioche Pastiche. Petite Brioche is plain 2 color brioche rib; Brioche Pastiche introduces increases and decreases.

Now I want to teach a class that tackles 2 color brioche knit flat, and adds in syncopation (switching MC and CC color) mid-row.

I taught syncopated brioche with my Hopscotch pattern last month at Twisted, but I really want to use my Syncopation shawl/scarf for the next class. It’s a little more ambitious, because it also includes increasing/decreasing. If you’ve knit brioche rib in the round, it’s a do-able next step. The new class debuts at Twisted on February 22.

Planning a new class is fun; it requires organization like a general! Or someone hosting Thanksgiving guests for an entire weekend. (Menu planning, I won!) How can I best lead you down the garden path to a positive outcome?

Here’s how I plan to structure the class:

Brioche knitting is the current “it knit” and there are so many ways to play with it, once you understand the basic brioche rib stitch. We’ll review basic brioche rib, then practice syncopating (swapping main color with background color in the same row), and finally learn an increase and 2 decreases. Voilà, it’s a gauge swatch, and then we can cast on for the real deal!

3 hours, intermediate. You should already be familiar with knitting brioche rib; this is not a beginning brioche class.

Sound enticing? February 22 at Twisted, be there or be square!

Cranberry Brie Wreath

I made this appetizer the other day, and it was delightful.

It’s made with puff pastry and filled with cranberry sauce and toasted almonds. The centerpiece is a round of baked brie for dipping. The whole thing is garnished with fresh rosemary. Sound good? It was, twice! The second one was prettier than this one, as I figured out what I was doing.

I saw a video on Facebook for a Camenbert version, and had to play with it. Link here.

Now I’m thinking it could be filled with lemon curd, with a blueberry compote in a dish in the center after baking.

Or cinnamon sugar and butter, and icing in a dish in the center after baking.

Or chocolate chips, and…what goes in the center? Nutella?

The possibilities are endless. But start here:

Cranberry Brie Wreath

Ingredients:
1 package (2 sheets) puff pastry (I used Pepperidge Farm, frozen. Defrost for an hour)
1/2 – 1 cup cranberry sauce (mine had whole berries in it, so it took about 1 cup to spread enough)
1/2 cup toasted sliced almonds (I bought them already toasted, supposedly a salad garnish)
1 small round brie
Drizzle of olive oil
Fresh rosemary for garnish
1 egg and a bit of milk or half and half for an egg wash

Preheat oven to 350 F.

Place one sheet of puff pastry on a sheet of parchment paper, roll it out lightly to reduce creases.

Spread cranberry sauce in a circle on puff pastry, avoiding center where cheese will go, and corners which will be removed to make a circle.

Sprinkle toasted almonds over cranberry sauce.

Roll out the other sheet of puff pastry, and put it on top of the first.

Round off corners of puff pastry, and cut out circle in center (use your Brie as a guide for size). Set Brie in center, score top.

Cut 4 slits in puff pastry, from outer edge to about 1/2 inch from center circle, North, South, East, West. Cut 3 additional slits between each of these first 4 lines (you’re making 12 equal pieces).

Working with paired pieces of puff pastry, twist each piece outward 2 times. Then give the ends another half twist to press the ends of each pair together.

Brush with an egg wash.

Score the top of Brie with a knife, and drizzle it with olive oil. Garnish the whole wreath with snips of fresh rosemary.

Transfer parchment to cookie sheet and bake 30 minutes at 350 degrees, or until puff pastry is golden brown. Transfer to serving dish. Serve hot.

Have fun with the possibilities!

Dotty Cake backstory: Evolution of a hat

Just a reminder, today is the last day of the introductory sale for my Dotty Cake pattern. It’s 15% off through midnight tonight on Ravelry, no coupon code needed.

I’m really happy with Dotty Cake. But it took a while to get there!

I knew I wanted to use the Dotty stitch pattern I developed for the Dotty Cowl that I designed for Knit Picks last year. And I loved the Chroma Worsted combination of Natural and Pegasus, so I wanted to use that again, too.

I cast on a guesstimate of stitches, based on my gauge from the cowl. The number seemed a bit big, but not totally unreasonable. I have a big head.

I knew I wanted a herringbone braid for the bottom edge of the hat, but I was going to have to be canny about it. I had planned to use it for the cowl, but when I was knitting the braid last year, the soft, single ply low-twist yarn wanted to drift apart in the first row of the twisty braiding process. I figured a hat had fewer stitches, so maybe it wouldn’t have enough time to drift apart.

And that’s when I finally realized…if I made the braid point in the opposite direction, I’d be tightening the twist on the first row, and then loosening it back to normal on the following row. Problem solved.

I finished the braid and began the Dotty stitch pattern, which is simple and easy to memorize. The shifting color was mesmerizing, too. This was great mindless travel knitting as I went to Vogue Knitting Live in Columbus. But as I knit, I started wondering how the heck I was going to finish the top of the hat. The Dotty stitch pattern wasn’t going to play well with my usual swirly crown decreases.

What about a pointy Santa-style stocking cap? I kept knitting as I pondered how to make that work nicely with the Dotty stitch pattern. I wasn’t inspired.

Well, what about a straight up cylinder, kitchener stitched across the top, and then bringing the two corners together like an envelope fold? I kept knitting to get the extra height I’d need, but I started to think that an all Dotty stitch hat with that much height was boring.

And then I tried on the hat and realized it was too big, even for my big head, and needed to be frogged. I had 9 inches of knitting when I finally realized this. Blergh.

So I ripped it all out.

I added more braids to the second version of the hat to make it more interesting, and that’s when I noticed that it looked like a layer cake. That was a happy accident!

Still, the crown shaping had to be addressed. And it needed to work for two sizes. The diretionality of the swirl was giving me fits, so I decided to go with paired decreases for each section of the hat. Perfect!

I needed to knit a smaller size for heads smaller than mine, so I could make sure the crown decreasing would work for that, too. I used the Malabrigo Worsted that wasn’t working for the brioche project I was playing with earlier this fall.

Sometimes a design jumps right off the needles. And sometimes you wrestle it to the ground. Dotty Cake took a while to work out, but I’m so glad it did. Happy knitting!

Introducing: Dotty Cake

I’m in love with my new hat!

Dotty Cake is a fun to knit hat that combines herringbone braids and slip stitch dots. The crown is fairly flat, like that of a tam. The braids create sections, making the hat look like a layer cake! I find that the flat crown is more flattering on me than a traditional closely fitted beanie.

Dotty Cake is knit in the round from the bottom up. It’s a quick knit in worsted weight yarn. I used Knit Picks Chroma Worsted for this larger hat, in Natural and Pegasus.

This smaller hat is knit in Malabrigo Worsted in Sunset and Malamba. Only one color is used per round in the Dotty stitch sections. The pattern includes a video tutorial for the herringbone braids.

The hat is meant to fit with a bit of negative ease; I’m wearing the 19” hat on my 22” head.

The Dotty Cake pattern is on sale for 15% off through December 12, 2019, no coupon code needed. You can find the Ravelry page here.

Thank you to tech editor Meaghan Schmaltz, and test knitters Ann Berg, Susan Schwartzenberger, Jae Tauber, and Nan Wagner. And thank you to my sister Sharon Hsu for taking pictures of me!

Yarnover in Minnesota, April 24-26

I’m teaching at Yarnover in Minnesota in April!

What’s Yarnover? It’s the Minnesota Knitters’ Guild annual meeting, and it looks like it will be a ton of fun. The weekend includes a banquet and keynote address by Franklin Habit, classes, a market, and the guild member meeting with guest speaker Susanna Hanson.

I’ll be teaching Herringbone Braids and Beyond (Braided Wristlets), and Brioche Pastiche (2 Color Brioche in the Round). You can see the whole brochure here.

So excited!

Indie Design GAL 2019 kicks off with pattern sale

It’s the sparkliest time of the year: The Indie Design Gift-A-Long starts on Tuesday! I’m one of 286 participating indie designers this year.

The Gift-a-Long is a multi-designer event through Ravelry to help you kick-start your holiday gift-making. It begins with a pattern sale, and then the fun and games begin on Ravelry, with KAL/CAL activity and prizes. Here are a few of my patterns that are included in the coupon sale portion of the GAL; you can see the rest (there are 20!) in the GAL bundle on my Ravelry designer page.

GAL 2019 collage

The pattern sale runs from Tuesday, November 26 at 8:00 pm US EST – Monday, December 2, 2019 at 11:59 pm US EST. The coupon code is giftalong2019 and it’s good for 25% off any of the participating patterns from all the designers.

The KAL/CALs will run from Tuesday, November 26 at 8pm (US-EST) through New Years Eve December 31 at midnight (US-EST). Check out the Ravelry group for all the details. Your project with any paid pattern by a participating designer is eligible for prizes, not just the patterns in the sale.

You can see all 286 participating designers in this thread. I’m having a good time looking through the list and picking patterns I want to knit! Eventually. Or at least in my mind…

I don’t really gift knit for the holidays (too much pressure), but this is a great time to stock up on patterns for the knitting year! And participating in the KAL at a relaxed pace sounds good to me. How about you? Are you a deadline gift knitter?

I’m hosting this Thanksgiving year, so I’m in a whirlwind of prep. Happy Thanksgiving, y’all!

Kaleidescopically beautiful

Coming soon, Dotty Cake, a hat that makes me think of Funfetti. Yes, really.

I designed this Dotty Cowl last year for Knit Picks, and I really loved the slip stitch pattern that I created for it. I knew it wanted to be used again. And I finally got around to it. It’s being test knit now, and has already been tech edited. I’m guessing I’ll publish it in early December, plenty of time to make a slew of them for gifts! I knit one in 2 days, and I think test knitter Ann is even quicker than I am.

It’s been a whirlwind of a November, with Vogue Knitting Live, Vogue Knitting Destination: Portland, a raft of full classes at Twisted, and a little time spent on a not-knitting project, too.

I took a block printing class last year with Leslie Nan Moon while I was in Ellensburg, WA. I liked my block, but knew I could do better. So I recarved my block a couple weeks ago, and love it so much more. Here’s a print from the first one.

And here’s a print from the revision:

It’s so much better! I’ll be using this for…something soon!

I’m hosting Thanksgiving this year for DH’s family, so there’s a lot of last minute stuff going on, too. Gotta fly!

What are you doing for Thanksgiving, if you’re here in the USA?

VKLive Columbus

VogueKnitting Live Columbus was my first VKLive event, and it did not disappoint. I had a great time teaching, and seeing friends old and new.

Mount Hood at pre-dawn

My flight was early, but a snow delay in Chicago meant I missed the teacher meeting on Thursday night. Happy Halloween! That meeting is a great place for first time teachers to get to know the others, but Marie Greene of Olive Knits helped me catch up. Thanks, Marie! (We go way back to her blogging days when she used to live in Nebraska.)

The hallways were decked with samples from Vogue Knitting. Very inspiring; let’s knit more!

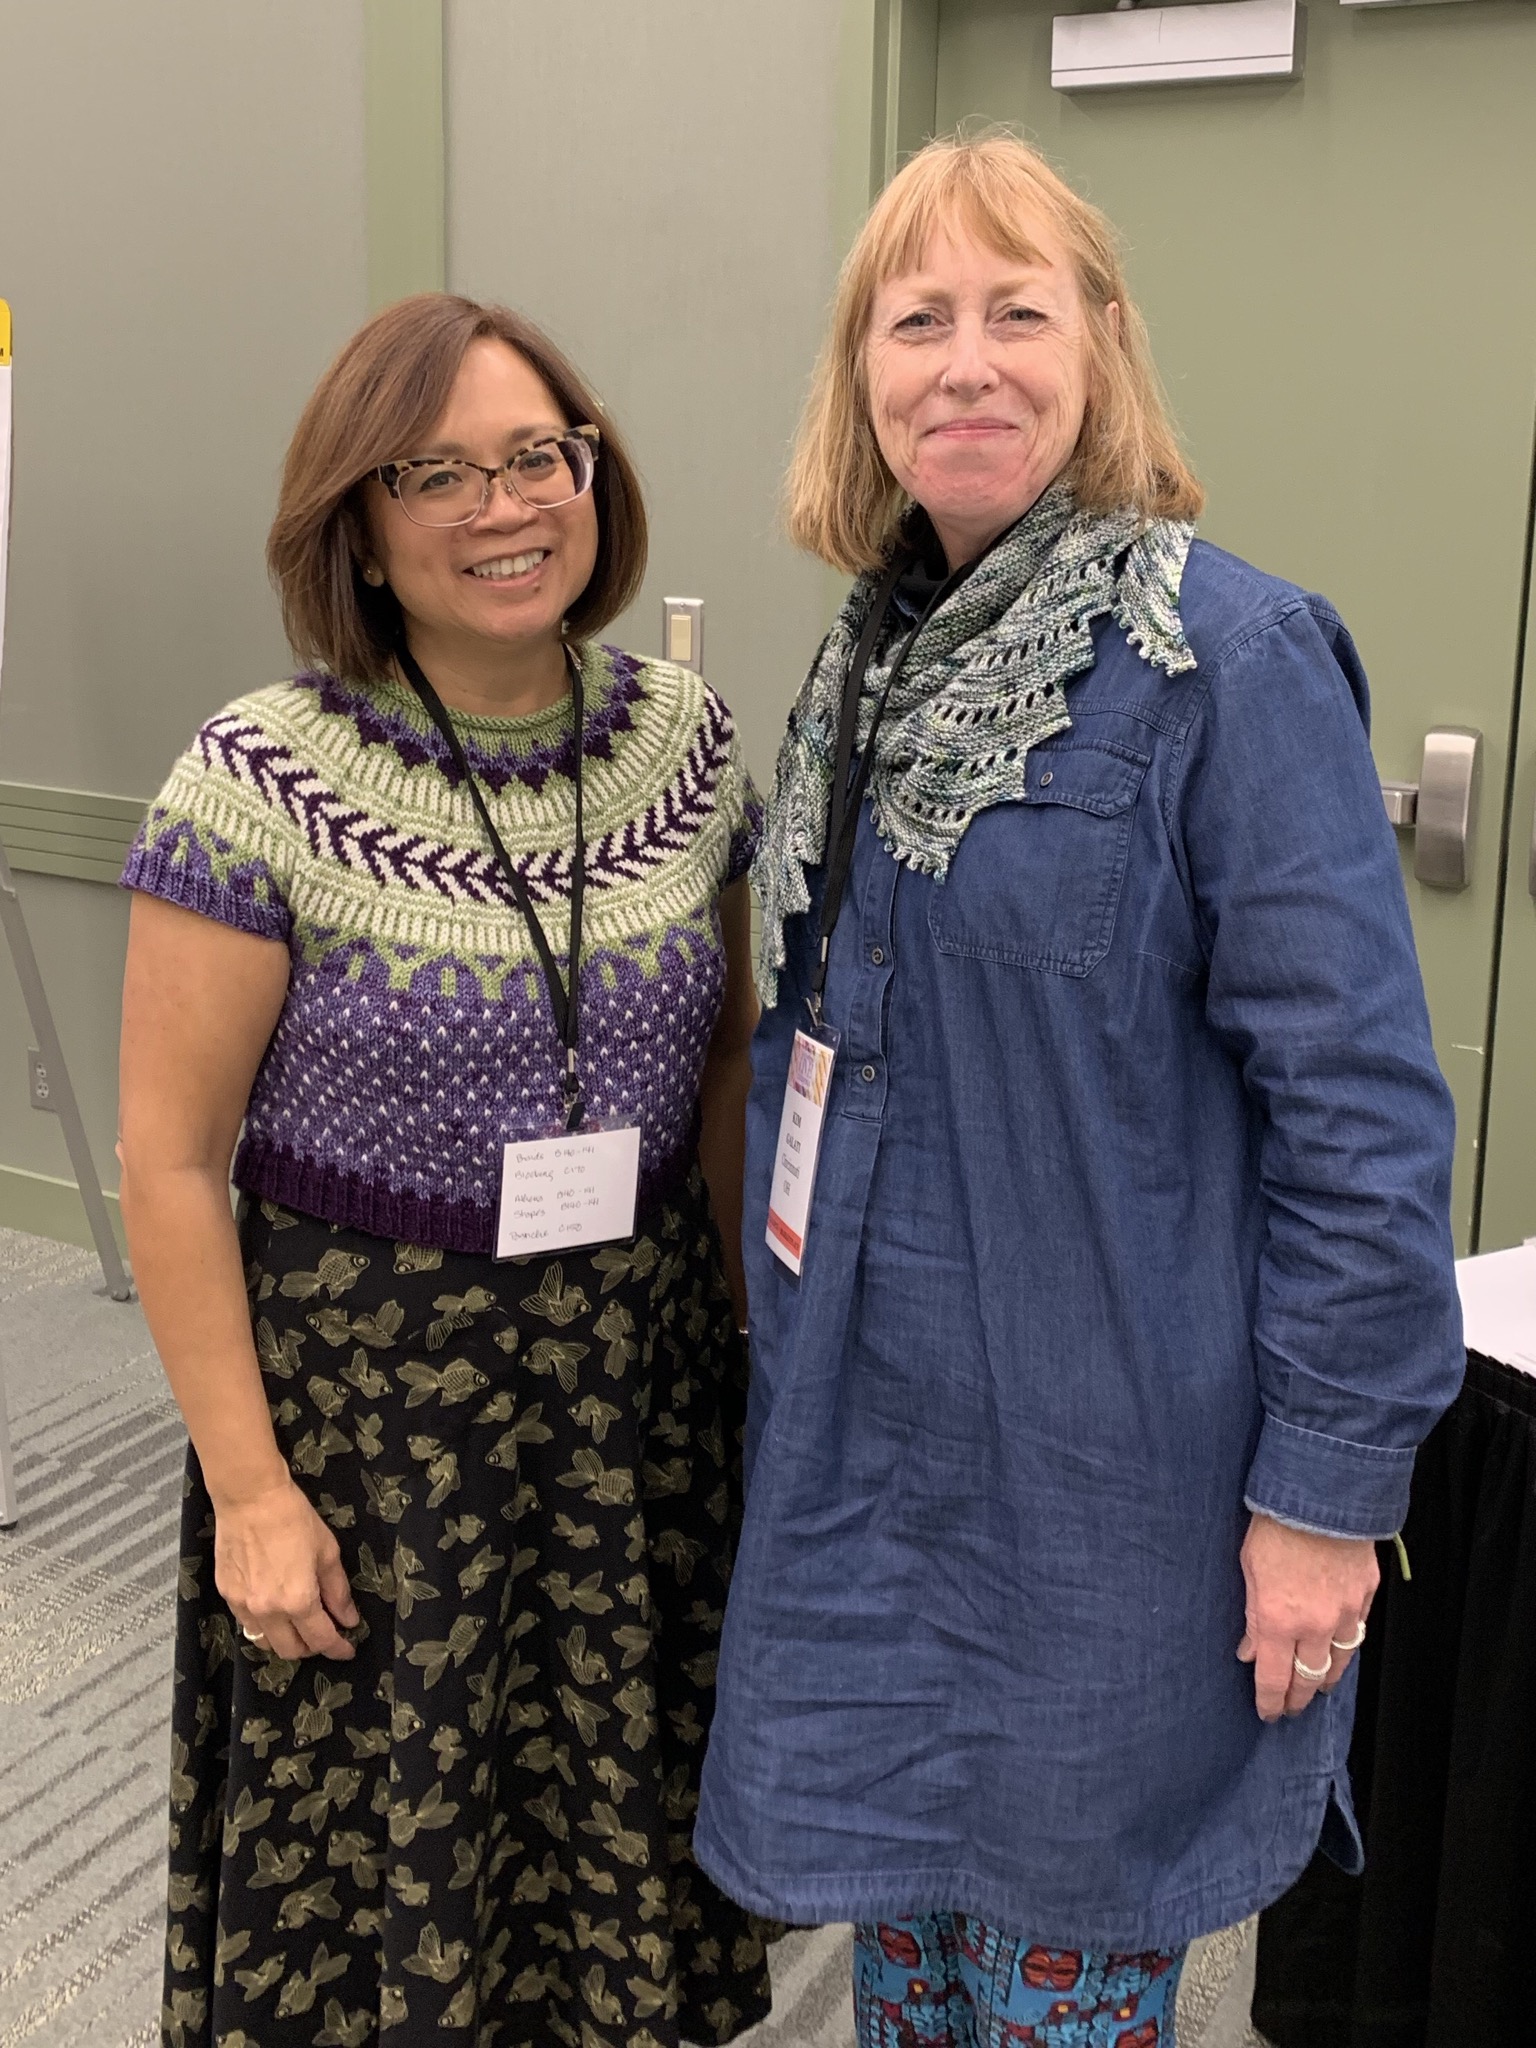
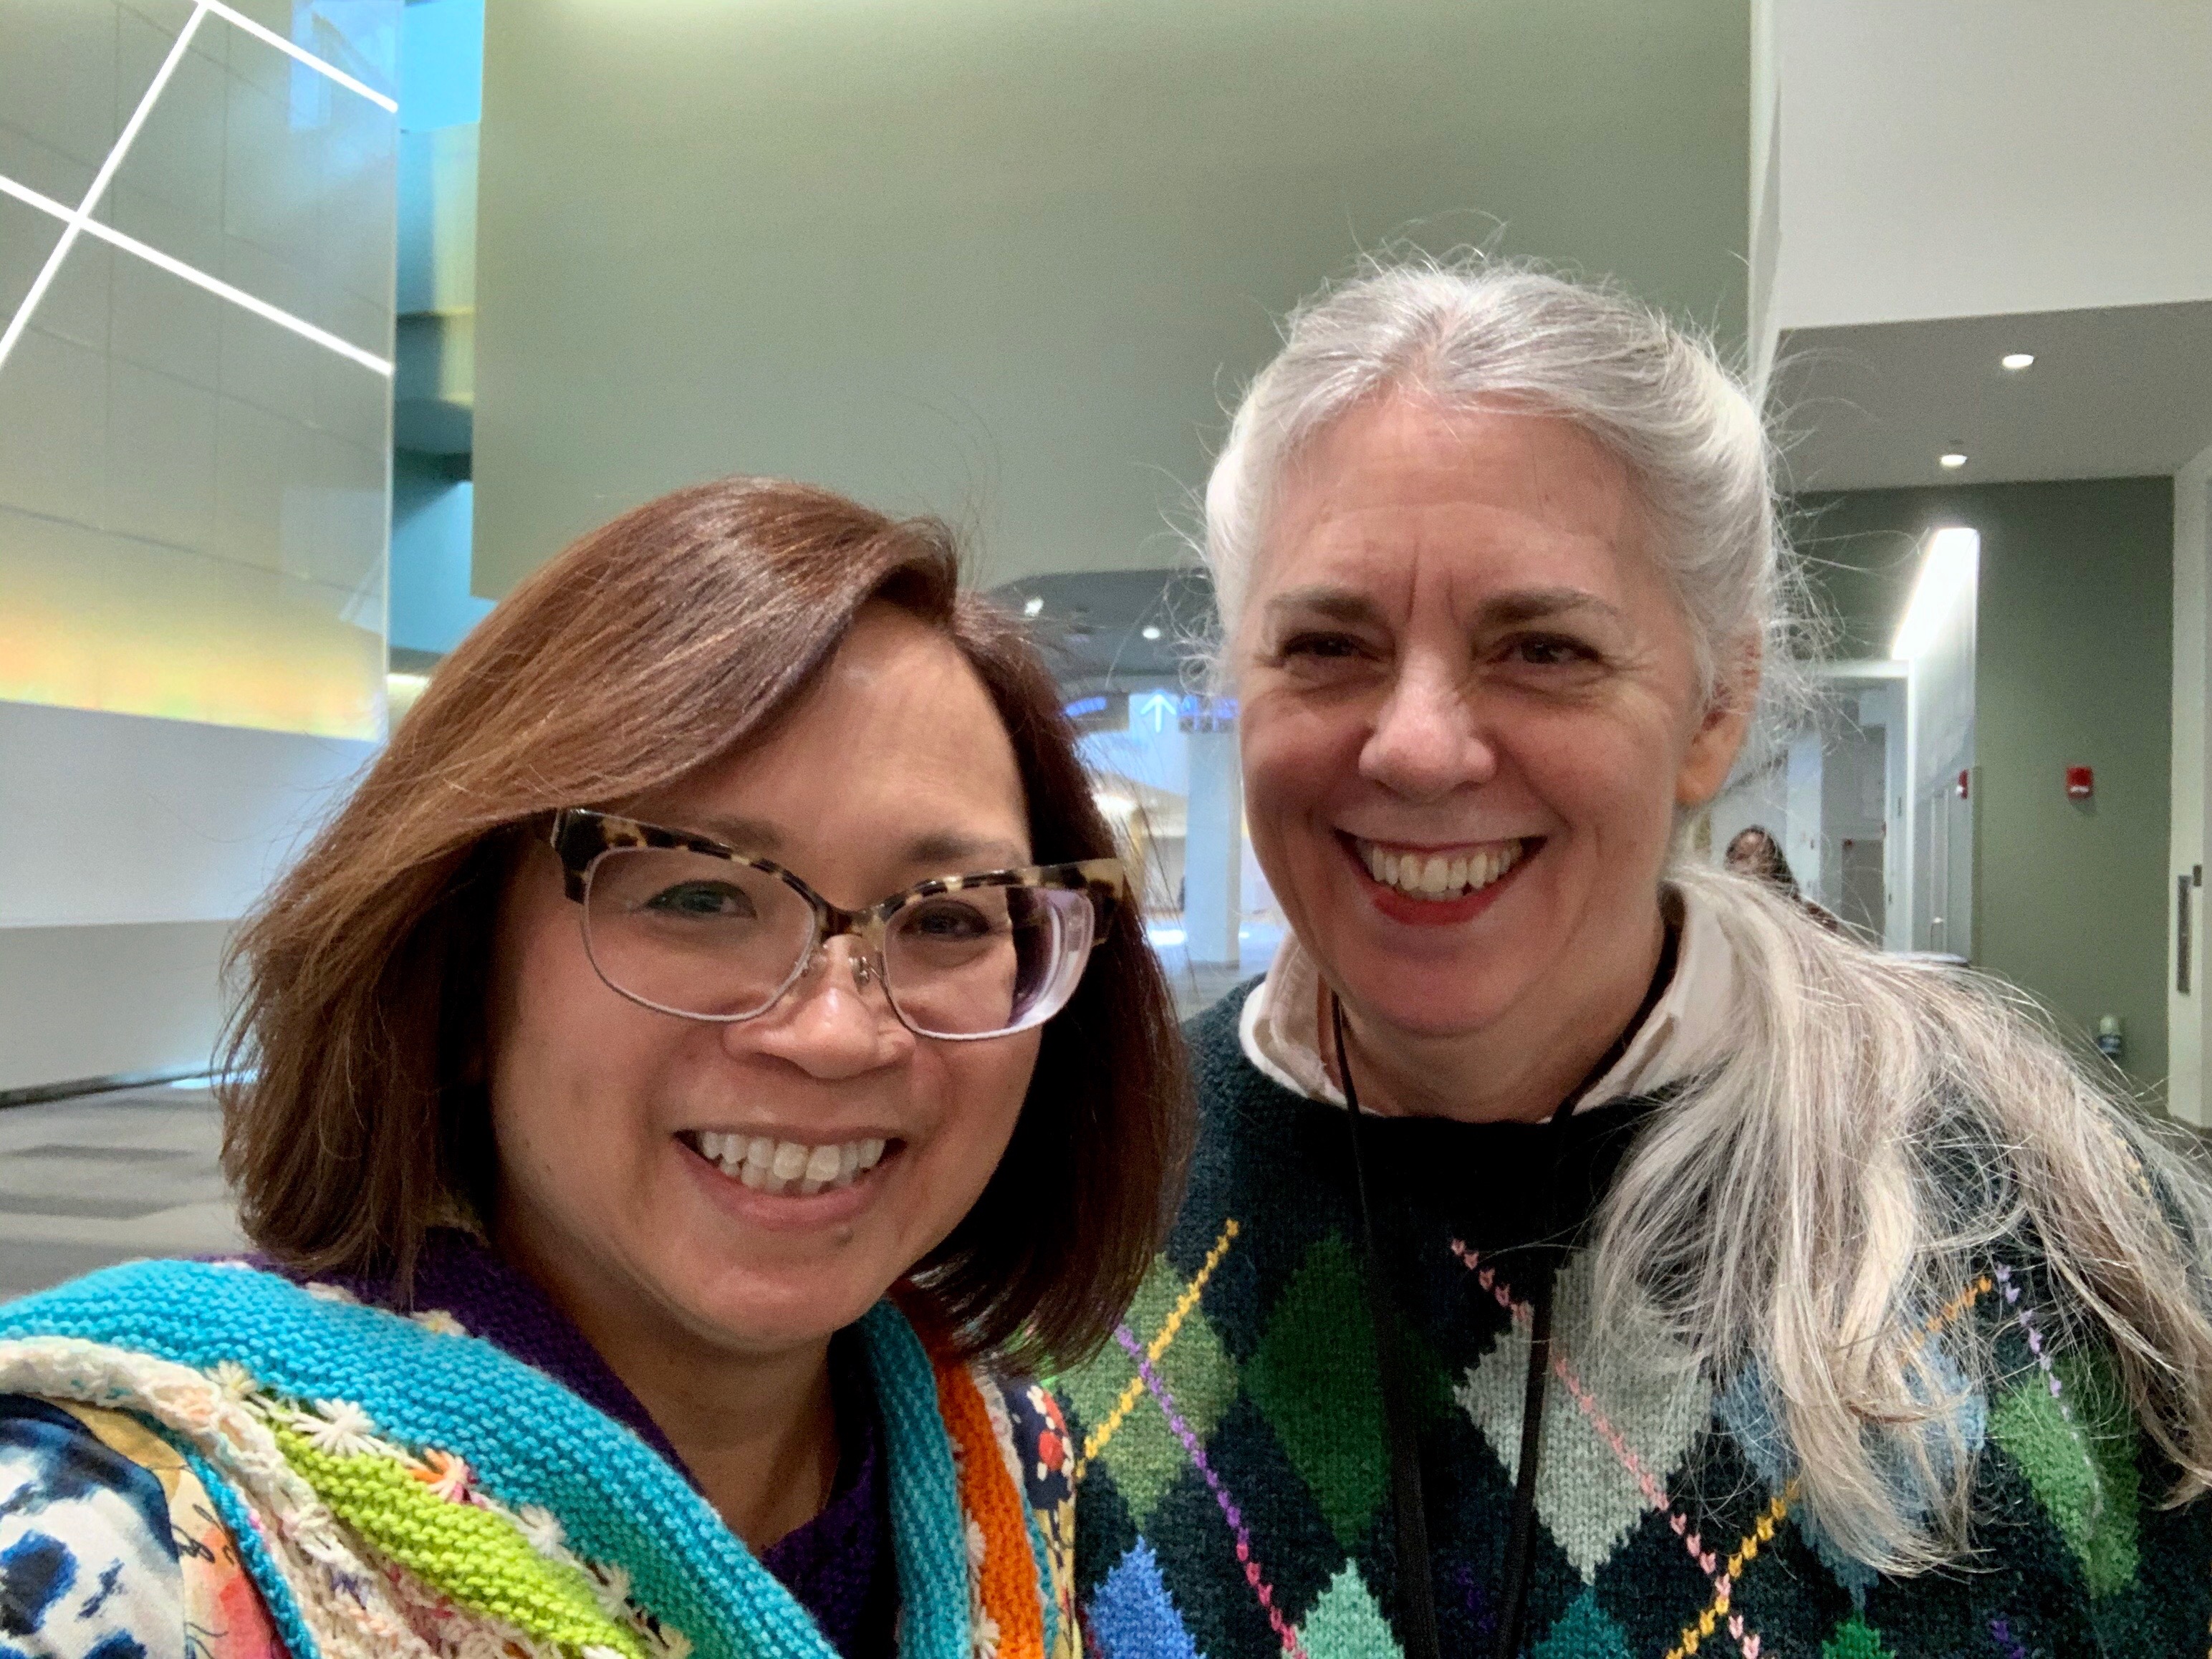
I taught Herringbone Braids and Beyond: Braided Wristlets on Friday morning, and met Kim, who I know on Instagram. It’s so nice to meet friends in person, finally.

I gave a lecture, Blocking: It’s Magic, in the afternoon. My PowerPoint presentation worked just the way I wanted it to, hooray! Well, almost. My Microsoft fonts didn’t carry over to the MacBook it was running on, but all the words were there. I win! The first time for anything always makes me nervous.

I had lunch with Kim and Colette at the North Market, and was sadly too full to have Jeni’s Ice Cream. Don’t worry, I made up for it the next day. Boozy Eggnog and Darkest Chocolate, a winning combination.

Statue of Arnold Schwarzenegger

This is how I felt after teaching and lecturing on Day 1. Woot! This statue of Arnold Schwarzenegger is outside the convention center; I’m not sure why.

I taught my Athena Entrelac Cowl, and Knitting and Designing with Favorite Shawl Shapes on Saturday. Those shawl shape knitters were really on the ball; they had lots of great questions and ideas.

On Sunday morning I taught my Brioche Pastiche Hat class. And my AV did not fail me. I brought speakers and we even had sound for the videos, yay! I had two backup plans, but they weren’t necessary. Now that I know what the equipment is, I’m good to go for VKLive NYC in January.

Along the way:

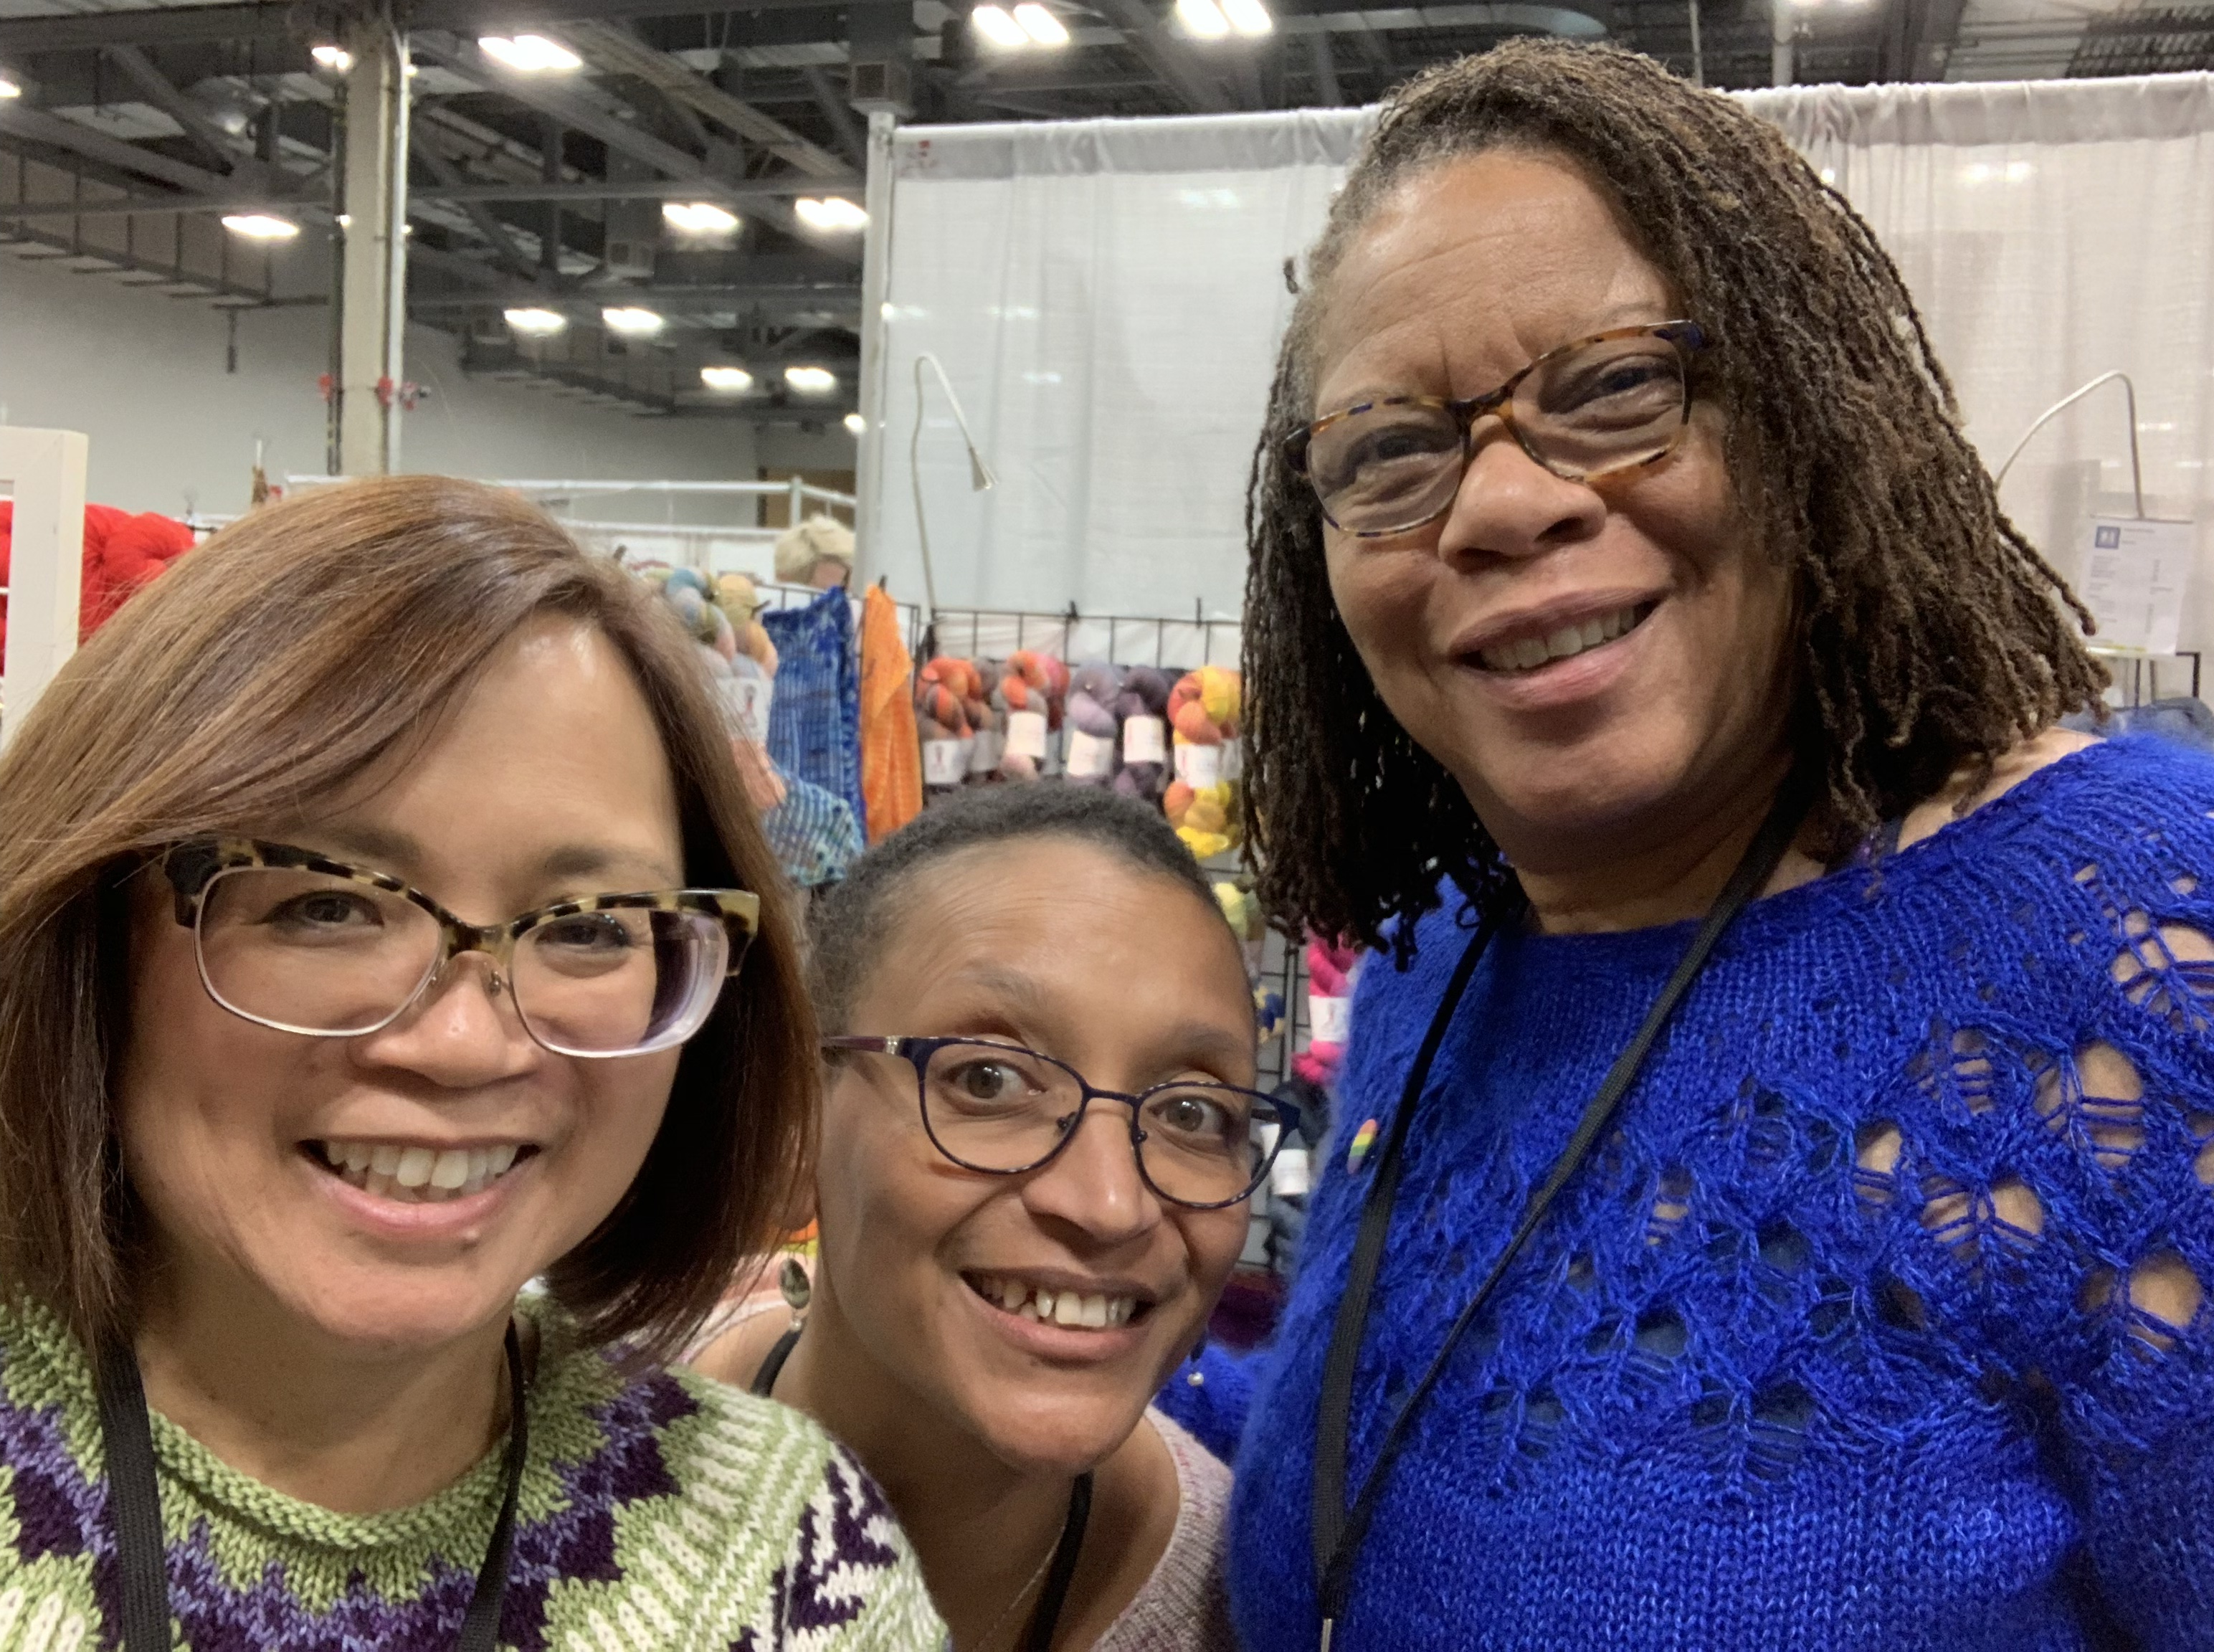
I met Nancy Marchant on Saturday, which gave me a chance to thank her for changing my knitting life. Her brioche books are the best! And she’s so down to earth; I really enjoyed talking with her. I love her advice for fixing brioche mistakes: Don’t make any!

I had a moment to chat with Franklin Habit. I have always been impressed with his classes; he’s consistently well prepared and has a great presentation style. We’ll meet up again in February at Red Alder Fiber Arts Retreat. Registration begins November 9 at 10 am; come knit with us!

The market was packed with beautiful yarn, bags, buttons, and more. I loved this display at the Freia Handpaints booth. I want to wear this with a tiara…

Nancy had a couple samples she wanted to show Tina, including Bonfire from Leafy Brioche (on Tina). Perfection :sigh:

Michelle and Shelia (owner) at Urban Girl Yarns were charming and had lovely yarns, too! I’m not a stasher, or I would have indulged. My current work pile said no!

I did buy some interesting knitting needles; they’re made by Prym. They hav a drop shaped tip to avoid splitting yarn, and then transiton from round to triangular for better ergonomics. They have a good bit of flex to them, too. I’m looking forward to trying them. No picture yet; it’s too dark this morning.

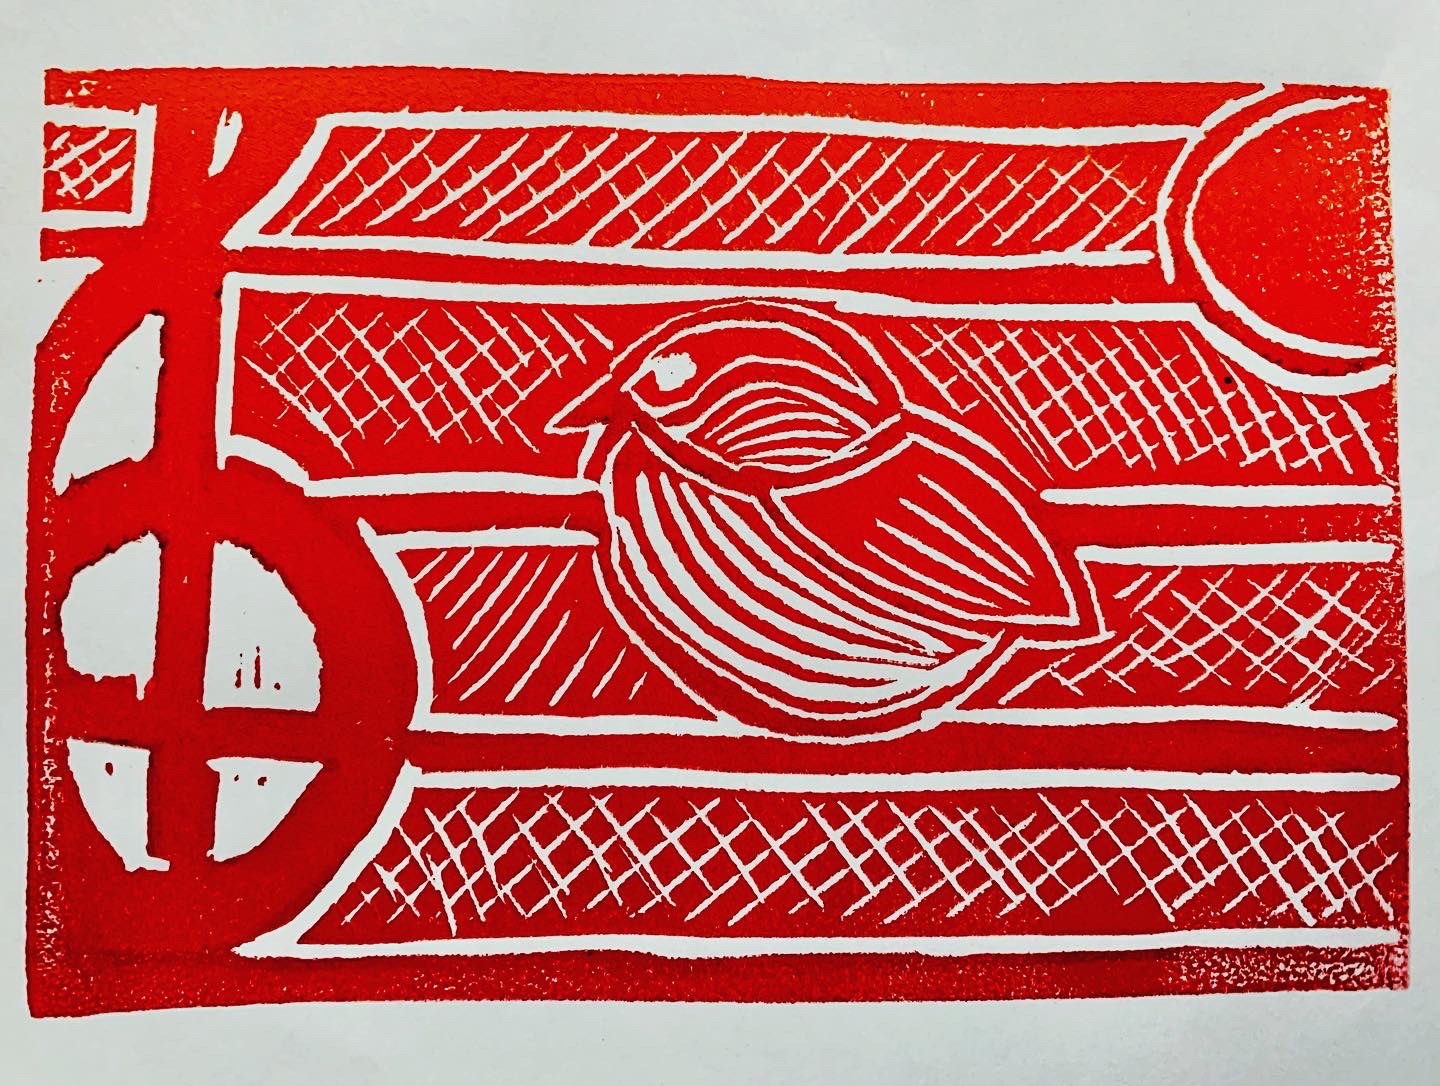
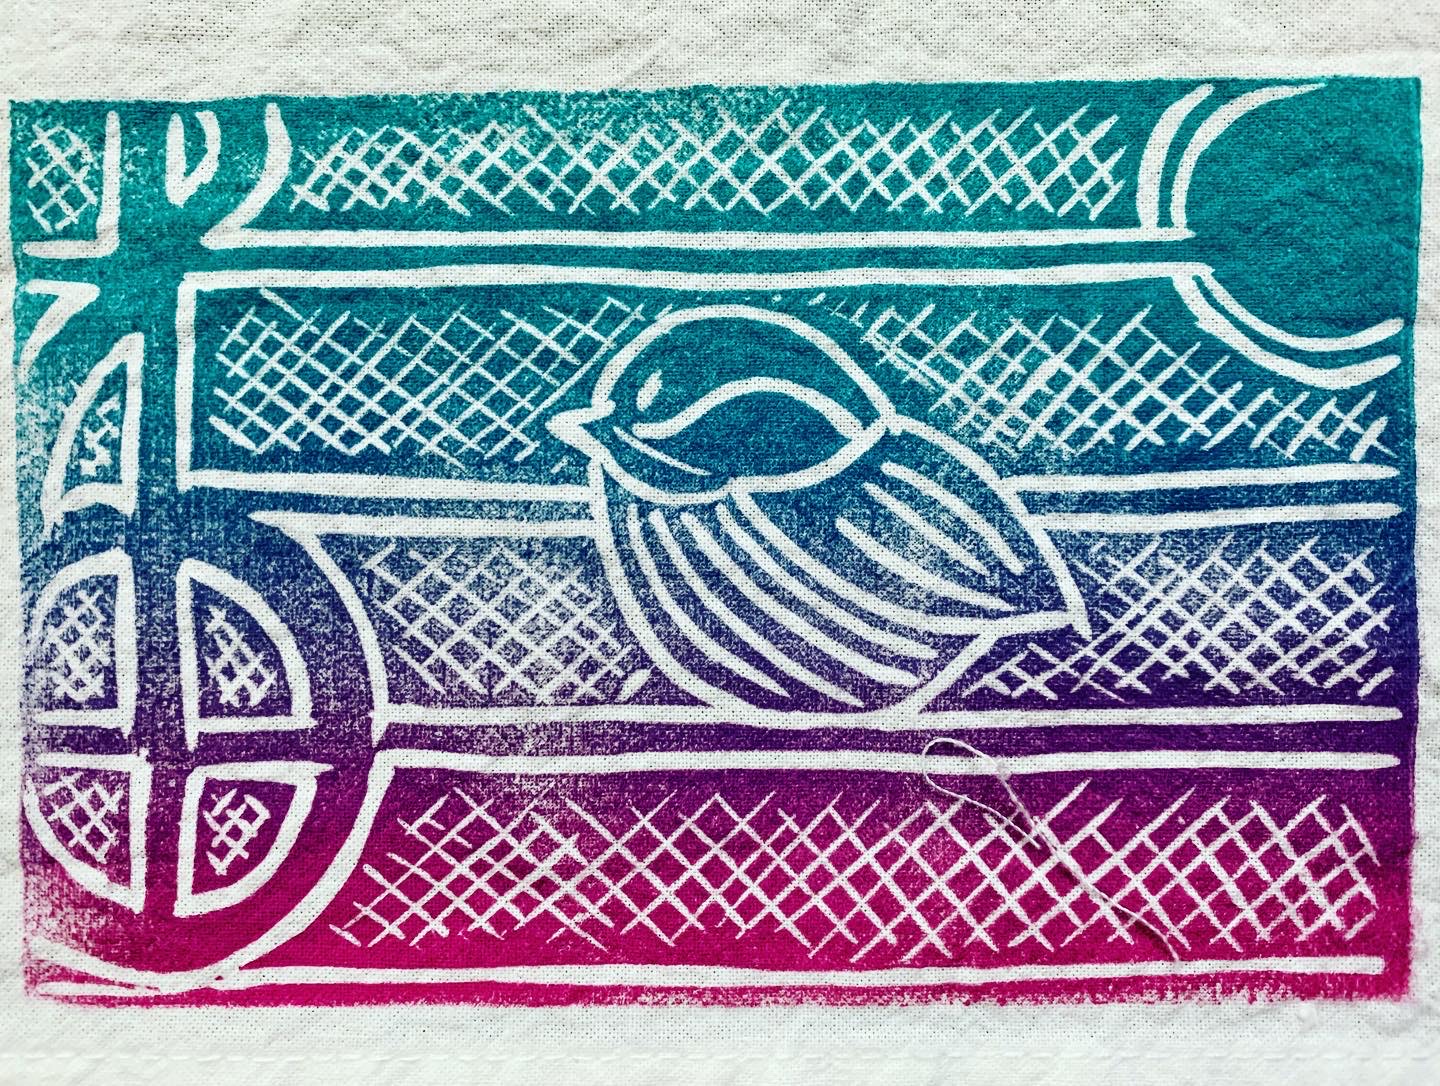
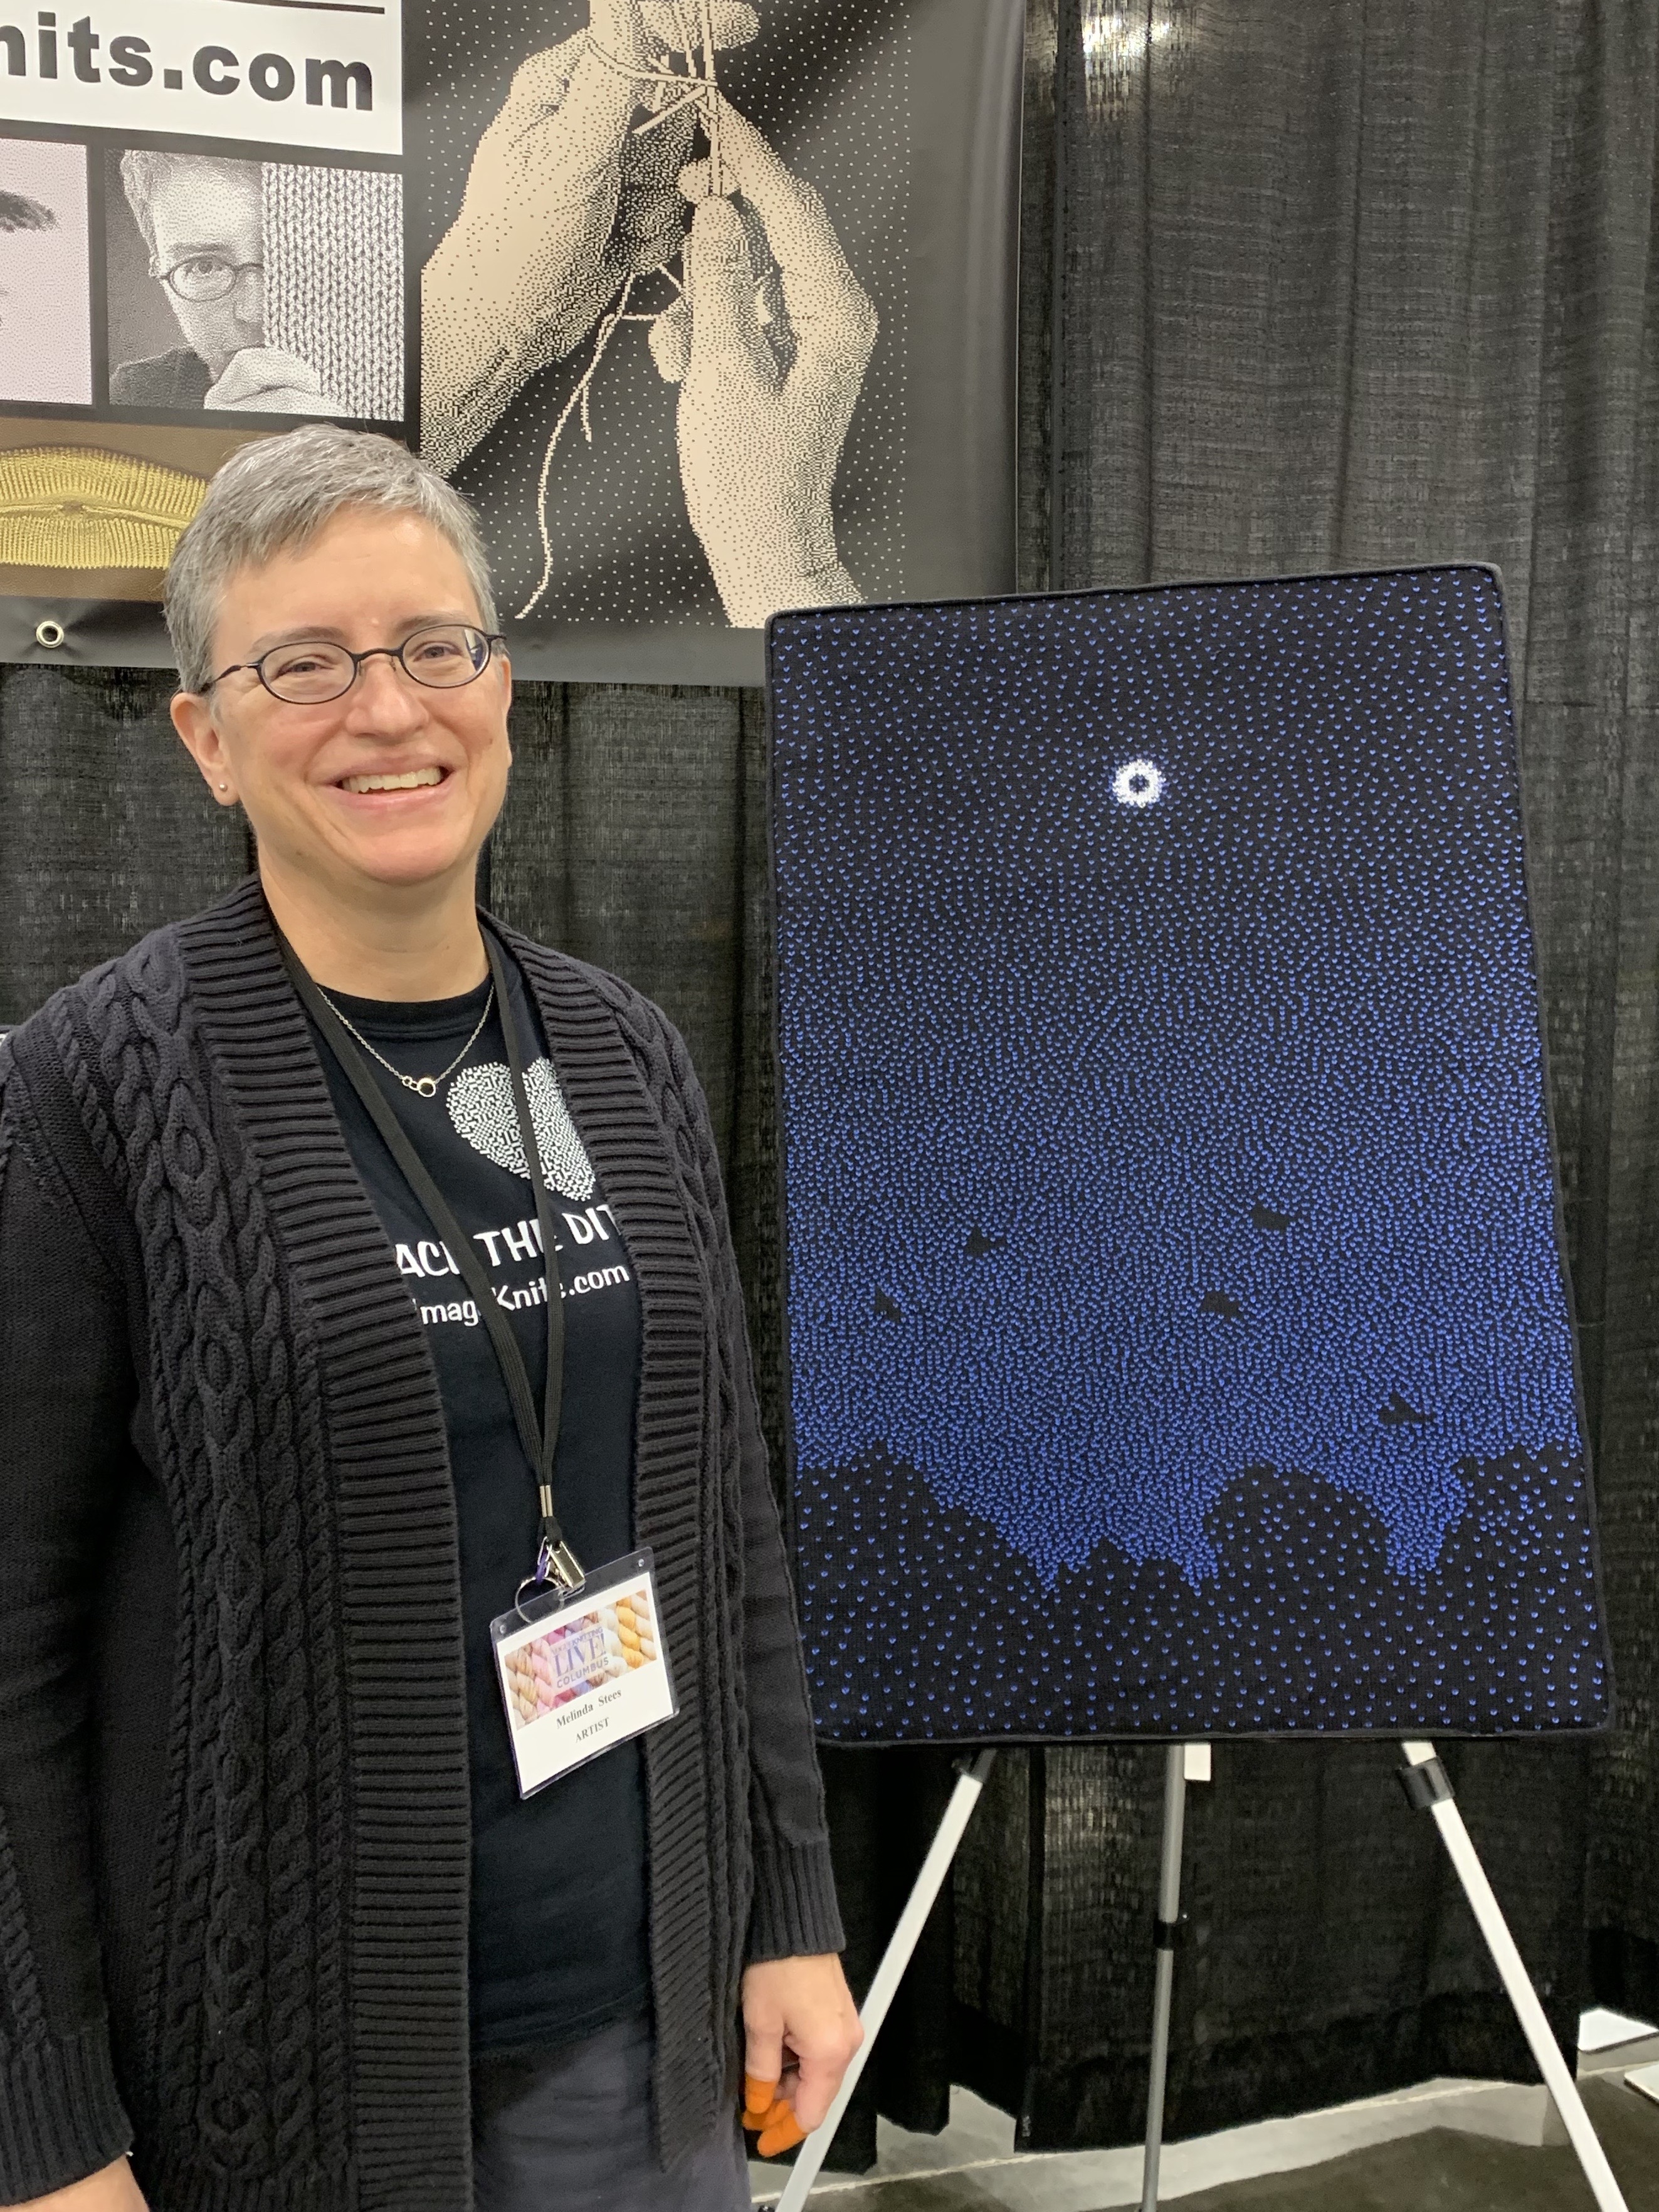
Also exhibiting in the market: Melinda K. P. Stees from Image Knits. Melinda uses Photoshop to analyze photographs, and then uses fine gauge machine knitting to create gray scale images. Each stitch is a pixel. This kitty will have eyes duplicate stitched in golden yellow. Check Melinda’s website for more images.

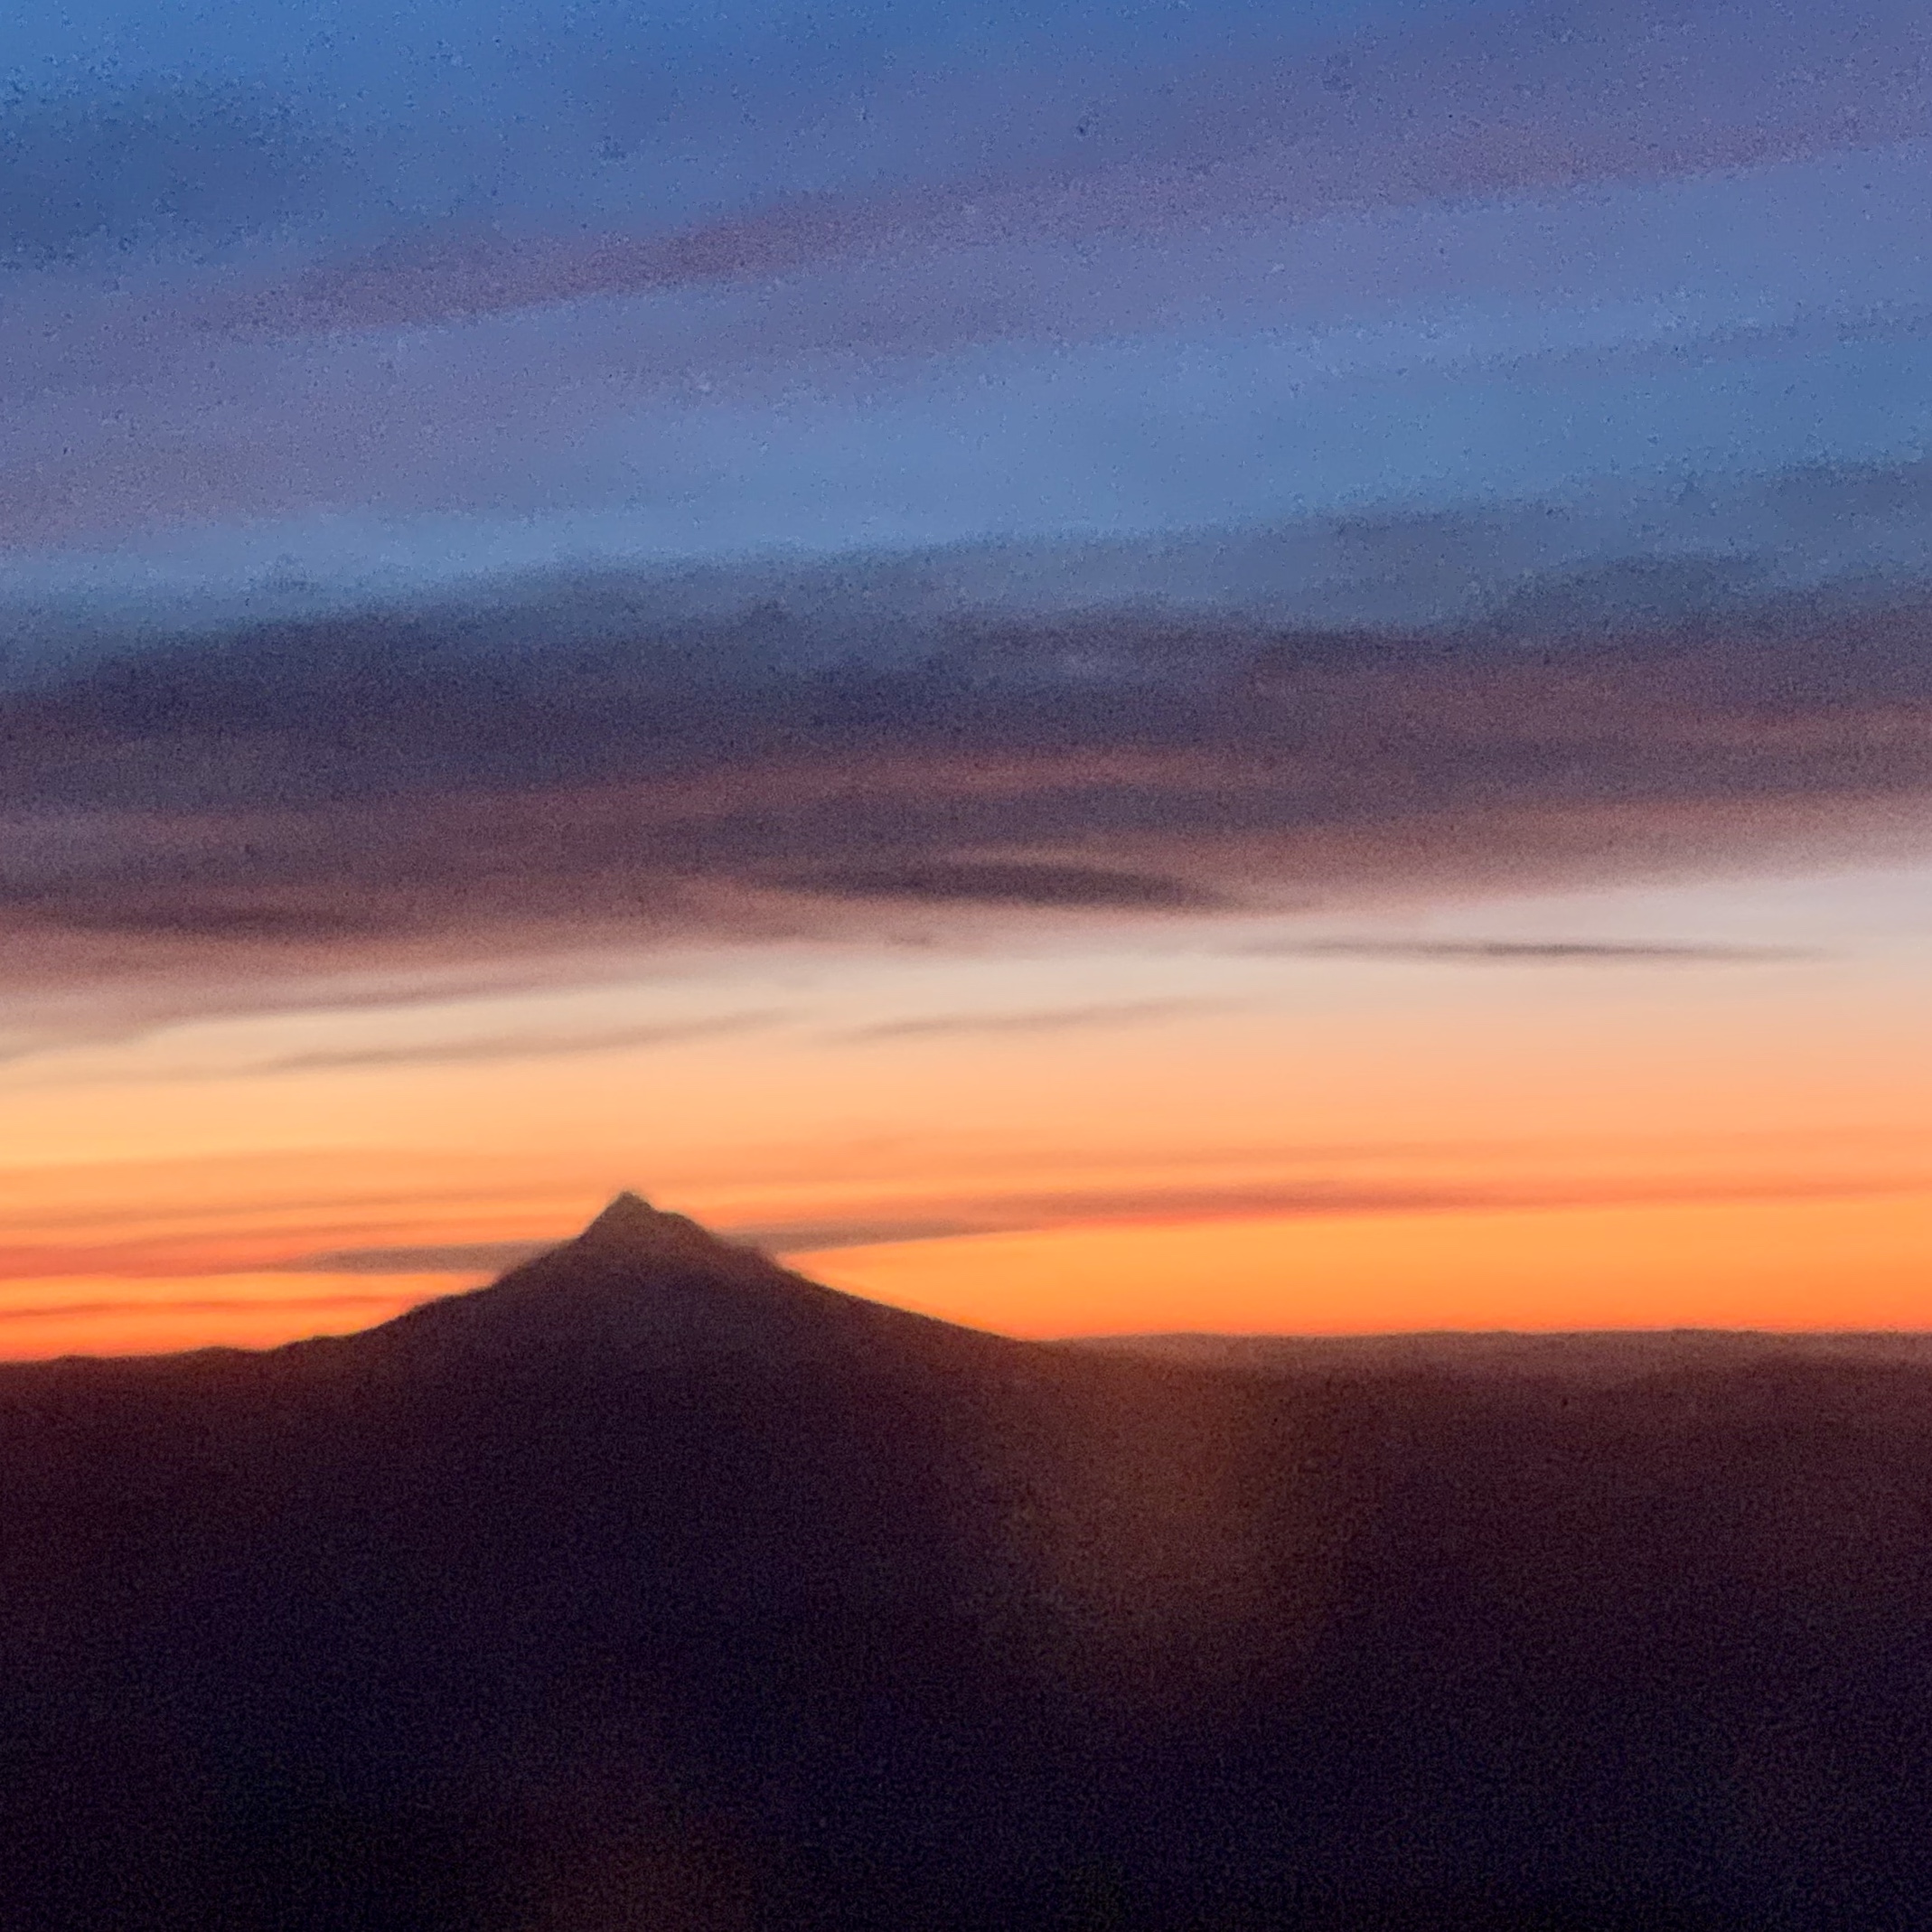
It works in blue, too. This eclipse stunning. And check out the hands behind the eclipse.

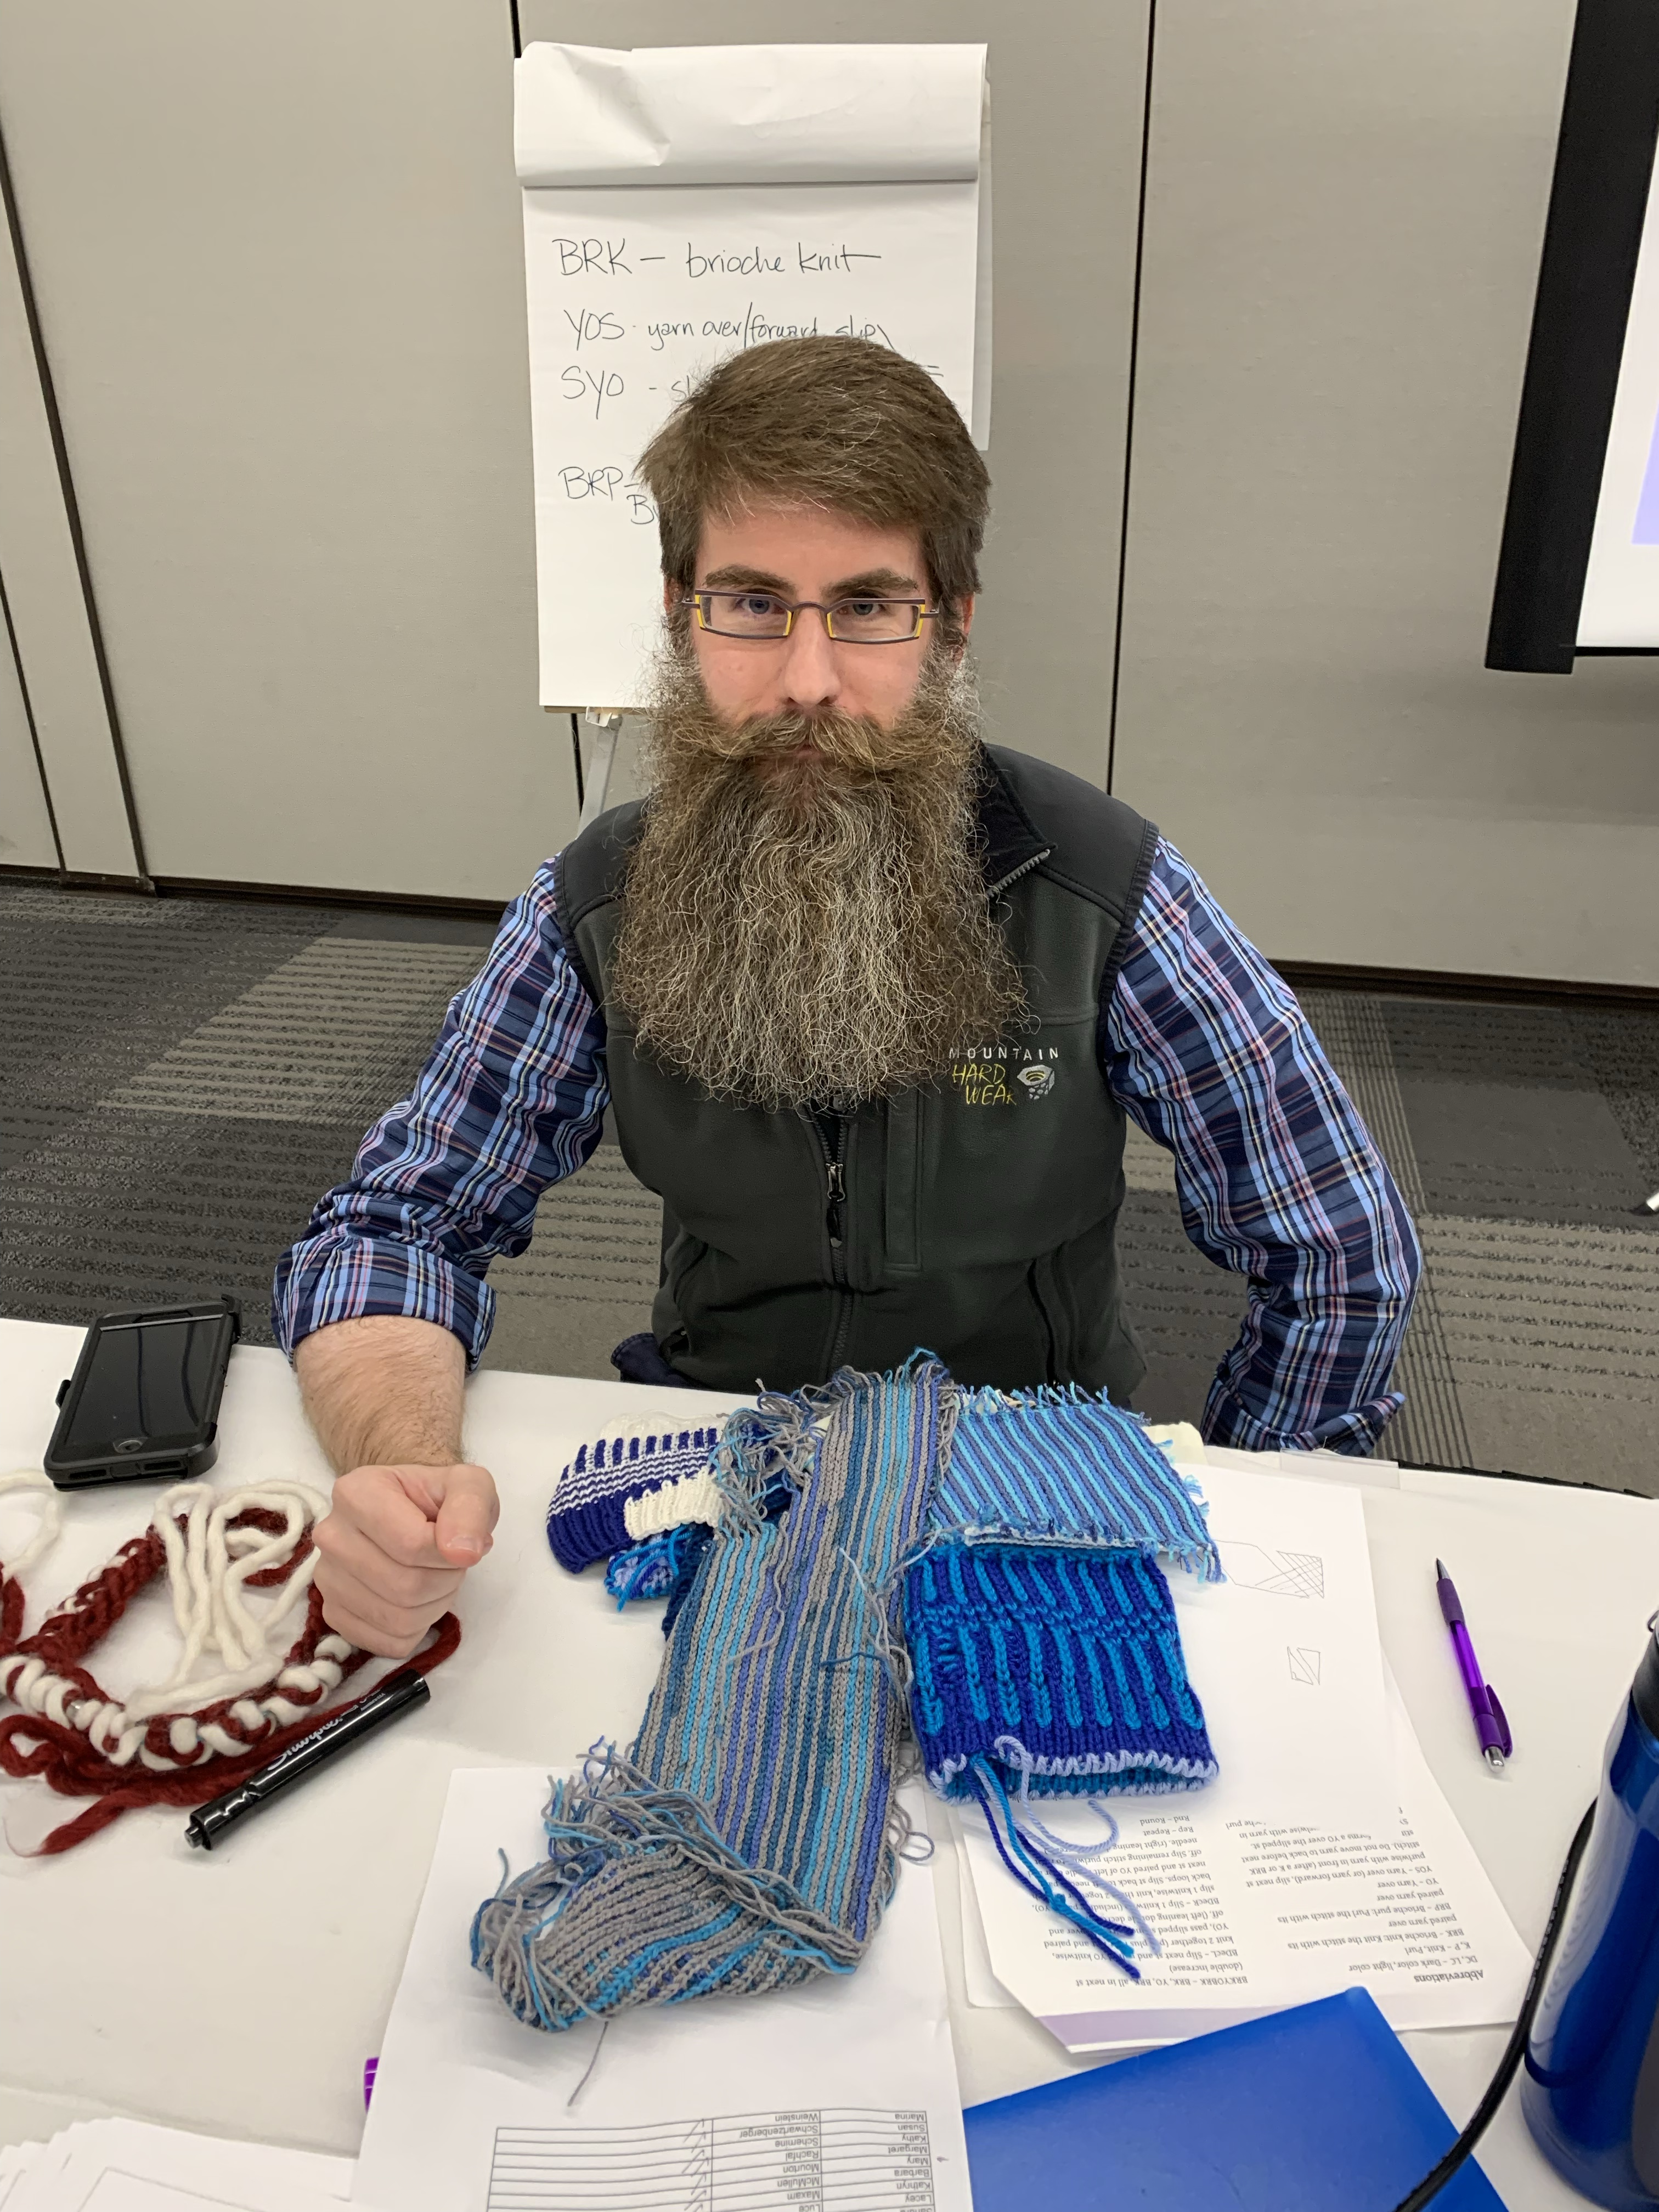
Daniel was in my brioche class, and showed me his experiments with crochet grid to make a more stable fabric that isn’t as super stretchy as brioche. He’s made blankets and is working on a vest. Inspiring and fascinating.

And since this blog is my journal, I’m reminding myself what I wore this time around…

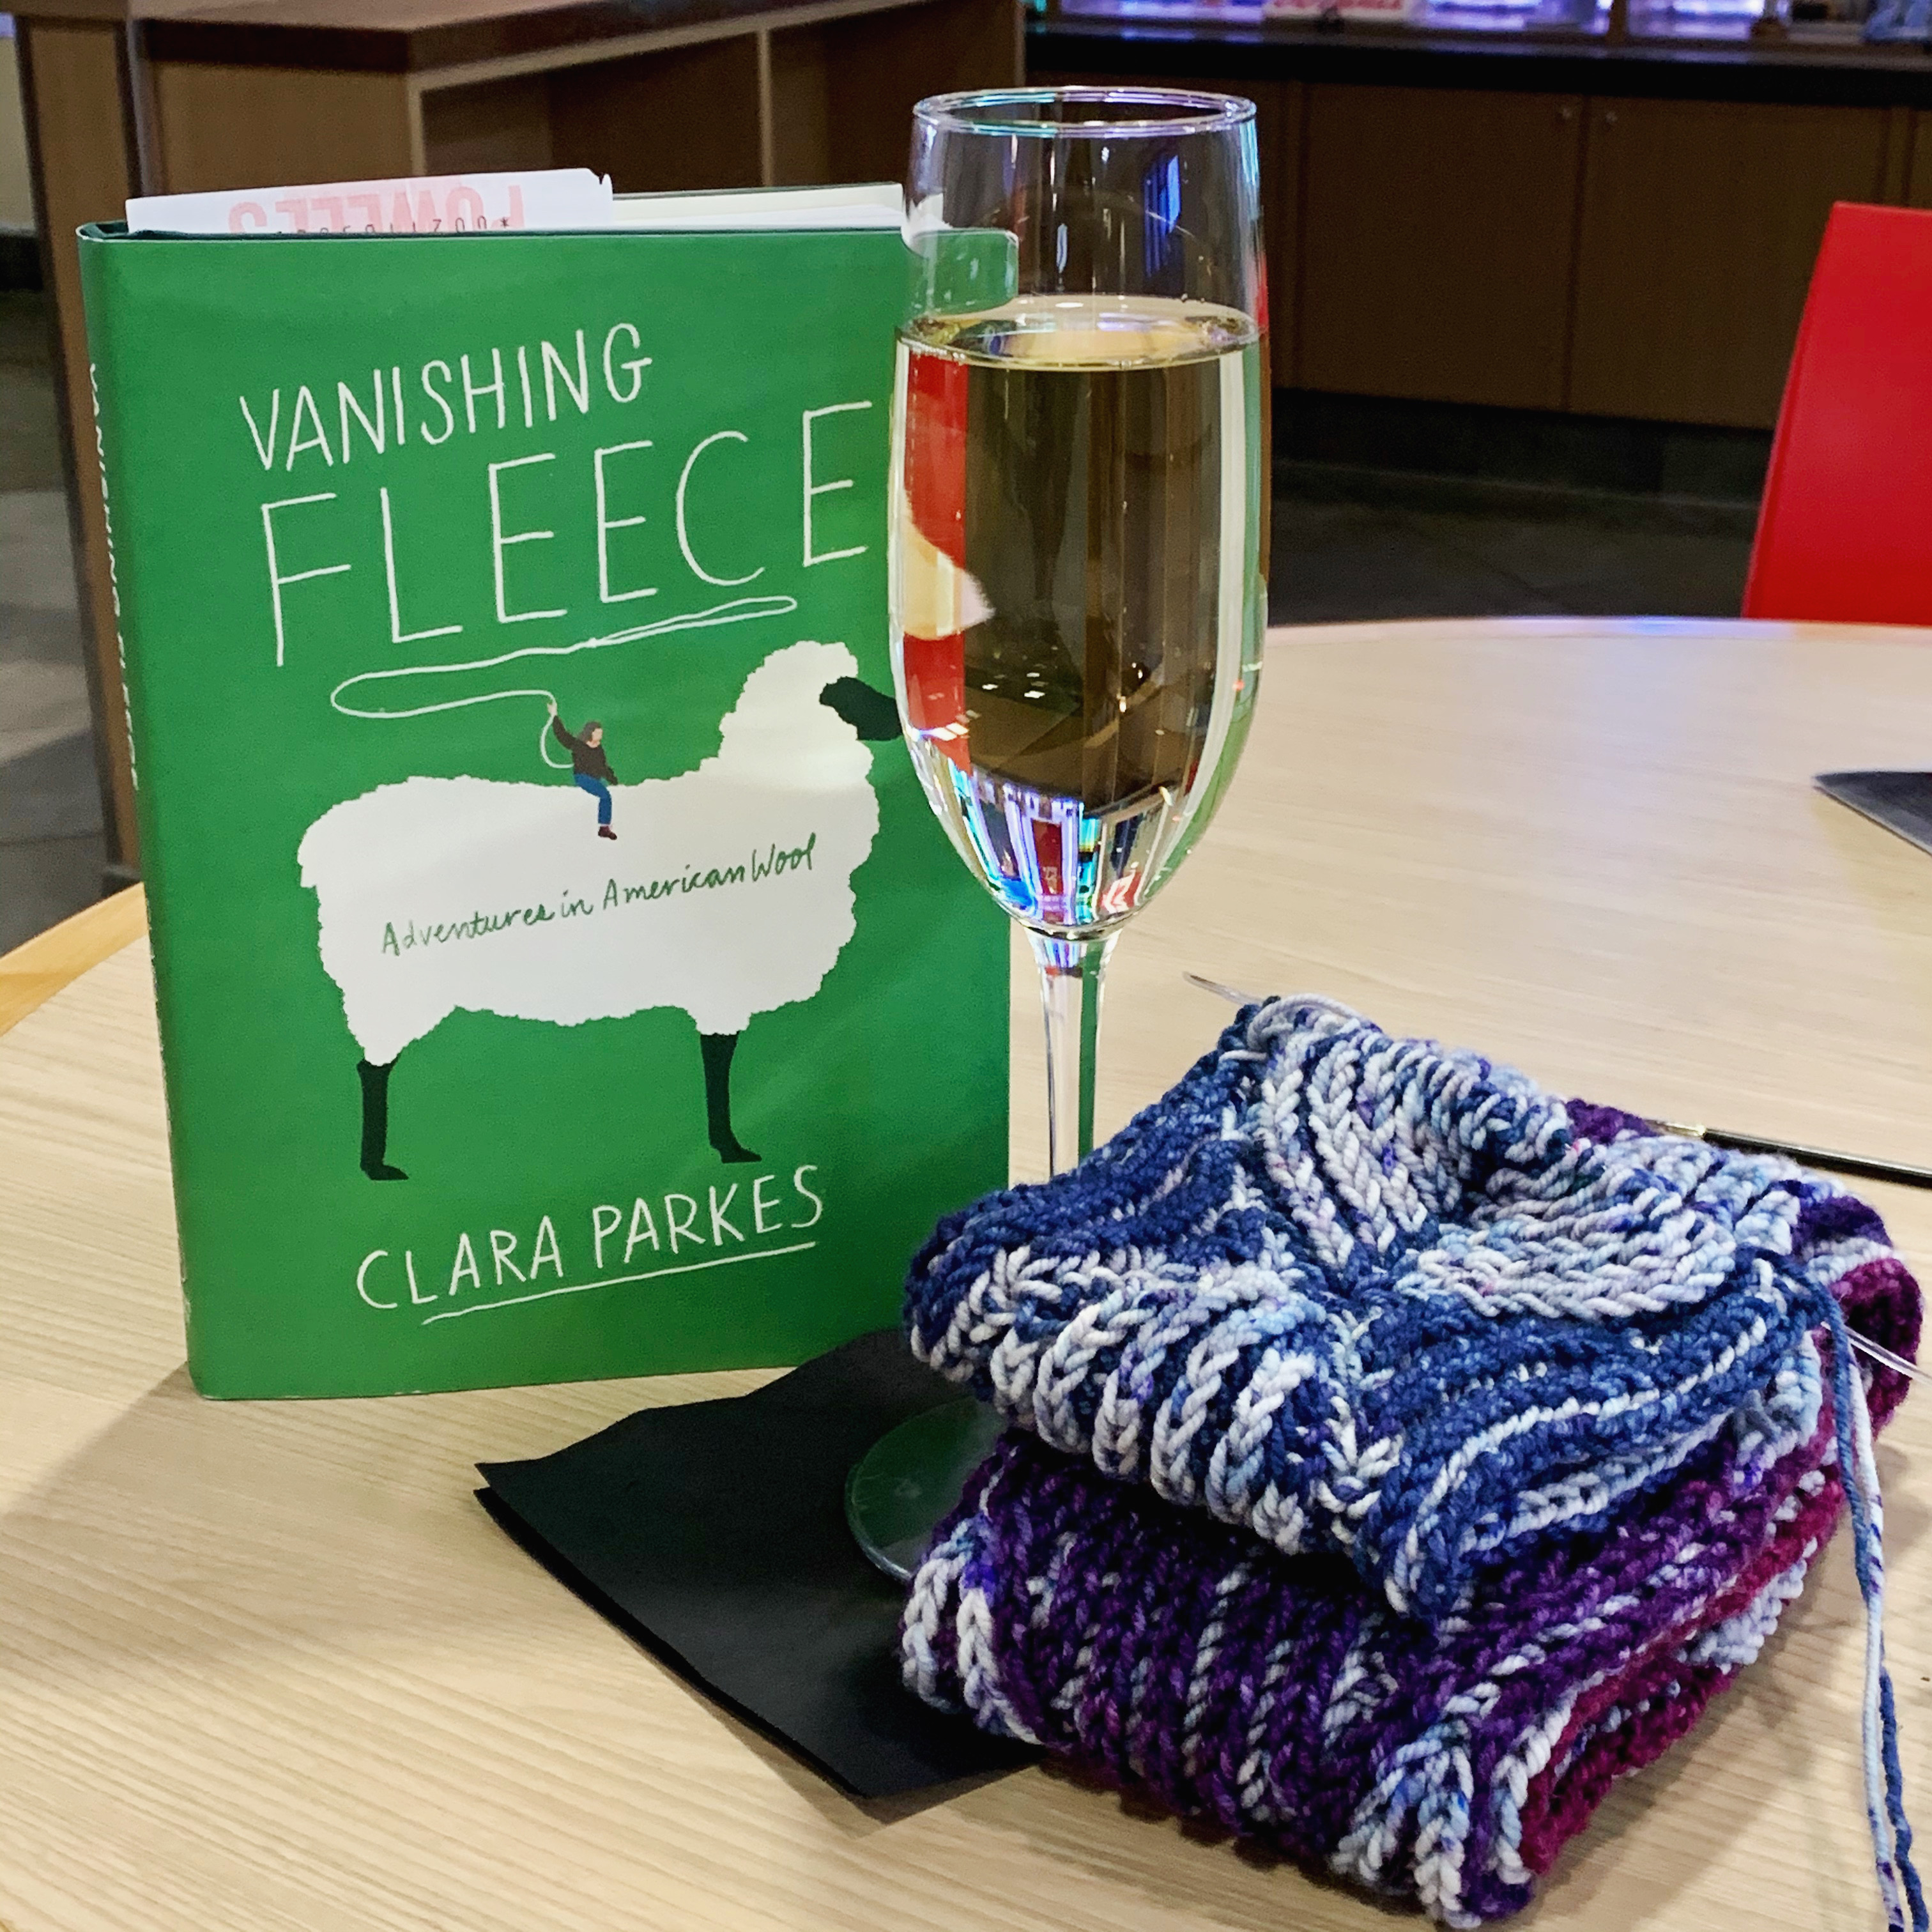
Clara Parkes kept me in good company on the way home. I finished this book on my last flight, and highly recommend it.

On to Vogue Knitting: Destination Portland next Friday! I’m teaching Brioche Pastiche, and it will be fun. But first, a creative weekend with friends.

How is your November going? Mine is…busy!

Stretchier bind offs for knitting

I recently received my Parquetry cowl sample back from Fiber Gallery.

When it arrived I decided that I wanted it to be…more.

So I frogged the old bind off and added more to the body of the cowl. And then I decided that I wanted an even stretchier bind off than the suspended bind off that I had used before. Apparently I was very relaxed when I cast on my Parquetry, and that edge was super stretchy! I went poking through Cap Sease’s Cast On Bind Off book, and learned the Russian Bind Off.

I love it! I made a video so you can learn it and love it, too.

Now I have several stretchy bind offs in my knitting tool kit:

Elastic Bind Off, which I like for edges on lace shawls

Jeny’s Surprisingly Stretchy Bind Off, which I like for binding off brioche rib

Suspended Bind Off, when just a little extra stretch is needed

And now the Russian Bind Off, when I want even more stretch!

Remember, you’re the boss of your knitting, and you can use whatever cast on or bind off you want in your project. You RULE!